Quality Guaranteed

Across the EU

Free Shipping

60€ in Germany | 100€ Europe*

Queer & Woman Owned

Founded 2017 in Berlin

chevron_left chevron_right

Filters

Clear all

Blog Themes

    Growing Your Plants from Plugs

    by Plant Circle

    Growing Your Plants from Plugs

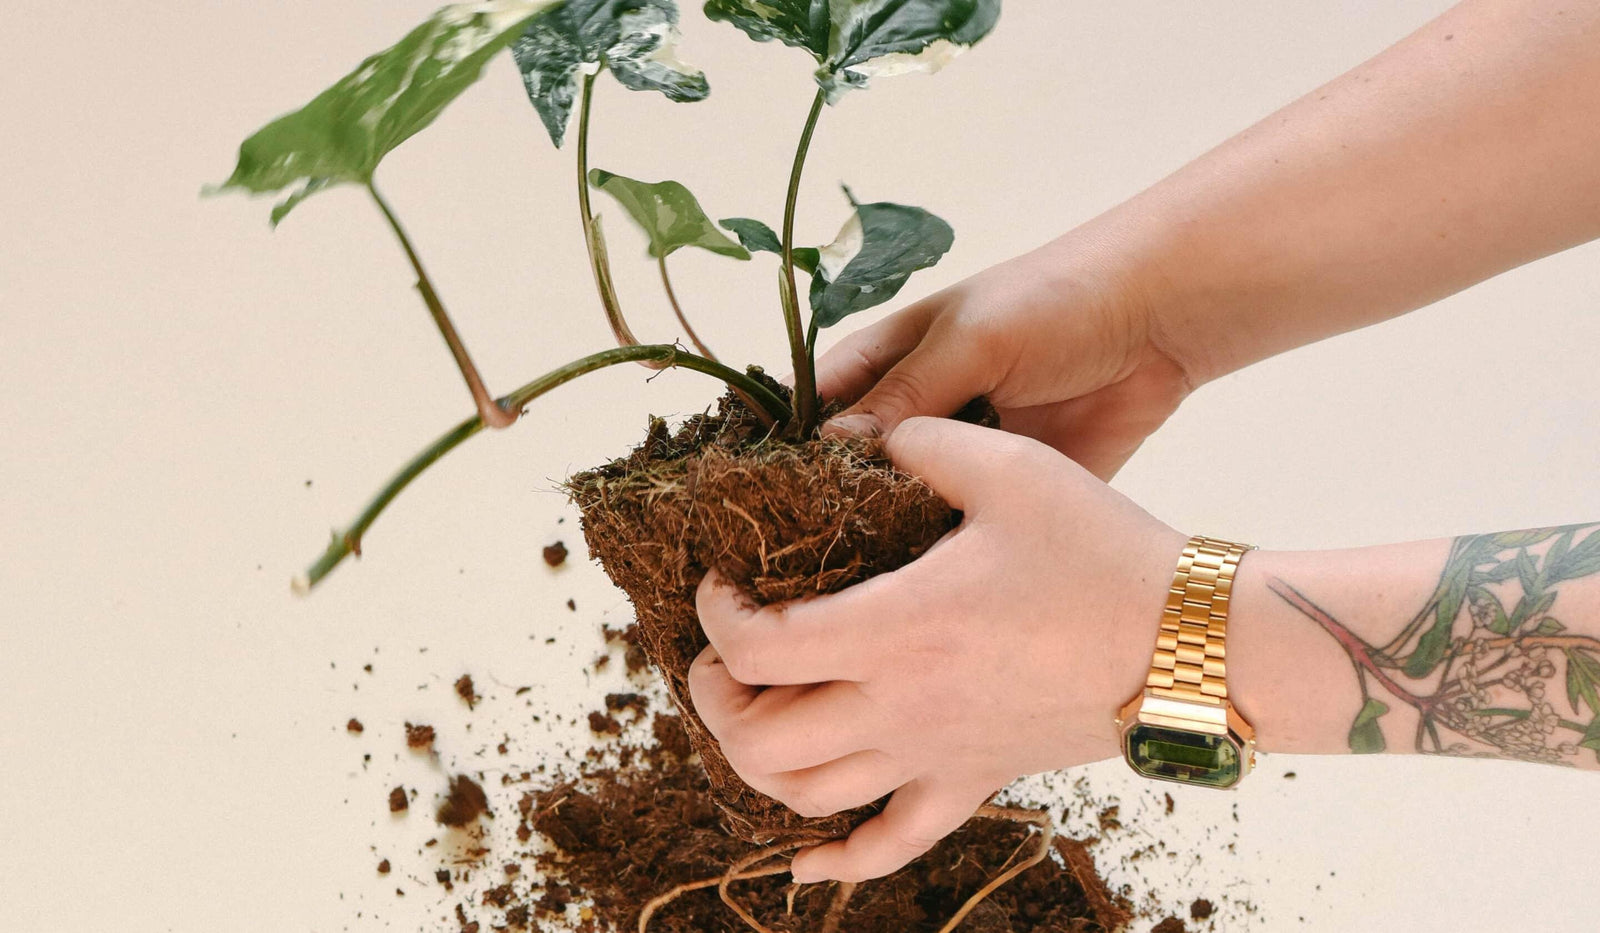
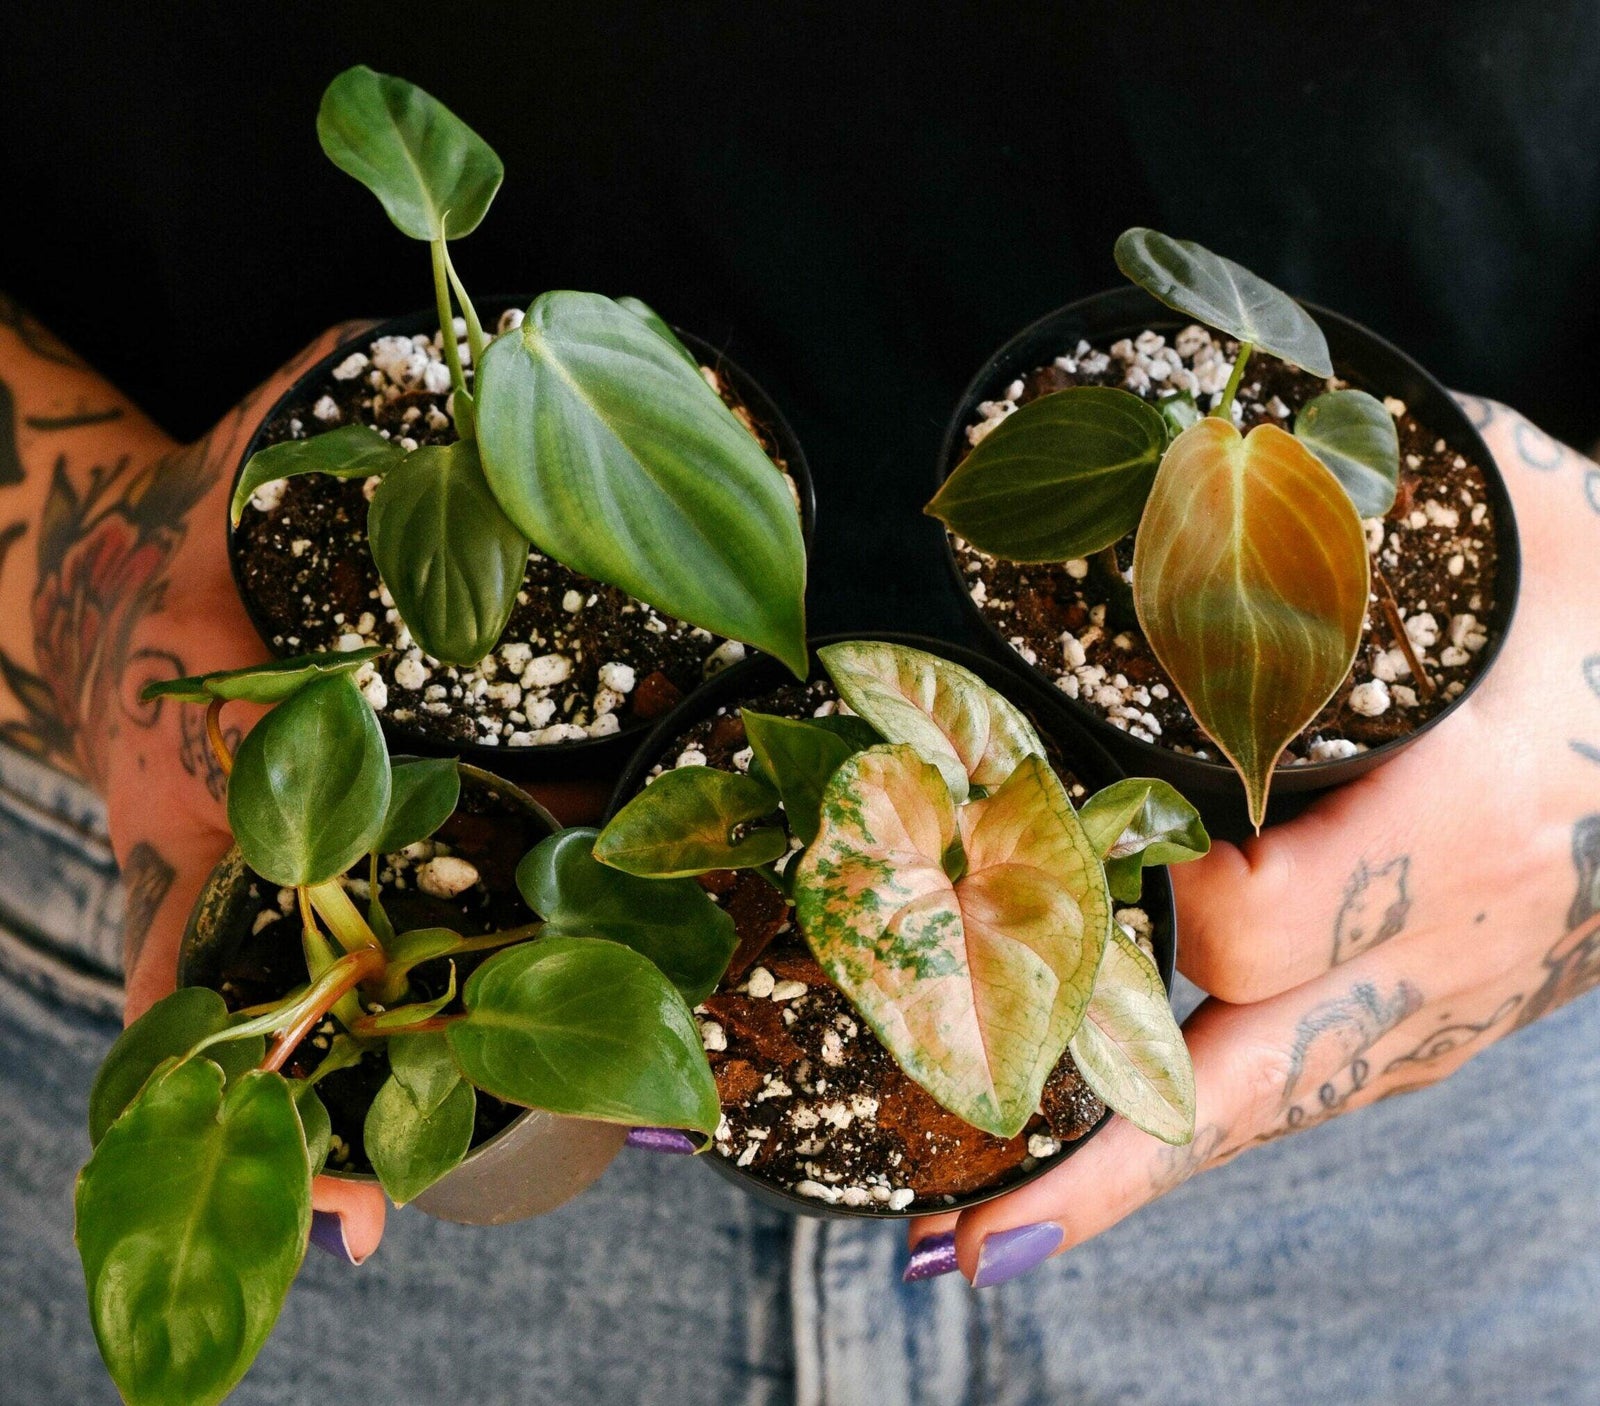
    Are you looking to expand your houseplant collection without breaking the bank? Starting your plants from plugs might be the perfect solution. In this blog, we’ll explore what plant plugs are and why they are a cost-effective and sustainable way to grow your favorite plants. From understanding the innovative tissue culture propagation method to providing a step-by-step guide on how to pot and care for your plugs, we’ve got you covered. We have a large collection of plant plugs for you to check out! What Exactly is a Plug? A plant plug is a seedling that was started and grown in an individual cell filled with potting soil in a laboratory. This method, known as tissue culture propagation, involves growing plants from a small piece of plant tissue in a sterile environment. Tissue culture ensures that each plug is a genetic clone of the parent plant, free from diseases and pests. This method is highly efficient and sustainable because it produces a large number of uniform plants in a short period, using minimal resources. By optimizing growth conditions in the lab, tissue culture reduces the need for chemical treatments and water, making it a cost-effective and environmentally friendly way to propagate plants. Plugs provide a cost-effective way to jump-start your houseplant collection. These well-developed young plants with strong root systems are ready for potting up. Step-by-Step: What to Do with Your Plugs When They Arrive Prepare a Plastic Nursery Pot: Select a small pot, preferably around 8 cm in diameter. Using a bigger pot will require more soil, which can retain excess moisture and potentially cause root rot. It’s better to start with a smaller pot and gradually pot up as the plant grows. Typically, when the roots begin to grow out of the holes at the bottom, it’s time to pot up. Prepare an Appropriate Potting Mix: Choosing the right potting mix is crucial for the healthy growth of your plant plugs. You can either purchase a potting mix specifically tailored for the type of plants you are growing or create your own blend. A pre-made potting mix ensures that your plants receive the optimal balance of nutrients, drainage, and aeration needed for robust growth. These mixes are formulated to meet the specific needs of different plant varieties, making it easier for you to provide the best growing conditions. If you prefer a more customised approach, you can mix your own potting soil. Start with a good-quality base such as peat moss or coco coir for moisture retention, and add perlite or vermiculite to improve drainage and aeration. Incorporate organic matter like compost or worm castings to enhance nutrient content. Depending on your plant’s specific requirements, you might also add ingredients like sand, charcoal or bark. We offer a large selection of potting mixes and soil improvers to help you create the perfect blend. With the right potting mix, your plant plugs will have a better chances to thrive and grow into healthy, mature plants. Base Mix 5L 12 € Shop now Planting the Plug: Carefully take the plug out of its packaging. You’ll notice that the root ball is often surrounded by a mesh or net. Gently remove this covering, being cautious not to damage the delicate roots. This step is crucial as it allows the roots to expand freely into the new soil. Start by adding a layer of soil to the bottom of your plastic nursery pot. This initial layer will help elevate the plug to the correct level and ensure good contact between the roots and the new soil. Place the plug in the center of the pot. Hold it steady and begin filling the pot with soil. As you add soil, make sure to cover all the roots and fill in any gaps around the plug. This helps stabilize the plant and promotes healthy root growth. Once the pot is filled, gently pat down the soil around the plug. This ensures that the seedling is firmly in place and that there are no air pockets, which can hinder root development. The goal is to make the seedling stable and secure in its new environment. Water and Fertilize: Water your plant with a light fertilizer, ensuring that you follow the recommended dilution rates on the package for optimal growth and health of your plant, and always remember to avoid over-fertilizing to prevent any potential damage. Place the pot in a well-lit spot, avoiding direct sunlight, to ensure that the plant receives enough light for photosynthesis without the risk of leaf burn. Alocasia Frydek Plug Shop now Now, it’s time to watch your plant grow! With the right care, your plugs will thrive and soon become beautiful additions to your home. If you don’t want to wait to see your plants grow, we recommend exploring our large and extra-large plant categories. These mature plants provide instant greenery and beauty, allowing you to enjoy the full aesthetic of a well-developed plant right away.

    Read more

    How to overwinter your tubers

    by Plant Circle

    How to overwinter your tubers

    In this article new would like to explain how to, and whether you should, overwinter your tuber plants! Did you know that Caladium, Amorphophallus and Xanthosoma all grow from a tuber? And that after the plant dies back, you can remove that tuber from the soil and plant it back later? Plants that grow from tubers usually die back in winter for a resting period of 3-7 months. Technically you can leave the plant in the pot and carry on as usual, as we assume the temperatures in your apartment won’t go below zero, meaning the plant can survive the cold season unaffected. However, if you would like your plant to come back in spring bigger and better than before, read on! 1. Remove the tuber from the soil and clean it well, getting as much excess soil off as possible. 2. Let the tuber dry out for a few days. 3. Once it’s dry to touch, place it in a box with a lid, and fill the box with either wood shavings or shredded paper.  4. Place it in a cool and dark storage with the lid not fully closed so a bit of air comes in. If you’ve followed the above steps to overwinter your tubers, all you have to do now is check back on your tubers once in a while. Once you notice a growth tip, it’s time to plant it back! You can plant Caladiums indoors in March and outdoors when the temperature is above 20 degrees celsius. When planting your Amorphohallus again, make sure that you place the tuber deep under the soil as the roots grow from the above the tube. This is so the tuber can support that beautiful, long stalk! When planting your Caladiums, make sure that the tuber is facing rings up, as this is where the plant will grow from. The tuber should be about 3-4 cm deep and you’ll need to keep it above approximately 24 degrees celsius for it to sprout. Tubers should be kept in moist, but not soggy, soil to sprout. Once new growth appears they should be watered often enough to keep the soil evenly moist, but again, never soggy! More detailed information on Amorphophallus, and how to grow them, can be found here.Happy planting!

    Read more

    Repotting your plants (winter edition)

    by Plant Circle

    Repotting your plants (winter edition)

    You’ve probably wondered when it’s a good time to repot your plants, and how to go about it. You’re not the only one! Thankfully there’s one universal sign that your plant needs a new pot, and that’s roots growing out of the bottom of the pot. But what do you do if it’s in the middle of winter? What kind of pot do you move it into? Is repotting in winter even allowed?! We’ve prepared a few tips for you, and a handy diagram below!   So you took the test and landed on a “Go for it!” but there are still a few things to consider when repotting your plants. Like choosing the right pot! Don’t go too big. The pot you’re transferring your plant to should only be one size bigger than the old one, so approximately no more than an additional 2 cm in diameter.Perhaps it’s time to change the soil? If this is the first time you’re repotting this plant, it’s very likely that the plant has been sitting in some poor potting mix. Now is your chance to upgrade! Make your own universal quality mix by mixing one part each of potting mix, perlite, and bark. Read more about potting mix in this post.Does your planter have drainage hole? if not, leave your plant in the plastic nursery pot. Make sure that the planter is slightly bigger than the nursery pot to allow for proper air circulation. You can also easily drill holes in your ceramic planters with a diamond drill bit!Potting directly into a terracotta planter? Note that terracotta planters absorb moisture, which means you’ll probably need to water your plants a little more often than usual. Also make sure you have saucer! Now that you’ve picked the right pot, you’re ready for repotting! Let’s go over that in steps too: 1. Press on the plastic nursery pot so the soil can easily get unstuck and detach from the pot.2. Carefully remove the plant from the plastic pot.3. Loosen up the root ball and remove the soil, cleaning the roots as much as you can. 4. Prepare your potting mix and add it into the bottom of the pot, then put the plant into the pot, and cover the roots with more potting mix.5. Make sure no roots are exposed, and push down the soil so the plant is stable.6. Water your plant! If the potting mix sinks down and exposes the roots after watering, you can add a bit more potting mix in this step to make sure they remain covered.Need visuals? We’ve got you covered there too! Below you’ll find all six steps, and if you want detailed video of the process, go to our instagram and see how we repotted a huge Philodendron Billietiae, a super potbound Scindapsus, another potbound baby, this time a Hoya, and don’t miss out on this good example of how bigger isn’t always better when it comes to pots!Happy repotting!

    Read more

    Rooting for Growth: A Beginner’s Guide to Propagating Aroids from Cuttings

    by Plant Circle

    Rooting for Growth: A Beginner’s Guide to Propagating Aroids from Cuttings

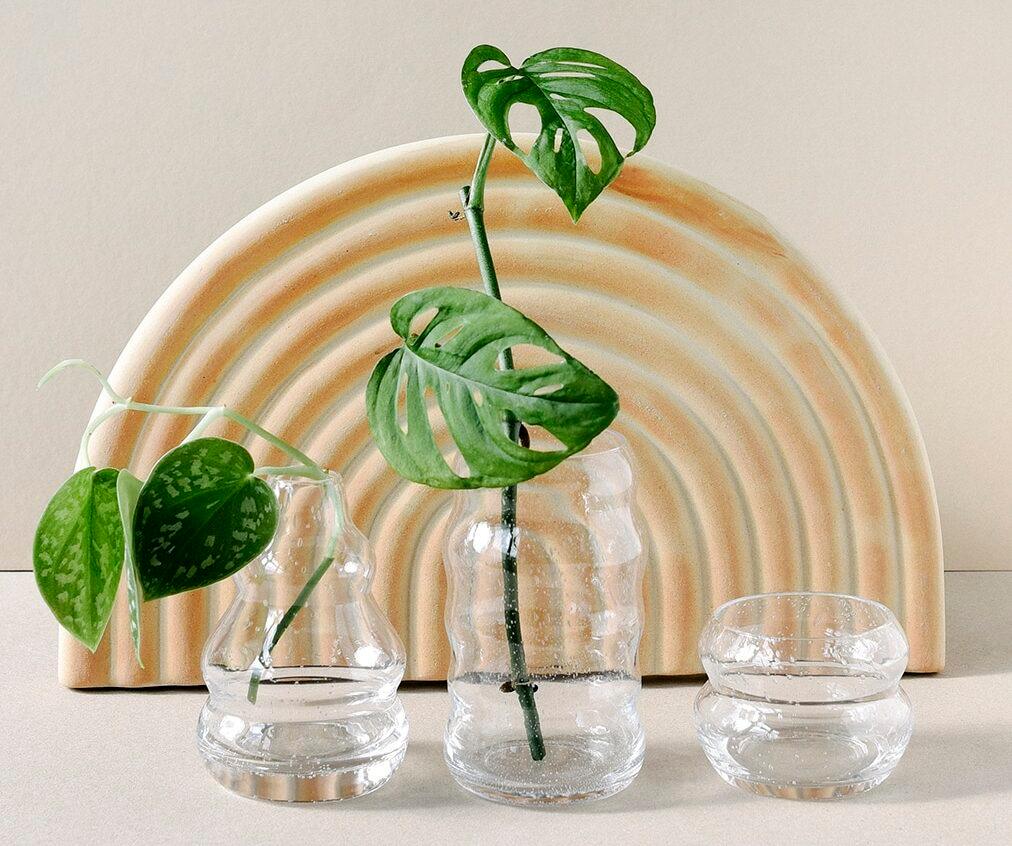
      Welcome to the first volume of our propagation tips and techniques blog, where we will be discussing how to propagate aroid plants from cuttings that include nodes and aerial roots. Aroid plants, including Philodendron, Epipremnum, Syngonium, Scindapsus and Monstera, are popular houseplants that are easy to propagate from cuttings. When taking a cutting from an aroid plant, it’s important to include a node. A node is a small bump or ridge on the stem of the plant where the leaves, aerial roots, and new shoots grow from. Nodes are essential for propagation because they contain meristematic tissue, which is responsible for the growth and development of new roots and shoots.   Cuttings without a node and just a leaf will not be able to develop roots and grow into a new plant. This is because the cutting lacks the meristematic tissue found in the node that is responsible for root and shoot development. Therefore, it’s important to make sure the cutting includes a node. To take a cutting from an aroid plant, follow these simple steps: Choose a healthy plant.Select a healthy aroid plant with strong stems and no signs of disease or damage. Find a node.Locate a node on the stem of the plant, where the aerial roots or leaves are growing from. Make the cut.Use a sharp, clean pair of scissors or a knife to make a clean cut below the node. The cutting should be at least 3-4 inches long and include one or two nodes.   Place the cutting in water.Place the cutting in a jar or vase filled with clean, room-temperature water. Make sure the node is submerged in water, but the leaves are not. Change the water every few days to keep it clean and prevent bacteria from growing.   Wait for the roots to growAfter a few weeks, you should start to see roots growing from the node. Once the roots are strong and at least few centimetres long, the cutting is ready to be planted in soil. Better have longer roots than shorter so if you can wait longer, do it.   Plant the cutting in soil.Fill a small pot with potting mix and make a small hole in the center. Insert the cutting into the soil, making sure the node and roots are buried about few centimetres deep. The cutting needs to be stable and all roots need to be covered. Water the soil and place the pot in a bright, warm spot, but avoid direct sunlight. By following these simple steps, you can easily propagate aroid plants from cuttings with nodes and aerial roots. Propagating plants is a fun and easy way to expand your plant collection or share your love of plants with friends and family. Stay tuned for the next volume of our propagation tips and techniques blog, where we will discuss how to propagate another popular houseplant.

    Read more

    Roots of Success: Mastering the Art of Water Rooting Cuttings!

    by Plant Circle

    Roots of Success: Mastering the Art of Water Rooting Cuttings!

    As spring ushers in new life and vibrant greenery, many plant parents look forward to propagating their beloved plants through cuttings. Sharing these cuttings with friends is not only a great way to spread the joy of gardening but also allows us to multiply our plant collections without spending a fortune. One popular and relatively easy method of propagation is water rooting. In this blog post, we will explore the best practices for propagating plants through cuttings and successfully rooting them in water. Start with Clean and Disinfected Tools.Before embarking on your propagation journey, it’s essential to ensure that your tools are clean and ideally disinfected. Use sharp scissors or a knife to make clean cuts, as jagged or torn edges may hinder successful rooting. Allow the Cut to Heal Once you’ve taken a cutting, it’s crucial to let the wound heal before placing it in water. Freshly cut stems are prone to becoming mushy and rotting in water. Most plants require a few hours on the counter to heal the cut, while succulents or cacti may need a few days for the cut to callous over. Change the Water Regularly or Use Activated CharcoalTo prevent bacterial growth and maintain a healthy environment for rooting, remember to change the water in the container every few days. Alternatively, you can add a small amount of activated carbon pellets to the water, which helps keep it bacteria-free. Provide Light for Root DevelopmentChoose a glass container for your cuttings, allowing the roots to receive some light. Light exposure promotes photosynthesis, helping the cuttings develop stronger root systems. However, be mindful of excessive direct sunlight, as it can overheat the water and damage the delicate roots. Consider Rooting Hormone Although not always necessary, using a rooting hormone formulated for foliage application can boost the success rate of your water-rooted cuttings. Apply it according to the product instructions, as improper use can be counterproductive. Wait for a Strong Root Network Patience is key when propagating plants through cuttings. Wait until your cutting has developed a healthy network of roots before proceeding. Rushing the process could lead to transplant shock or the failure of the cutting to establish itself. Choose the Right Pot and Potting Mix When your cutting has developed sufficient roots, it’s time to transition it to soil. Select a small pot that provides stability for the cutting. Ensure that all the roots are covered with potting mix, but be cautious not to choose a pot that is too large, as excess soil can lead to overwatering and root rot. We have substrates (potting soils) for all types of plants. Provide Bright Indirect Light Place your newly potted cutting in an area with bright indirect light. This will allow the plant to photosynthesize and promote healthy growth. Avoid placing it in direct sunlight initially, as it may be too intense for the tender roots. Water and Fertilize with Care In the first few weeks, be mindful of watering your newly potted cutting. Overwatering can drown the young roots, while underwatering can lead to dehydration. Find the right balance and adjust your watering schedule based on the needs of the specific plant. Additionally, provide a balanced fertilizer to nourish the growing cutting but avoid over-fertilization, as it can cause root burn. Propagation through cuttings and water rooting is an exciting and rewarding way to expand your plant collection and share the joy of gardening with friends. By following these best practices, you can increase your chances of success and ensure the healthy establishment of your propagated plants. So, grab your disinfected tools, prepare your glass containers, and embark on a propagating adventure this spring. Happy propagating!

    Read more

    What to do when your pets like to eat your plants

    by Plant Circle

    What to do when your pets like to eat your plants

    Owning plants can be challenging if you’re also a pet owner. Most popular plants you see on the market are sadly toxic and not suitable for pets that have the tendency to munch on some leaves. While some pets like to eat your plants because they’re bored, and simply providing them with some kind of stimulation could solve the issue, some do it out of sheer passion and there’s nothing you can do about it. Or is there? As the information on plant toxicity is often missing at the less specialized commercial plant shops, here at Plant Circle we make sure to always include it in the product descriptions on our website, and we even have a dedicated category for just pet friendly plants! As most of us here at Plant Circle live with both pets and plants, we think we have a few things figured out, so now we wanna share what we’ve learned about what can be done when your pets like your plants a little too much! 1. The easiest solution to your problem? Simply putting your plants out of your pets reach! This can be easily done if you have a dog, but it can be more challenging if you have a cat. Having dedicated shelves away from cabinets and other jumping off points will provide a safe area for plants, just as placing them on really tall plant stands would.We also recommend making use of hanging pots that can be attached to a curtain rod, or on a hook in the ceiling. Good luck reaching those, kitty!   2. Get your cat some cat grass! What to do when your pets like to eat your plants? Give them better plants to eat! We’ve noticed that even the most eager feline plant eaters will leave your houseplants alone when provided with the tasty alternative that is cat grass. 3. Switch to pet friendly plants! At least the plants that are within the reach of your cat. Pet friendly plants don’t have to be a compromise, as there are a lot of beautiful and interesting plants that are non toxic to both humans and animals when ingested, and you can find them right here!

    Read more

    Why is my plant’s soil mouldy?

    by Plant Circle

    Why is my plant’s soil mouldy?

    … and other common soil issues! Plant issues often start with the soil, so to ensure that your plants are as healthy and thriving as possible, we’re gonna take a look at the most common soil related issues, and how to fix them! Poor potting mix can lead to a plethora of problems with your plants, but they can easily be avoided by switching to a quality potting mix. We cannot stress enough how important it is to repot your plants into something light and airy after purchasing them, and it doesn’t have to cost a fortune. In fact, you can improve any potting mix by simply adding perlite and orchid bark to it!Now, some soil issues can be difficult to spot, but most of them are actually quite obvious… if you know what to look for!Let’s take a look at some of the most common ones, and the solutions. Mouldy soil. The root problem here, no pun intended, is a poor potting mix that doesn’t dry out fast enough. Additionally, your plant could also be dealing with over watering, and possibly even poor air circulation in the room. If you ever spot this issue, we suggest repotting your plant into a better aerated potting mix immediately . You can improve the quality of any soil by adding perlite and orchid bark to the mix, so invest in those, as they will always come in handy and last you a long time!In our experience, this hack will work well for pretty much any plant besides cacti.  White stuff on top of your plant’s soil. The white stuff on your plants soil is a buildup of minerals and salts. This is a very common issue in countries where tap water is very hard. To keep this from happening, switch to softer water if you can, like distilled-, filtered-, or rain water. We also suggest removing the affected top layer of soil and replacing it with a fresh mix, as those salts are harmful to your plants. And lastly, give your plant a shower from time to time to wash it all down! Soil is too compact. This one of the most common soil issues, and a very serious problem that can cause a lot of damage to the roots of your plant. And to make matters worse, it’s not the easiest one to spot either!Compact soil doesn’t let water get through, so whenever you water your plant, the liquid flows around the dense substrate, but doesn’t penetrate it. This way, the roots of your plant actually don’t get any of the water you’re watering it with! So if you’ve been wondering why your plant is looking all droopy even right after you’ve just watered it, check the potting mix! The only way to fix this issue is to immediately change the potting mix to something more airy. Little flies around you plants. These little flies that resemble fruit flies are called fungus gnats. Although these guys are not harmful in their mature form, the larvae will feed on your plants roots, making this a potentially serious soil issue. But not to worry, we wrote a whole blog post on how to get rid of them, and you can read it here!

    Read more

    Why the White Parts of Variegated Leaves Turn Brown (and How to Prevent It)

    by Plant Circle

    Why the White Parts of Variegated Leaves Turn Brown (and How to Prevent It)

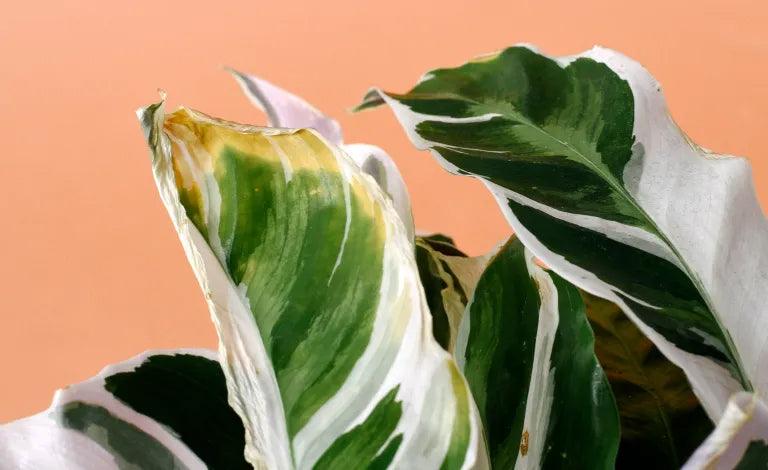
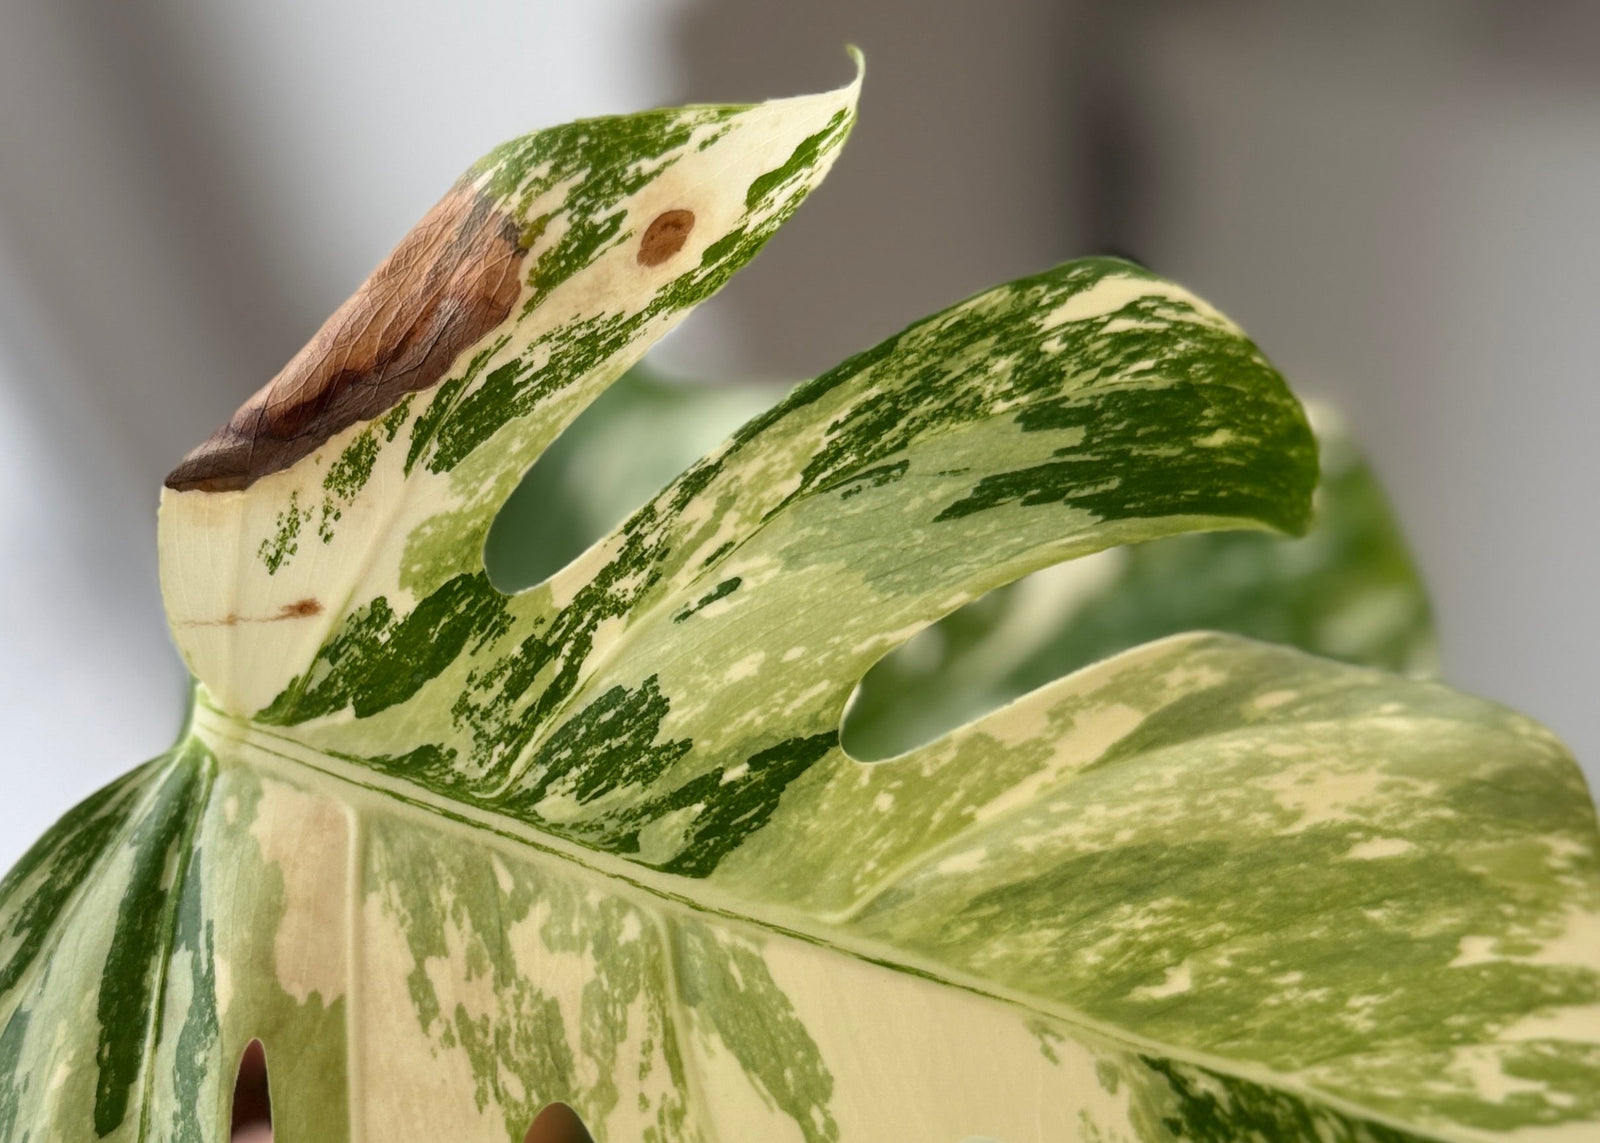
    The white parts of variegated leaves turn brown because they lack chlorophyll, making them more delicate and prone to damage from too much light, inconsistent watering, low humidity, and temperature changes. While some browning is normal and unavoidable, you can slow it down by providing bright, indirect light, consistent watering, high humidity, and stable temperatures. Don’t stress—trim brown spots as needed and focus on overall plant health. Imperfections are part of the beauty of variegated plants! 🌿

    Read more