Quality Guaranteed

Across the EU

Free Shipping

60€ in Germany | 100€ Europe*

Queer & Woman Owned

Founded 2017 in Berlin

chevron_left chevron_right

Filters

Clear all

Blog Themes

    Extrafloral nectaries

    by Plant Circle

    Extrafloral nectaries

    Have you ever wondered what those small sticky drops on the back of your Philodendron’s leaves are? If so, you’re not the only one! The phenomenon we’re talking about is often mistaken for bug damage or even a disease in the plant, and although it is bug related in nature, it is however not a sign of damage to the plant, but something called extrafloral nectaries.Extrafloral nectaries are, as the name suggests, nectar; a sugar-rich liquid which is produced by the plant in order to develop a symbiotic relationship with ants in the wild.    In the wild, ants build nests amongst the plants roots, which help hold the nest together. The Philodendron, in turn, obtain nutrients from the nest, and the aggressive nature of the ants serve to protect the plant from other insects, such as caterpillars, that would otherwise eat the plant. Talk about friends with benefits!   Philodendrons begin in the still young, not completely expanded, organs, and extend to the leaves of the second or third node from the base and it stop as the leaf hardens off, and then often fade away.  Extrafloral nectaries appear in a wide range of size among the studied species, but rarely have a diameter above 1mm. Extrafloral nectaries are most often found on the leaves and petioles of the plant, and although they can be quite small and discrete, you can spot them by their different coloured border, usually yellow, black, purple or green, or wine-colored, which add an extra pop of color to the plant! In some cases you can observe an excessive production of nectar which can leave the surface of the plant covered with it. Nectar droplets can leave a yellow spot on the leaf, which does not look attractive, nevertheless it’s harmless and should not be confused with pests. Extrafloral nectaries are not harmful to the plant and represent a natural part of the plants life.   Fun fact: the drops actually have a sweet taste, and are edible on some plants. But please check if yours is one of them before trying!Extrafloral nectaries are only found on Philodendron, Alocasia, and Culcasia among Aracae family.

    Read more

    Plant Care: Neem Oil

    by Plant Circle

    Plant Care: Neem Oil

    Plant people always talk about neem oil as the holy grail of plant care, and they’re not entirely wrong! Here’s how you use this natural product to keep your plants pest free. What is neem? Neem oil is a vegetable oil pressed from the fruits and seeds of the Neem tree, or Azadirachta Indica. It’s been widely used in agriculture and horticulture as a biopesticide and a fungicide, as well as in Indian traditional Ayurvedic medicine, for centuries, and due to its many health benefits, components of it can also be found in anything from cosmetics, to soaps, toothpaste, and pet shampoos. How does it work on plants? Neem oil acts as a repellent, and therefore reduces the number of insects feeding on your plants. It also affects the hormonal system of bugs, which leads to lower reproduction rates. In addition to that, it can also kill insects by smothering and suffocating them when sprayed on the leaves.Neem oil is not toxic for humans, however if ingested it could cause severe gastrointestinal inflammation and irritation like stomach cramps or diarrhea. How to apply it? You can buy plenty of ready made pest control products that contain neem oil, but if you want to make your own, here’s how to do it! To make a basic neem oil spray, dissolve 1 tbsp of neem oil and 1 tbsp of castile soap, in 1l of warm water, and mix thoroughly. If castile soap is not available, an organic dish soap will suffice. If you’re making a pesticide you can also add a few drops of peppermint oil to your blend. If you’re making fungicide, omit soap and peppermint. Apply your neem oil mix on all parts of the plant using a spray bottle, while shaking the bottle regularly to keep the solution mixed, and paying extra attention to the undersides of the leaves where pests such love to hide. If you’re dealing with a pest infestation such as thrips, and are also using beneficial bugs, hold off on spraying for a few weeks, as you could accidentally suffocate your little helpers. Which pests does it kill? Which doesn’t it? Neem oil has proven efficient against most regularly occurring pests, including spider mites, thrips, aphids, scale, mealybugs, and even slugs. Mix, treat, repeat. The most important thing when using neem oil to fight pests is repetition. You must apply the mixture on plants thoroughly for at least 4 weeks, but ideally for 6 weeks, and you’ll see the best results if you spray your infested plants once or twice a week.It’s important to note that the active components of neem oil begin to break down after a couple of hours, which can result in a less efficient solution, so we recommend making a fresh batch before each treatment. You can also use neem spray as a preventative measure against pests if you’ve previously had an infestation, and want to make sure it doesn’t return!

    Read more

    Plant care: Hard water

    by Plant Circle

    Plant care: Hard water

    What hard water really is, how you identify it, and how it affects your plants! Depending on where in the world you are, you’ll have a different quality of tap water, but for the purpose of this blog post, we will be talking about the quality of tap water here in Berlin! And as you may know, the tap water in Berlin has quite a reputation, and unfortunately it’s well deserved! For those of you who don’t know, Berlin’s tap water is notoriously hard… but what does that even mean? Let’s take a closer looks at what the term ‘hard water’ really means in practice for both you and your plants! What is hard water? By definition, this type of water contains an appreciable quantity of dissolved minerals like calcium and magnesium, and the easiest way to find out whether your tap water is too hard for your plants, is by observing your plants, specifically the top layer of the soil. Calcium residue is often clearly visible on the top of the potting mix in your potted plants in form of white residue. Another easy, yet slightly more scientific, way of determining the hardness of your water is to measure the pH value of the water using measuring strips. Anything above 8.5 pH value is considered hard. So let’s say that you’ve measured the pH of your water, and you’ve found out that it is indeed above 8.5… how does that actually affect you and your plants? Well, first of all, hard water does not possess any health risks to humans. At worst, you might notice a slightly bitter taste, and it can definitely dry out your skin and hair, as Berliners know well! The bitter taste can impact the flavour of your tea or coffee, and we’re sure we don’t have to mention what the effects of dry skin are! Luckily, both can be remedied quite easily by installing a water filter on your shower and/or on your sink.Here you can easily see the difference between distilled water and hard, Berlin water on a pH strip. Number one is distilled water from a dehumidifier, number two is from a Brita filter, and the third is your standard Berlin tap water! Now, it’s not that we don’t care about the taste of your tea of the lustrousness of your locks, but let’s get back to what having this type of water means to your plants! In general, there isn’t a single plant that actually likes hard water, however some tolerate it better than others. But for the sake of your plants, let’s choose to focus on the plants that don’t tolerate it well, and how you can actually tell just by looking at them! As mentioned earlier in the post, the first thing you’ll see is a calcium carbonate and salt build up on the top layer of your potting mix, which suggests that your tap water is too hard. This alone is problematic, as all of that salt and calcium will start building up around the roots too, and will eventually start to repel water. Doesn’t sound good, does it? So how do you fix that? You start by removing the top layer of the soil, or completely changing the potting mix, and switching to filtered, distilled, osmosis, or rainwater. You can also try to flush it out by giving your plant a shower. This of course works best if your shower has a filter installed on it already! 
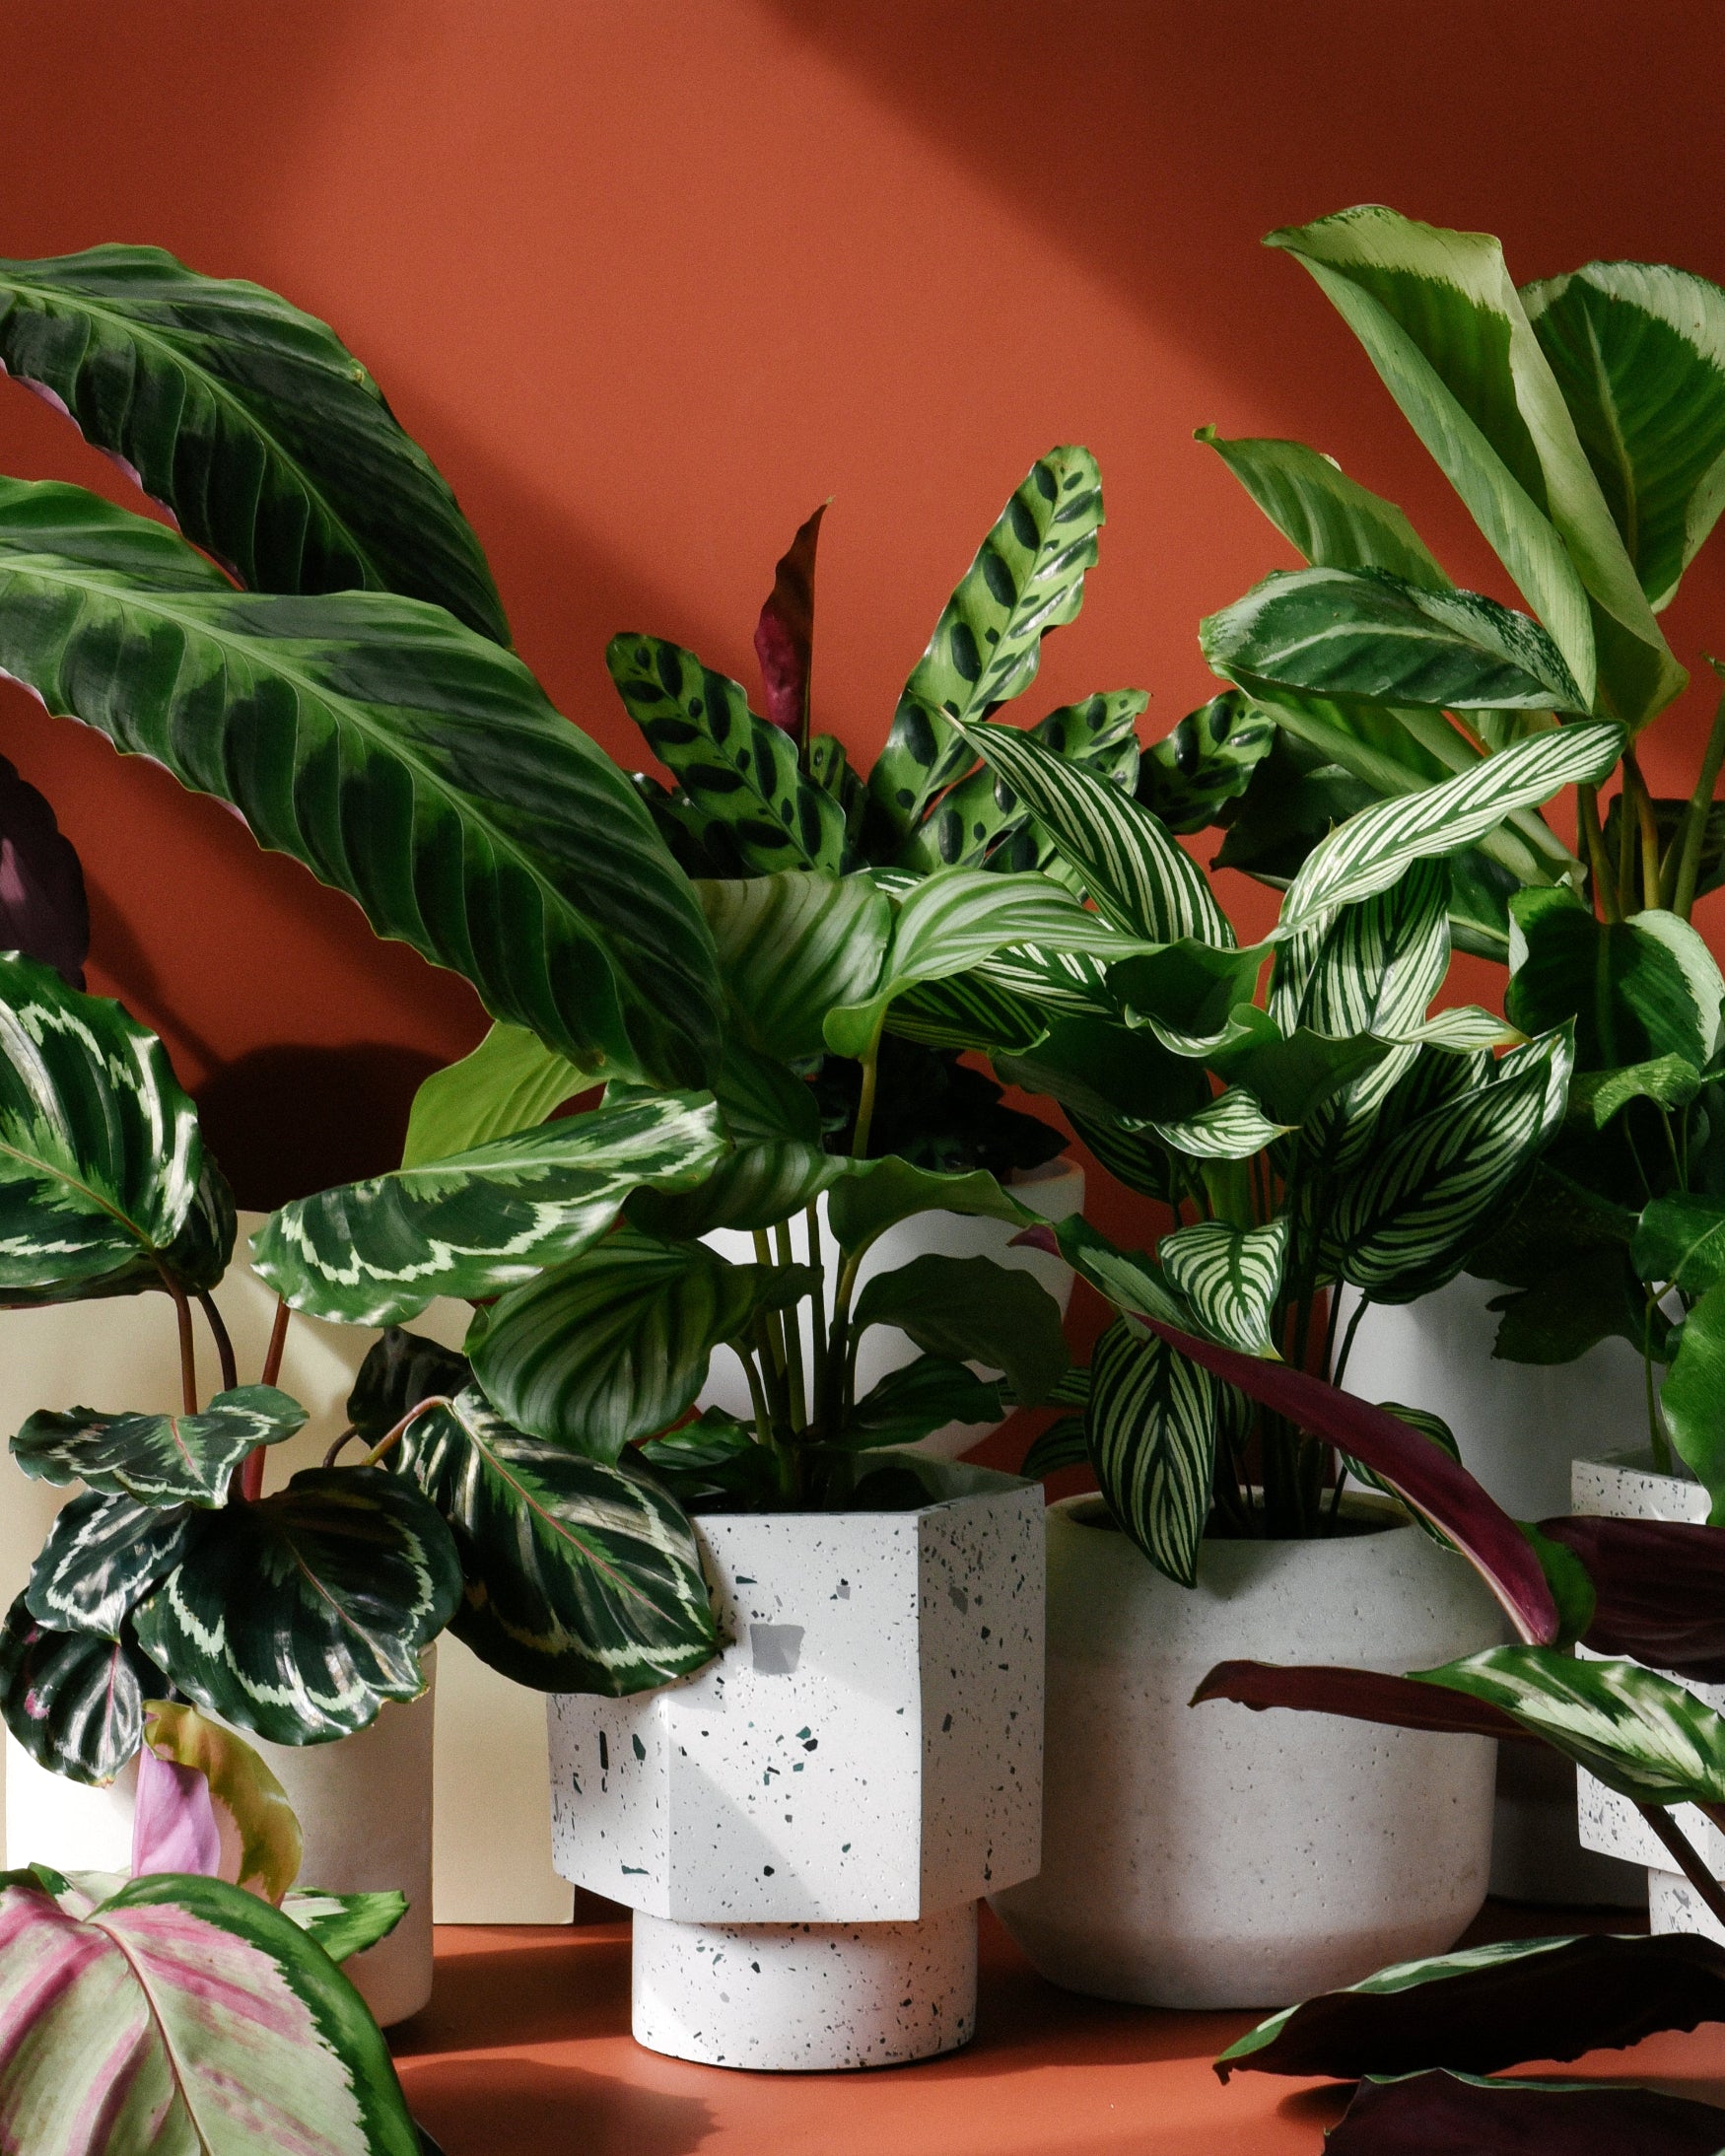
Another common sign that your water is too hard on your plants are brown, crispy, burnt edges of their leaves. This happens very often to plants from the family Marantaceae, like Maranta and Calathea, with the latter being the more sensitive to hard water. Unfortunately a popular portable water filter, like Brita, won’t be enough in this case… these absolute divas will only truly thrive if you water them with distilled or osmosis water! Another group of plants that will suffer terribly when being watered with water that’s too are carnivorous plants. These guys are simply unable to produce the juice they use to trap insects when the water is too hard, which results in them being unable to get their nutrients to survive. Under no circumstances do you want to water them with anything other than distilled water! Besides the aforementioned species, the health of any plant can suffer the consequences of being watered with hard water. If you spot burnt edges or calcium buildup, you’ll know it’s either the result of the water in your home being too hard, or a lack of sufficient humidity in the room, and you can take immediate steps to remedy the situation. With this knowledge, growing happy Calatheas or carnivorous plants shouldn’t be an issue anymore!

    Read more