Quality Guaranteed

Across the EU

Free Shipping

60€ in Germany | 100€ Europe*

Queer & Woman Owned

Founded 2017 in Berlin

chevron_left chevron_right

Filters

Clear all

Blog Themes

    3 simple tips for beginner plant parents

    by Plant Circle

    3 simple tips for beginner plant parents

    Have you been wanting to start a plant collection of your own this year? If so, we wanna get you off to a good start with some simple tips for beginner plant parents that will make you feel successful from the get go! Experienced plant owners can read along too! If you are new to growing plants indoors you might find yourself reading a lot of conflicting information online on how to care for your green buddies. After years of running workshops and answering your questions in person, as well as online, we have decided to put together our top 3 simple tips for beginner plant parents that can be universally applied to all plants in all sorts of conditions! 1. Give your plant sufficient light. Bright enough light for houseplants won’t be found in rooms or hallways that have no windows, or if plants sit in corners more than 1,5 m from windows. Please keep your plants close to windows or under (grow) lights. That being said, a lot of popular plants grown at home do not tolerate direct sunlight, it can literally burn their leaves! In practice, this means that if you have south or west facing windows, it could be dangerous to place your philodendron or monstera directly on the window sill during spring or summer. Most plants can withstand, and will even enjoy, a few hours of morning sun, but the afternoon sun can be a deadly. Please always google your specific plant’s light requirements before deciding on the perfect spot! 2. Learn how much water your plant needs. There is no universal watering advice for plants, and whatever you’ve been told about the plant you bought might not work for the conditions in your home. How often you need to water your plants depends on how much light they get, but also on the potting mix and planter it sits in. In order to determine how often to water your plant, please observe it as it will get droopy when it’s time for watering, and always check the soil with your finger, or a moisture meter, before watering. 3. Treat your plant to a quality potting mix. Plants tend to come in poor quality potting mixes, and we highly recommend always repotting them. But wait approximately 1-2 weeks after bringing them home before repotting them, so they have a chance to get acclimated! There is no universal potting mix recipe for all plants, but we find that just by adding a part orchid mix, part perlite and some charcoal you will improve the likelihood of your plant thriving in your home immensely!

    Read more

    How to overwinter your tubers

    by Plant Circle

    How to overwinter your tubers

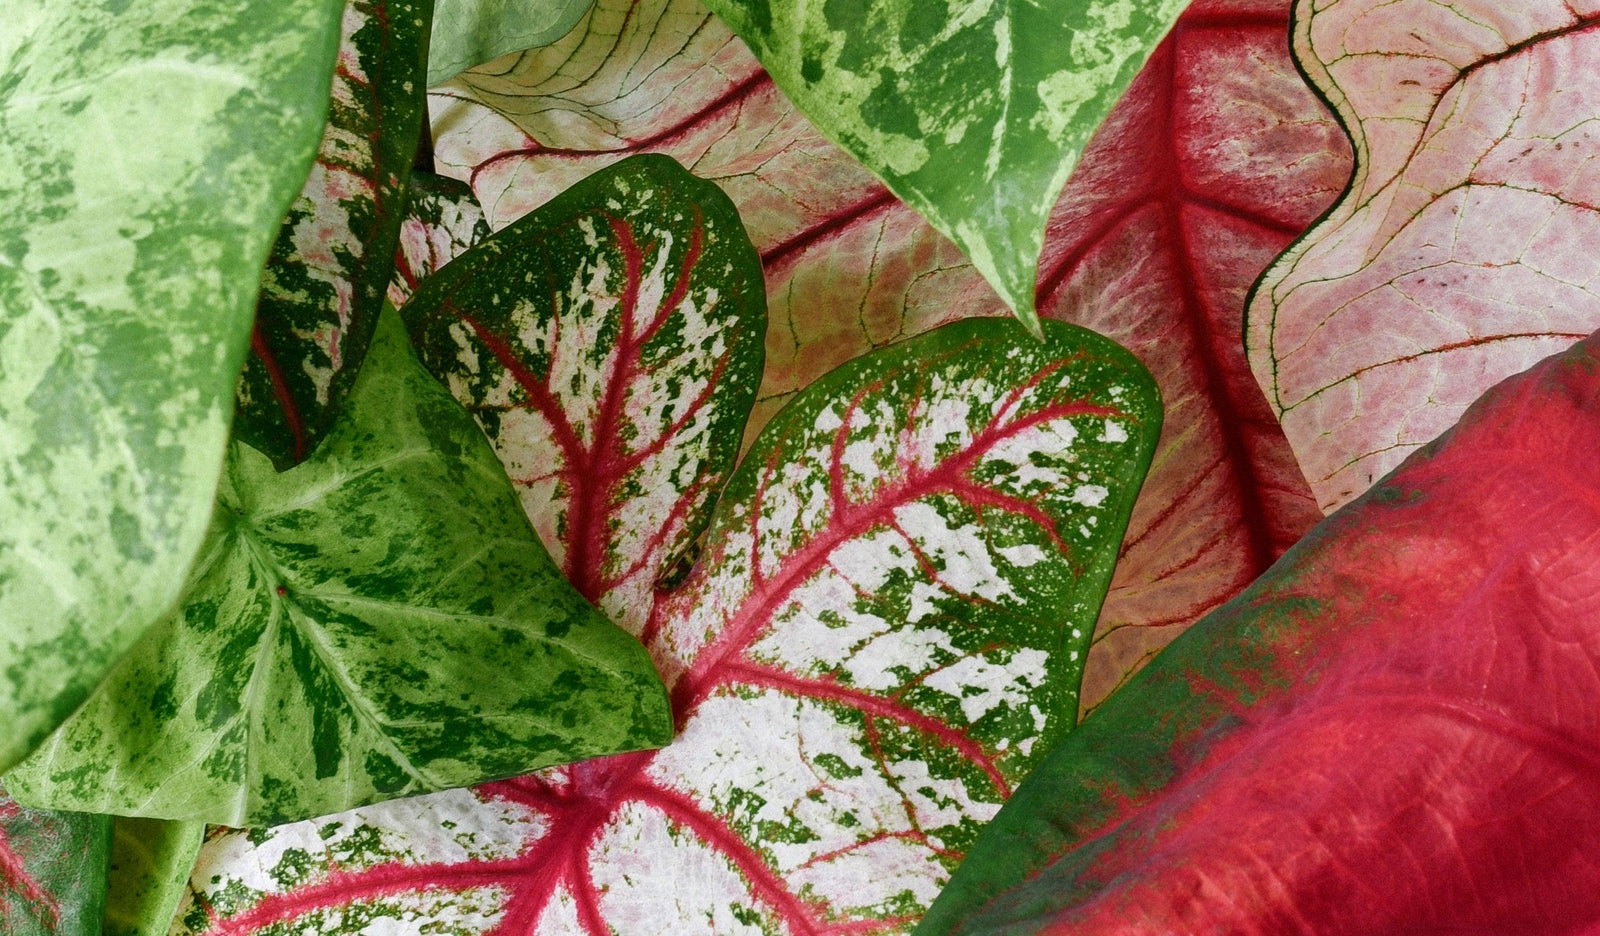
    In this article new would like to explain how to, and whether you should, overwinter your tuber plants! Did you know that Caladium, Amorphophallus and Xanthosoma all grow from a tuber? And that after the plant dies back, you can remove that tuber from the soil and plant it back later? Plants that grow from tubers usually die back in winter for a resting period of 3-7 months. Technically you can leave the plant in the pot and carry on as usual, as we assume the temperatures in your apartment won’t go below zero, meaning the plant can survive the cold season unaffected. However, if you would like your plant to come back in spring bigger and better than before, read on! 1. Remove the tuber from the soil and clean it well, getting as much excess soil off as possible. 2. Let the tuber dry out for a few days. 3. Once it’s dry to touch, place it in a box with a lid, and fill the box with either wood shavings or shredded paper.  4. Place it in a cool and dark storage with the lid not fully closed so a bit of air comes in. If you’ve followed the above steps to overwinter your tubers, all you have to do now is check back on your tubers once in a while. Once you notice a growth tip, it’s time to plant it back! You can plant Caladiums indoors in March and outdoors when the temperature is above 20 degrees celsius. When planting your Amorphohallus again, make sure that you place the tuber deep under the soil as the roots grow from the above the tube. This is so the tuber can support that beautiful, long stalk! When planting your Caladiums, make sure that the tuber is facing rings up, as this is where the plant will grow from. The tuber should be about 3-4 cm deep and you’ll need to keep it above approximately 24 degrees celsius for it to sprout. Tubers should be kept in moist, but not soggy, soil to sprout. Once new growth appears they should be watered often enough to keep the soil evenly moist, but again, never soggy! More detailed information on Amorphophallus, and how to grow them, can be found here.Happy planting!

    Read more

    Plant Circle Gift Guide pt. 2

    by Plant Circle

    Plant Circle Gift Guide pt. 2

    Did part one of our gift guide leave you wanting more? Not to worry, we have plenty of other gift ideas and suggestions for those of you who, like us, tend to wait until the last minute to get your Christmas gifts sorted! Whether you’re buying gifts for a plant lover, a dog lover, a book enthusiast, or a modern mystic, the second part of our gift guide has something for you! But be warned, you might wanna bookmark a few of these businesses and get something for yourself too! 8. Subscription box by Plant Circle Our Subscription Box is the gift that keeps giving! Get your loved one a 3 month subscription, and keep surprising them even after the holiday season is over! This subscription not only gifts them with a surprise baby plant each month, but also with an access to a virtual workshop, and other exciting and educational resources. And since the plant comes in a baby size, you don’t have to worry about space limitations! Perfect for beginner and intermediate plant parents alike. 9. Organic Skincare by MÁDARA Here at Plant Circle we love MÁDARA cosmetics, especially their CC cream and SOS hydration mask. Founded in 2006 by four Latvian women, MÁDARA pioneered scientific research of natural Northern ingredients 15 years ago while the industry was still obsessed with synthetic raw materials, and organic skincare was barely a thing. Sustainability and ethical production is a the heart of MÁDARA which makes us love the brand even more! 10. Toys and pet food by Pets Deli If your gift receiver is a pet owner be sure to check out Pets Deli. From delicious snacks to durable toys, Pets Deli has everything you could need, and as an added bonus, they’re based in Berlin and actively support animal causes. Our founders cat Zoe’s favourite cat toy is from Pets Deli, and she is obsessed with it! And Plant Circle’s employee of the month, Pina, loves the dental snacks and leber pate from Pets Deli. 11. Supplements and vitamins by Sunday Natural Sunday Natural is another Berlin based company that specialises in supplements, and here at Plant Circle we’ve been using their probiotics and enjoying the Milky Oolong tea. We think their teas, supplements, and superfoods make excellent gifts for literally anyone in your life, but especially those are health conscious, or want to improve their health in the new year! 12. Handmade artisan jewelry by Gudbling Gudbling is a small Berlin based and female owned handmade jewelry business that we have loved and adored for years! Christine, who is the owner and designer, very often repurposes vintage jewelry and found objects into beautiful, one-of-a-kind pieces. Gudbling pieces are perfect for those with boho hearts, but minimalists will also be able to find there something to their liking! 13. Home accessories by Bujnie Bujnie is polish design brand specialising in creating high quality plant accessories, and you may have seen their plant hangers in our shop, or on our instagram! Their products are made by hand in Poland with attention to detail and always in the trendiest colors. We love how their objects will fit any interior and elevate the look of our plants without stealing the spotlight from them! We especially love their plant wall hangers which are perfect if you have run out of floor or window space for more plants. As we always say: “if you don’t have space just go vertical… theres always room for one more!” 14. Spiritual self care by Kismet Kismet is a Berlin based esoteric store for curious souls. Stocked with beautiful, ethically sourced crystals, tarot cards and incense, this shop will provide you with plenty of inspiration and tools for your next self care rituals. We specifically love their tarot card decks, which are incredibly beautiful to look at, and would make an amazing gift for someone who is curious and open to something new.  15. Plant Tribe book by Judith de Graaf and Igor Josifovic From the Urban Jungle Blogger creators Judith de Graaf and Igor Josifovic, following the global success of Urban Jungle, comes Plant Tribe. This book is the perfect gift not only for plant lovers, but also design fans, as it provides a sneak peek into the homes of people around the world! These homes are of course filled with plants and beautiful objects, and we really get to know the people behind them. It’s a stunning coffee table book that anyone would be happy to find under the tree!

    Read more

    Plant profile: Monstera Siltepecana

    by Plant Circle

    Plant profile: Monstera Siltepecana

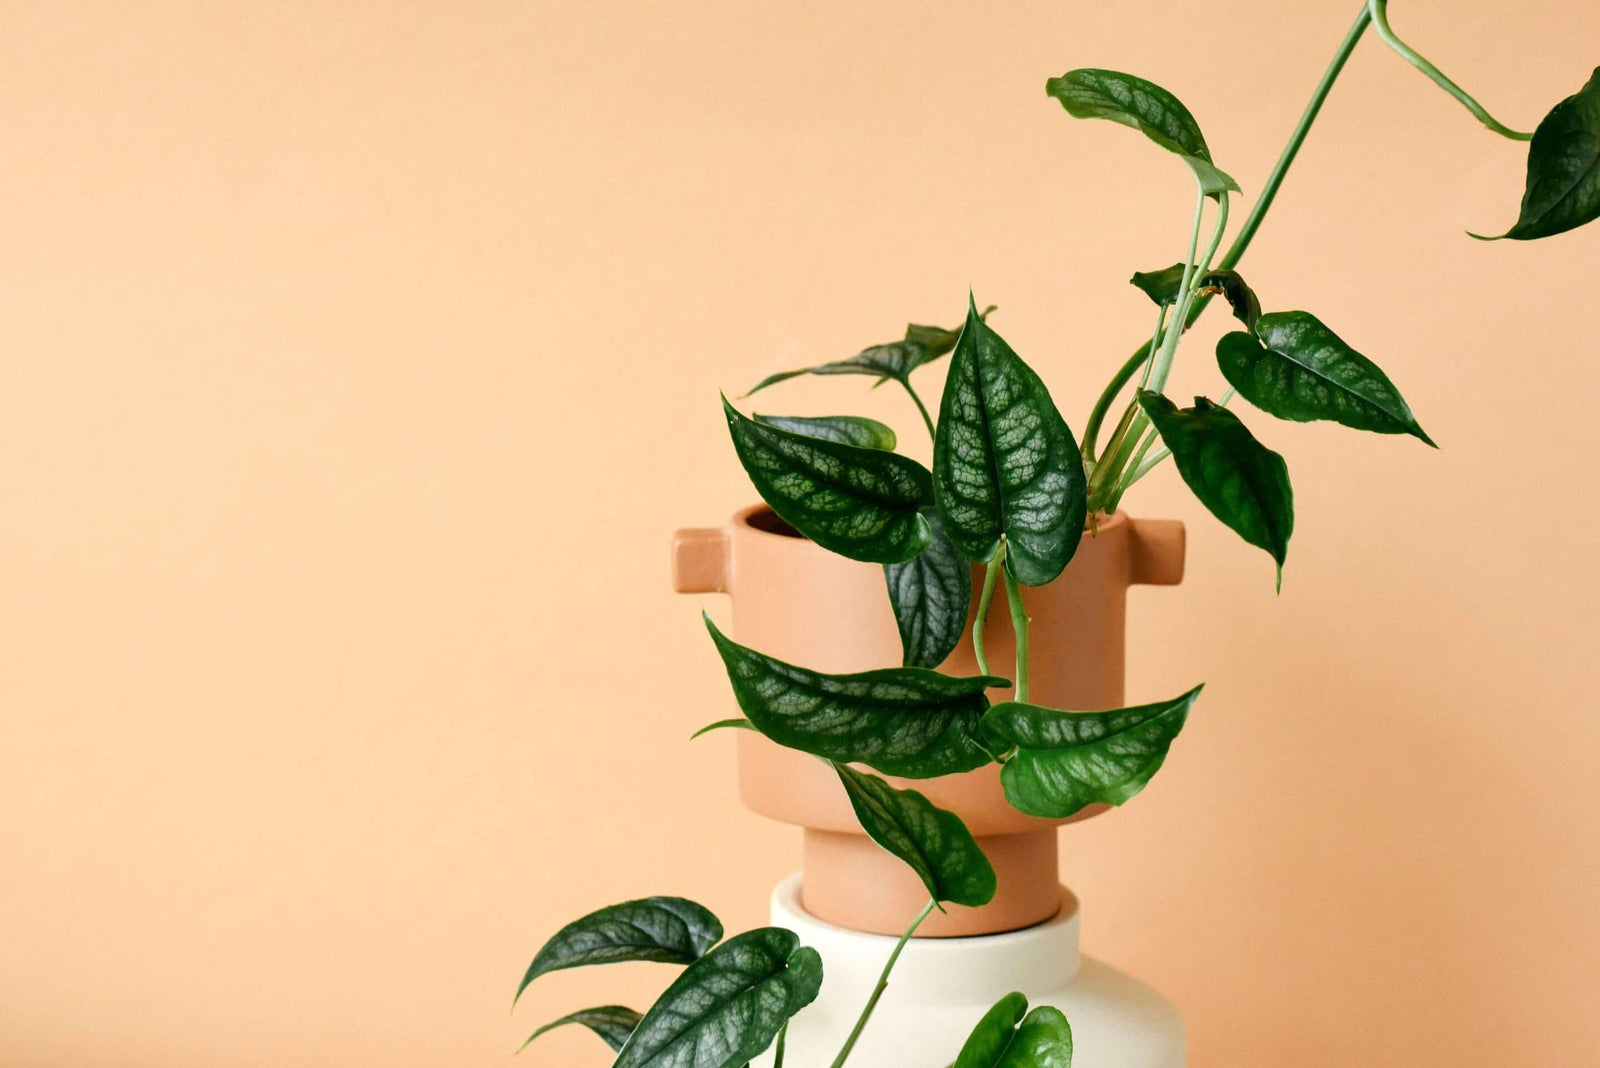
    Let’s take a look at how to care for Monstera Siltepecana; the first Monstera we ever produced ourselves for Plant Circle! We think it’s the perfect plant for the beginners and collectors alike, and here is what we’ve learned about keeping it happy during the last couple of years. Monstera Siltepecana is a popular houseplant thanks to it being easy care and having attractive foliage. Endemic to Mexico and Central America, it’s renowned for the silver markings on its immature foliage.Like other Monstera species, Siltepecana is rather easy going and doesn’t demand too much attention from us. This plant however undergoes a considerably big transformation from the juvenile to the mature form, and like most Monstera species, it can develop fenestration on its leaves as it reaches maturity. In order to experience the transformation first hand, you must first ensure that the plant enjoys the most ideal conditions growing up! Soil. Plant your Monstera Siltepecana in an airy potting mix, either premade or one that you make yourself using bark, perlite and peat moss. Remember that a good potting mix will ensure healthy roots! Siltepecana cannot stand direct sunlight and should receive bright indirect light instead. It would enjoy a spot 1-1,5 meters away from a south facing window, or sitting directly on an east, north-east, north west ,or south east facing window. The afternoon sun of the west facing window could potentially scorch your Siltepecana, so be careful! Watering. We suggest keeping your Monstera on the dry side, meaning water only when the top 3 cm of soil have dried out and is dry to the touch. If you’d like to see your Monstera develop holes in the leaves, you’ll wanna provide above average humidity, and most importantly something to climb. It is crucial for the maturity of the plant to have something to climb on. Once you attach it to the moss pole, make sure to keep it moist. If you do not care about the leaves maturing and getting fenestrated you can also grow it in a hanging basket. A juvenile Monstera Siltepecana is also a great addition to a terrarium! Growth rate. Siltepecana is an extremely fast grower. From leaf spike to fully unfurled leaf it only needs a few days under ideal growing conditions, and under less ideal conditions it might take a few days longer… still pretty fast, if you ask us! We had observed some crazy fast growth on our plant that we keep in the greenhouse.  In just 6 months it went from a baby sized plant to a one meter tall lady, and it just gave us first fenestrated leaves.  Propagation. This plant is super easy to propagate in water from cuttings. Simply cut between two nodes. They’ll often produce small aerial roots, which means you can also use the air-layering technique. Take some moist moss and wrap around an aerial root, secure with foil, et voila! Give it a couple of weeks and you should see the aerial roots pushing some fresh white roots. Once the roots are long enough, we suggest over 5cm, cut it off and plant it in moss to develop further. You can also easily transfer it into water if you’re more comfortable with that method. Pests. Monstera Siltepecana is prone to getting thrips, however, we have noticed that with the use of a store bought pesticide, it’s not too hard to get rid of the pests.If the infestation is very bad, we suggest using propagation to save the plant.    

    Read more

    Repotting your plants (winter edition)

    by Plant Circle

    Repotting your plants (winter edition)

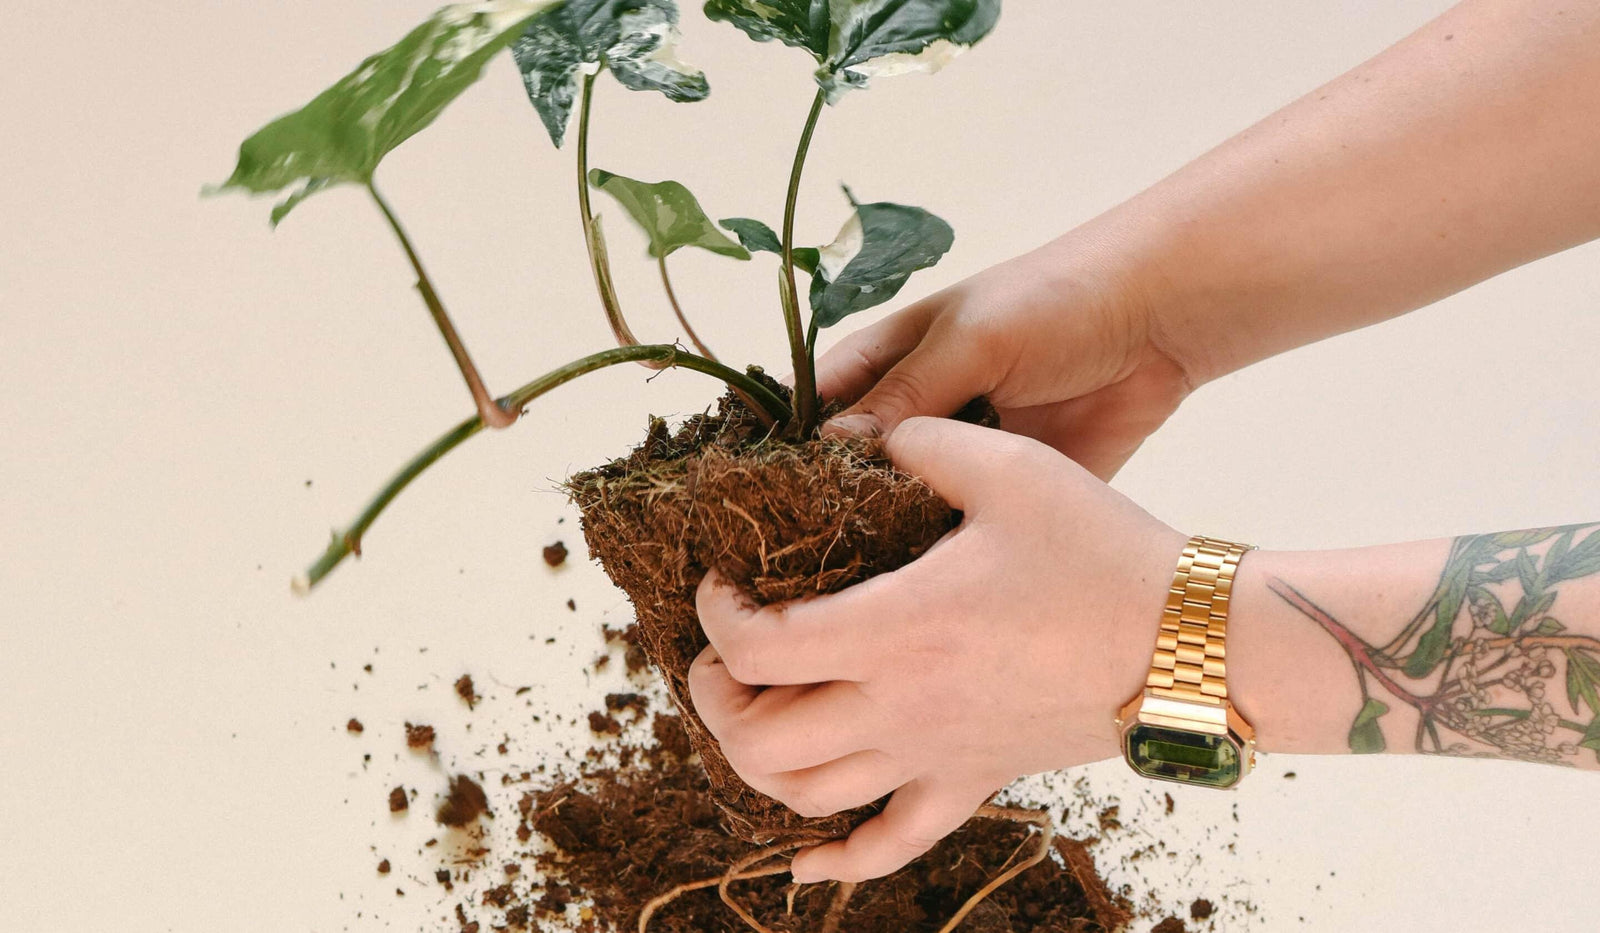
    You’ve probably wondered when it’s a good time to repot your plants, and how to go about it. You’re not the only one! Thankfully there’s one universal sign that your plant needs a new pot, and that’s roots growing out of the bottom of the pot. But what do you do if it’s in the middle of winter? What kind of pot do you move it into? Is repotting in winter even allowed?! We’ve prepared a few tips for you, and a handy diagram below!   So you took the test and landed on a “Go for it!” but there are still a few things to consider when repotting your plants. Like choosing the right pot! Don’t go too big. The pot you’re transferring your plant to should only be one size bigger than the old one, so approximately no more than an additional 2 cm in diameter.Perhaps it’s time to change the soil? If this is the first time you’re repotting this plant, it’s very likely that the plant has been sitting in some poor potting mix. Now is your chance to upgrade! Make your own universal quality mix by mixing one part each of potting mix, perlite, and bark. Read more about potting mix in this post.Does your planter have drainage hole? if not, leave your plant in the plastic nursery pot. Make sure that the planter is slightly bigger than the nursery pot to allow for proper air circulation. You can also easily drill holes in your ceramic planters with a diamond drill bit!Potting directly into a terracotta planter? Note that terracotta planters absorb moisture, which means you’ll probably need to water your plants a little more often than usual. Also make sure you have saucer! Now that you’ve picked the right pot, you’re ready for repotting! Let’s go over that in steps too: 1. Press on the plastic nursery pot so the soil can easily get unstuck and detach from the pot.2. Carefully remove the plant from the plastic pot.3. Loosen up the root ball and remove the soil, cleaning the roots as much as you can. 4. Prepare your potting mix and add it into the bottom of the pot, then put the plant into the pot, and cover the roots with more potting mix.5. Make sure no roots are exposed, and push down the soil so the plant is stable.6. Water your plant! If the potting mix sinks down and exposes the roots after watering, you can add a bit more potting mix in this step to make sure they remain covered.Need visuals? We’ve got you covered there too! Below you’ll find all six steps, and if you want detailed video of the process, go to our instagram and see how we repotted a huge Philodendron Billietiae, a super potbound Scindapsus, another potbound baby, this time a Hoya, and don’t miss out on this good example of how bigger isn’t always better when it comes to pots!Happy repotting!

    Read more

    Rooting for Growth: A Beginner’s Guide to Propagating Aroids from Cuttings

    by Plant Circle

    Rooting for Growth: A Beginner’s Guide to Propagating Aroids from Cuttings

      Welcome to the first volume of our propagation tips and techniques blog, where we will be discussing how to propagate aroid plants from cuttings that include nodes and aerial roots. Aroid plants, including Philodendron, Epipremnum, Syngonium, Scindapsus and Monstera, are popular houseplants that are easy to propagate from cuttings. When taking a cutting from an aroid plant, it’s important to include a node. A node is a small bump or ridge on the stem of the plant where the leaves, aerial roots, and new shoots grow from. Nodes are essential for propagation because they contain meristematic tissue, which is responsible for the growth and development of new roots and shoots.   Cuttings without a node and just a leaf will not be able to develop roots and grow into a new plant. This is because the cutting lacks the meristematic tissue found in the node that is responsible for root and shoot development. Therefore, it’s important to make sure the cutting includes a node. To take a cutting from an aroid plant, follow these simple steps: Choose a healthy plant.Select a healthy aroid plant with strong stems and no signs of disease or damage. Find a node.Locate a node on the stem of the plant, where the aerial roots or leaves are growing from. Make the cut.Use a sharp, clean pair of scissors or a knife to make a clean cut below the node. The cutting should be at least 3-4 inches long and include one or two nodes.   Place the cutting in water.Place the cutting in a jar or vase filled with clean, room-temperature water. Make sure the node is submerged in water, but the leaves are not. Change the water every few days to keep it clean and prevent bacteria from growing.   Wait for the roots to growAfter a few weeks, you should start to see roots growing from the node. Once the roots are strong and at least few centimetres long, the cutting is ready to be planted in soil. Better have longer roots than shorter so if you can wait longer, do it.   Plant the cutting in soil.Fill a small pot with potting mix and make a small hole in the center. Insert the cutting into the soil, making sure the node and roots are buried about few centimetres deep. The cutting needs to be stable and all roots need to be covered. Water the soil and place the pot in a bright, warm spot, but avoid direct sunlight. By following these simple steps, you can easily propagate aroid plants from cuttings with nodes and aerial roots. Propagating plants is a fun and easy way to expand your plant collection or share your love of plants with friends and family. Stay tuned for the next volume of our propagation tips and techniques blog, where we will discuss how to propagate another popular houseplant.

    Read more

    Why is my plant’s soil mouldy?

    by Plant Circle

    Why is my plant’s soil mouldy?

    … and other common soil issues! Plant issues often start with the soil, so to ensure that your plants are as healthy and thriving as possible, we’re gonna take a look at the most common soil related issues, and how to fix them! Poor potting mix can lead to a plethora of problems with your plants, but they can easily be avoided by switching to a quality potting mix. We cannot stress enough how important it is to repot your plants into something light and airy after purchasing them, and it doesn’t have to cost a fortune. In fact, you can improve any potting mix by simply adding perlite and orchid bark to it!Now, some soil issues can be difficult to spot, but most of them are actually quite obvious… if you know what to look for!Let’s take a look at some of the most common ones, and the solutions. Mouldy soil. The root problem here, no pun intended, is a poor potting mix that doesn’t dry out fast enough. Additionally, your plant could also be dealing with over watering, and possibly even poor air circulation in the room. If you ever spot this issue, we suggest repotting your plant into a better aerated potting mix immediately . You can improve the quality of any soil by adding perlite and orchid bark to the mix, so invest in those, as they will always come in handy and last you a long time!In our experience, this hack will work well for pretty much any plant besides cacti.  White stuff on top of your plant’s soil. The white stuff on your plants soil is a buildup of minerals and salts. This is a very common issue in countries where tap water is very hard. To keep this from happening, switch to softer water if you can, like distilled-, filtered-, or rain water. We also suggest removing the affected top layer of soil and replacing it with a fresh mix, as those salts are harmful to your plants. And lastly, give your plant a shower from time to time to wash it all down! Soil is too compact. This one of the most common soil issues, and a very serious problem that can cause a lot of damage to the roots of your plant. And to make matters worse, it’s not the easiest one to spot either!Compact soil doesn’t let water get through, so whenever you water your plant, the liquid flows around the dense substrate, but doesn’t penetrate it. This way, the roots of your plant actually don’t get any of the water you’re watering it with! So if you’ve been wondering why your plant is looking all droopy even right after you’ve just watered it, check the potting mix! The only way to fix this issue is to immediately change the potting mix to something more airy. Little flies around you plants. These little flies that resemble fruit flies are called fungus gnats. Although these guys are not harmful in their mature form, the larvae will feed on your plants roots, making this a potentially serious soil issue. But not to worry, we wrote a whole blog post on how to get rid of them, and you can read it here!

    Read more