Quality Guaranteed

Across the EU

Free Shipping

60€ in Germany | 100€ Europe*

Queer & Woman Owned

Founded 2017 in Berlin

chevron_left chevron_right

Filters

Clear all

Blog Themes

    Ferns: Are They Really So Hard to Grow?

    by Plant Circle

    Ferns: Are They Really So Hard to Grow?

    Have you ever found yourself grabbing a stunning silver blue fern or a bushy Boston fern at the store, only to put it back when you remember how many times you’ve accidentally killed your previous ferns? We’ve all been there. I can’t count on the fingers of both hands how many ferns I’ve brought home only to watch them wither away. However, after some trials and errors, I’ve figured out how to grow them successfully and even discovered which varieties are hardy and thrive on neglect. Here are my best tips and findings to help you care for your ferns. Watering You might have heard the famous advice: “Keep moist but not waterlogged.” But what does that really mean? Essentially, it means that when you touch the potting mix, it shouldn’t feel dry, but it also shouldn’t be muddy. Think of it as watering more often with small amounts of water rather than a lot of water once a week. Here are a few things to consider: Planter Type: Avoid terracotta pots as they absorb moisture and dry out the soil faster. Unless you enjoy daily plant care, opt for a plastic nursery pot placed inside a decorative planter. This setup helps maintain moisture levels. Drainage: Ensure your planter has proper drainage. If you overwater your fern, you’ll notice water sitting at the bottom of the planter. Ferns dislike “wet feet” (unlike some plants like Alocasia) and can develop root rot if left in standing water. Water Quality: Use distilled or filtered water, or even rainwater if possible. This helps avoid any issues with the chemicals present in tap water. Soil One crucial step for fern care is to repot your fern as soon as you bring it home. Most store-bought ferns are pot-bound, and upgrading their soil can make a big difference. Here’s how to handle it: Fern Potting Mix 5L Pre-Repotting Soak: Generously water the plant and let it soak to loosen the root ball, making repotting easier and ensuring that the roots are more pliable, reducing the risk of damage during the repotting process. Soil Choice: Since ferns like to stay moist, a good potting mix would be coco coir with perlite and some peat to lower pH. Coco coir is known to retain moisture for longer periods, making it an excellent choice for ferns. A quick Google search based on the specific fern you have will guide you to the best soil type. Light While ferns don’t like direct sunlight, they still need a good amount of light to thrive. Please don’t place your ferns in dark corners or windowless bathrooms. The more light they get (without direct sunlight), the better they’ll grow. Humidity If your bathroom happens to have a window, it will be a great spot for your fern as they love higher humidity. Otherwise, speaking from experience, I had no problems with ferns in my Berlin apartment with average humidity. Recommended Ferns for Beginners For those new to growing ferns, I recommend starting with these varieties: Bird’s Nest Fern: Hardy fern that doesn’t mind if you forget to water it occasionally. It’s broad, arching fronds can add a lush, tropical feel to any indoor space, making it an ideal houseplant for those looking to bring a touch of greenery into their home. This fern thrives in indirect light and can tolerate low-light conditions, making it perfect for rooms without much natural sunlight. Additionally, it can help purify the air, contributing to a healthier living environment. Just make sure to keep its soil slightly moist and avoid letting water sit in the crown, as this can cause rot. Crocodile Fern: Super easy to grow and possibly the hardest fern to kill—as long as you don’t overwater it! It tolerates drying out between waterings quite well. This unique fern, with its rugged, crocodile-like textured leaves, makes for an attractive indoor plant. Additionally, it thrives in indirect light and is exceptionally adaptable to various environments. Whether you’re a beginner or an experienced gardener, the Crocodile Fern is a delightful addition to your plant collection due to its resilience and low-maintenance nature. Boston Fern: This guy is definitely next level, but if you repot it and keep it far away from touch with enough space around it in a well-lit spot, it will grow like crazy! Additionally, it’s important to keep the soil consistently moist but not waterlogged, as Boston Ferns thrive in high humidity. Regular misting and placing a humidifier nearby can also aid its growth. Don’t forget to feed it with a balanced, water-soluble fertilizer every month during the growing season to ensure it receives all the necessary nutrients. With just a bit of care and attention, you’ll have a lush, thriving fern that adds a touch of natural beauty to any space. Asparagus Fern: Probably my favorite! This one definitely prefers regular watering and doesn’t like to be dry, but in my experience, it won’t die quickly if you ever water it a day late. Its delicate, feathery foliage adds a touch of elegance to any space, and it’s relatively forgiving when it comes to lighting conditions. Although it thrives in bright, indirect light, it can tolerate lower light levels, making it a versatile choice for various rooms in your home. Growing it near humidifier will help maintain its lush appearance and prevent the leaves from drying out, which is particularly helpful if you live in a dry climate or during colder months when indoor heating can reduce humidity levels. By following these tips, you can turn your home into a fern-friendly haven. Happy growing!Monika Like what you read? Why not sign up for our newsletter and never miss a blog post? Our Instagram is also a great place for plant care tips. Have a request about topics we should cover? Email monika@plantcircle.co with your suggestions! Disclaimer: This blog post is written from a well-lit Berlin apartment; please keep that in mind. If you live in a different part of the world, growing ferns at home might be easier or harder. Read about some of our other answers to some beginner house plant question here.

    Read more

    Growing Your Plants from Plugs

    by Plant Circle

    Growing Your Plants from Plugs

    Are you looking to expand your houseplant collection without breaking the bank? Starting your plants from plugs might be the perfect solution. In this blog, we’ll explore what plant plugs are and why they are a cost-effective and sustainable way to grow your favorite plants. From understanding the innovative tissue culture propagation method to providing a step-by-step guide on how to pot and care for your plugs, we’ve got you covered. We have a large collection of plant plugs for you to check out! What Exactly is a Plug? A plant plug is a seedling that was started and grown in an individual cell filled with potting soil in a laboratory. This method, known as tissue culture propagation, involves growing plants from a small piece of plant tissue in a sterile environment. Tissue culture ensures that each plug is a genetic clone of the parent plant, free from diseases and pests. This method is highly efficient and sustainable because it produces a large number of uniform plants in a short period, using minimal resources. By optimizing growth conditions in the lab, tissue culture reduces the need for chemical treatments and water, making it a cost-effective and environmentally friendly way to propagate plants. Plugs provide a cost-effective way to jump-start your houseplant collection. These well-developed young plants with strong root systems are ready for potting up. Step-by-Step: What to Do with Your Plugs When They Arrive Prepare a Plastic Nursery Pot: Select a small pot, preferably around 8 cm in diameter. Using a bigger pot will require more soil, which can retain excess moisture and potentially cause root rot. It’s better to start with a smaller pot and gradually pot up as the plant grows. Typically, when the roots begin to grow out of the holes at the bottom, it’s time to pot up. Prepare an Appropriate Potting Mix: Choosing the right potting mix is crucial for the healthy growth of your plant plugs. You can either purchase a potting mix specifically tailored for the type of plants you are growing or create your own blend. A pre-made potting mix ensures that your plants receive the optimal balance of nutrients, drainage, and aeration needed for robust growth. These mixes are formulated to meet the specific needs of different plant varieties, making it easier for you to provide the best growing conditions. If you prefer a more customised approach, you can mix your own potting soil. Start with a good-quality base such as peat moss or coco coir for moisture retention, and add perlite or vermiculite to improve drainage and aeration. Incorporate organic matter like compost or worm castings to enhance nutrient content. Depending on your plant’s specific requirements, you might also add ingredients like sand, charcoal or bark. We offer a large selection of potting mixes and soil improvers to help you create the perfect blend. With the right potting mix, your plant plugs will have a better chances to thrive and grow into healthy, mature plants. Base Mix 5L 12 € Shop now Planting the Plug: Carefully take the plug out of its packaging. You’ll notice that the root ball is often surrounded by a mesh or net. Gently remove this covering, being cautious not to damage the delicate roots. This step is crucial as it allows the roots to expand freely into the new soil. Start by adding a layer of soil to the bottom of your plastic nursery pot. This initial layer will help elevate the plug to the correct level and ensure good contact between the roots and the new soil. Place the plug in the center of the pot. Hold it steady and begin filling the pot with soil. As you add soil, make sure to cover all the roots and fill in any gaps around the plug. This helps stabilize the plant and promotes healthy root growth. Once the pot is filled, gently pat down the soil around the plug. This ensures that the seedling is firmly in place and that there are no air pockets, which can hinder root development. The goal is to make the seedling stable and secure in its new environment. Water and Fertilize: Water your plant with a light fertilizer, ensuring that you follow the recommended dilution rates on the package for optimal growth and health of your plant, and always remember to avoid over-fertilizing to prevent any potential damage. Place the pot in a well-lit spot, avoiding direct sunlight, to ensure that the plant receives enough light for photosynthesis without the risk of leaf burn. Alocasia Frydek Plug Shop now Now, it’s time to watch your plant grow! With the right care, your plugs will thrive and soon become beautiful additions to your home. If you don’t want to wait to see your plants grow, we recommend exploring our large and extra-large plant categories. These mature plants provide instant greenery and beauty, allowing you to enjoy the full aesthetic of a well-developed plant right away.

    Read more

    Roots of Success: Mastering the Art of Water Rooting Cuttings!

    by Plant Circle

    Roots of Success: Mastering the Art of Water Rooting Cuttings!

    As spring ushers in new life and vibrant greenery, many plant parents look forward to propagating their beloved plants through cuttings. Sharing these cuttings with friends is not only a great way to spread the joy of gardening but also allows us to multiply our plant collections without spending a fortune. One popular and relatively easy method of propagation is water rooting. In this blog post, we will explore the best practices for propagating plants through cuttings and successfully rooting them in water. Start with Clean and Disinfected Tools.Before embarking on your propagation journey, it’s essential to ensure that your tools are clean and ideally disinfected. Use sharp scissors or a knife to make clean cuts, as jagged or torn edges may hinder successful rooting. Allow the Cut to Heal Once you’ve taken a cutting, it’s crucial to let the wound heal before placing it in water. Freshly cut stems are prone to becoming mushy and rotting in water. Most plants require a few hours on the counter to heal the cut, while succulents or cacti may need a few days for the cut to callous over. Change the Water Regularly or Use Activated CharcoalTo prevent bacterial growth and maintain a healthy environment for rooting, remember to change the water in the container every few days. Alternatively, you can add a small amount of activated carbon pellets to the water, which helps keep it bacteria-free. Provide Light for Root DevelopmentChoose a glass container for your cuttings, allowing the roots to receive some light. Light exposure promotes photosynthesis, helping the cuttings develop stronger root systems. However, be mindful of excessive direct sunlight, as it can overheat the water and damage the delicate roots. Consider Rooting Hormone Although not always necessary, using a rooting hormone formulated for foliage application can boost the success rate of your water-rooted cuttings. Apply it according to the product instructions, as improper use can be counterproductive. Wait for a Strong Root Network Patience is key when propagating plants through cuttings. Wait until your cutting has developed a healthy network of roots before proceeding. Rushing the process could lead to transplant shock or the failure of the cutting to establish itself. Choose the Right Pot and Potting Mix When your cutting has developed sufficient roots, it’s time to transition it to soil. Select a small pot that provides stability for the cutting. Ensure that all the roots are covered with potting mix, but be cautious not to choose a pot that is too large, as excess soil can lead to overwatering and root rot. We have substrates (potting soils) for all types of plants. Provide Bright Indirect Light Place your newly potted cutting in an area with bright indirect light. This will allow the plant to photosynthesize and promote healthy growth. Avoid placing it in direct sunlight initially, as it may be too intense for the tender roots. Water and Fertilize with Care In the first few weeks, be mindful of watering your newly potted cutting. Overwatering can drown the young roots, while underwatering can lead to dehydration. Find the right balance and adjust your watering schedule based on the needs of the specific plant. Additionally, provide a balanced fertilizer to nourish the growing cutting but avoid over-fertilization, as it can cause root burn. Propagation through cuttings and water rooting is an exciting and rewarding way to expand your plant collection and share the joy of gardening with friends. By following these best practices, you can increase your chances of success and ensure the healthy establishment of your propagated plants. So, grab your disinfected tools, prepare your glass containers, and embark on a propagating adventure this spring. Happy propagating!

    Read more

    Top 10 Pink, Purple and Red Plants That Make Perfect Valentine’s Day Gifts

    by Plant Circle

    Top 10 Pink, Purple and Red Plants That Make Perfect Valentine’s Day Gifts

    Looking for a thoughtful and lasting Valentine’s Day gift? Skip the short-lived bouquet and give the gift of a stunning live plant! In this guide, we share Plant Circle’s top picks for pink, red, and purple-hued plants that radiate love and warmth. From the easy-care Syngonium ‘Neon Robusta’ to the elegant Philodendron Pink Princess, these plants are perfect for plant lovers of all skill levels. Discover why the Ceropegia Woodii Variegated (String of Hearts) is our #1 pick for the season! These sustainable, low-maintenance options are sure to bring joy long after Valentine’s Day has passed. Find your perfect plant gift today!

    Read more

    Why Do Some Plants Have Two Names? Understanding Botanical and Common Names

    by Plant Circle

    Why Do Some Plants Have Two Names? Understanding Botanical and Common Names

    Have you ever noticed that some of your favorite plants go by more than one name? For instance, you may have seen the popular Alocasia Frydek, but it also goes by Alocasia micholitziana. This dual-naming system can be confusing for plant lovers, especially when trying to find reliable care information or discussing plants with others. Let's explore why plants often have two names and how this naming system helps (or sometimes complicates) our understanding of the green world. 1. The Botanical Name: A Global Standard The first name for a plant, like Alocasia micholitziana, is its botanical name. This name follows specific rules set by botanists to create a global standard. Here’s what makes botanical names so useful: Consistency Across Languages and Regions Botanical names are part of a standardized system called binomial nomenclature (meaning "two-name system") created by Carl Linnaeus in the 18th century. This system provides each plant with a unique name that’s recognized worldwide, regardless of language or local customs. For example, Alocasia micholitziana will be known by this name whether you’re in the United States, Japan, or Brazil, avoiding confusion caused by regional or language-based common names. Precision in Plant Classification Each botanical name has two parts: Genus (e.g., Alocasia): This is the plant’s larger family group, grouping together plants with similar characteristics. Species (e.g., micholitziana): This identifies the individual species within the genus, giving it a unique identity. In some cases, there may also be a varietal or subspecies name if a plant has naturally occurring variations. These classifications help scientists, botanists, and growers to discuss and study plants accurately and track subtle differences between similar species. 2. The Common Name: Plant Names in Everyday Language The second name you often hear for a plant, like "Frydek," is its common name. Common names are usually less formal and vary based on local culture, language, or even popular trends. Easy to Remember Common names are often catchier and easier to remember than botanical names, especially for casual plant enthusiasts. For instance, “Alocasia Frydek” might be easier to recall than Alocasia micholitziana, particularly when recommending the plant to a friend. Naming by Appearance or Origin Common names often come from distinctive characteristics, like shape, color, or origin. "Frydek," for example, refers to a specific variety of Alocasia micholitziana known for its velvety, dark green leaves and prominent white veins. Common names can evoke an image of the plant, making it easier to associate the name with its look. However, one plant might have several common names in different regions or languages, which can cause confusion. This is why botanical names remain important for precision, especially in scientific contexts. 3. Why It’s Important to Know Both Names For plant enthusiasts, knowing both the botanical and common names can be incredibly helpful: Finding Accurate Care Information: Sometimes, searching for care tips by common name alone can lead to confusion, as many plants share similar nicknames. If you search "Frydek," you might get mixed results about its care requirements. However, using its botanical name, Alocasia micholitziana, can help you find more precise care information specifically for this variety. Shopping for Plants: Knowing both names helps when buying plants online or at nurseries. For example, if a plant shop labels it as Alocasia micholitziana but you've only heard it called "Frydek," you might miss out on the plant you’re looking for—or accidentally buy a similar species instead. Avoiding Mix-ups with Similar Plants: Some plants have similar appearances but belong to entirely different species. For instance, the "Philodendron" and "Pothos" genera have plants with heart-shaped leaves that can be confused. Relying on botanical names can help you distinguish between look-alikes and ensure you’re purchasing or caring for the correct plant. 4. Why Some Botanical Names Change Over Time Sometimes, the botanical names of plants actually change! Advances in genetic research allow botanists to classify plants more accurately based on their DNA. Occasionally, a plant may be reassigned to a different genus or have its species name updated. For example, Sansevieria trifasciata (commonly known as "snake plant") was recently reclassified as part of the genus Dracaena. While these changes may feel like extra steps for plant enthusiasts, they’re part of the effort to keep our knowledge of plant species up to date and accurate. 5. Tips for Remembering and Using Plant Names To avoid confusion, here are a few simple tips for remembering and using plant names: Keep a Plant Journal: Write down both the botanical and common names of your plants. This way, you’ll have a quick reference if you need specific information. Label Your Plants: If you have a large collection, label your pots with both names. Not only is it helpful for care, but it’s also a great conversation starter with guests who are curious about your plants. Ask for Botanical Names When Shopping: When buying plants, ask nursery staff for the botanical name. Most plant sellers are happy to provide this information to help you find care information and avoid mix-ups. Use Plant ID Apps: Many plant identification apps, such as PictureThis or PlantSnap, offer both common and botanical names, which is useful when researching plants or expanding your collection. In Summary While it might seem confusing at first, having both botanical and common names for plants can be incredibly helpful. Botanical names ensure accuracy and global understanding, while common names provide familiarity and accessibility. Embracing both types of names can enrich your plant knowledge, help you care for your plants effectively, and connect you with other plant enthusiasts worldwide. So the next time you’re admiring your Alocasia Frydek (Alocasia micholitziana), you can appreciate both the history and the science behind its name! Happy planting! Read about some of our other answers to some beginner house plant question here.
    Read more

    Why the White Parts of Variegated Leaves Turn Brown (and How to Prevent It)

    by Plant Circle

    Why the White Parts of Variegated Leaves Turn Brown (and How to Prevent It)

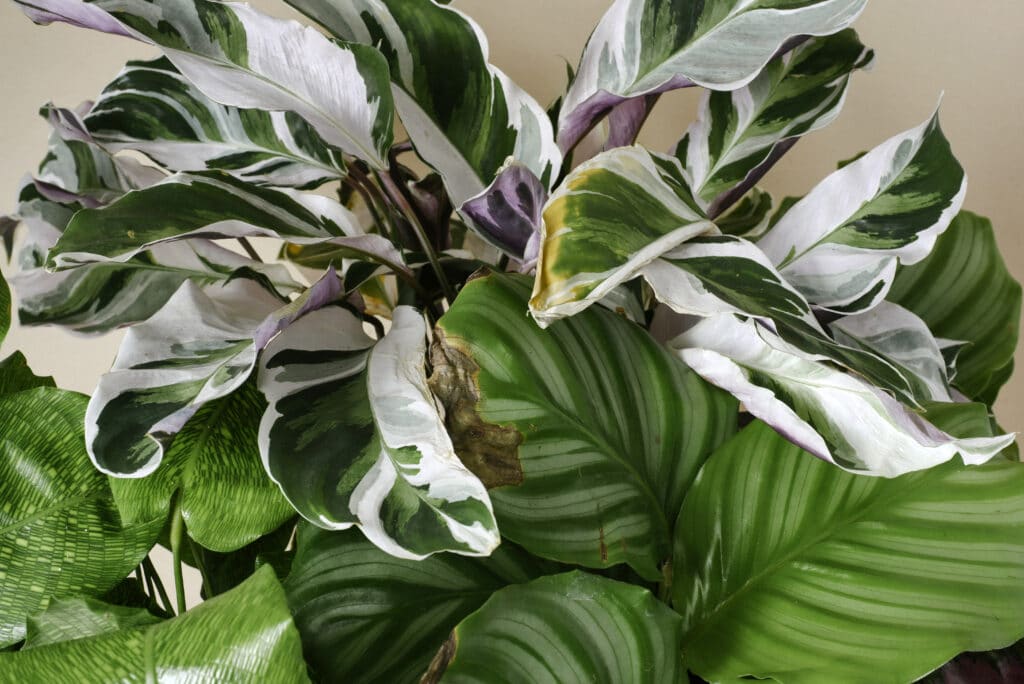
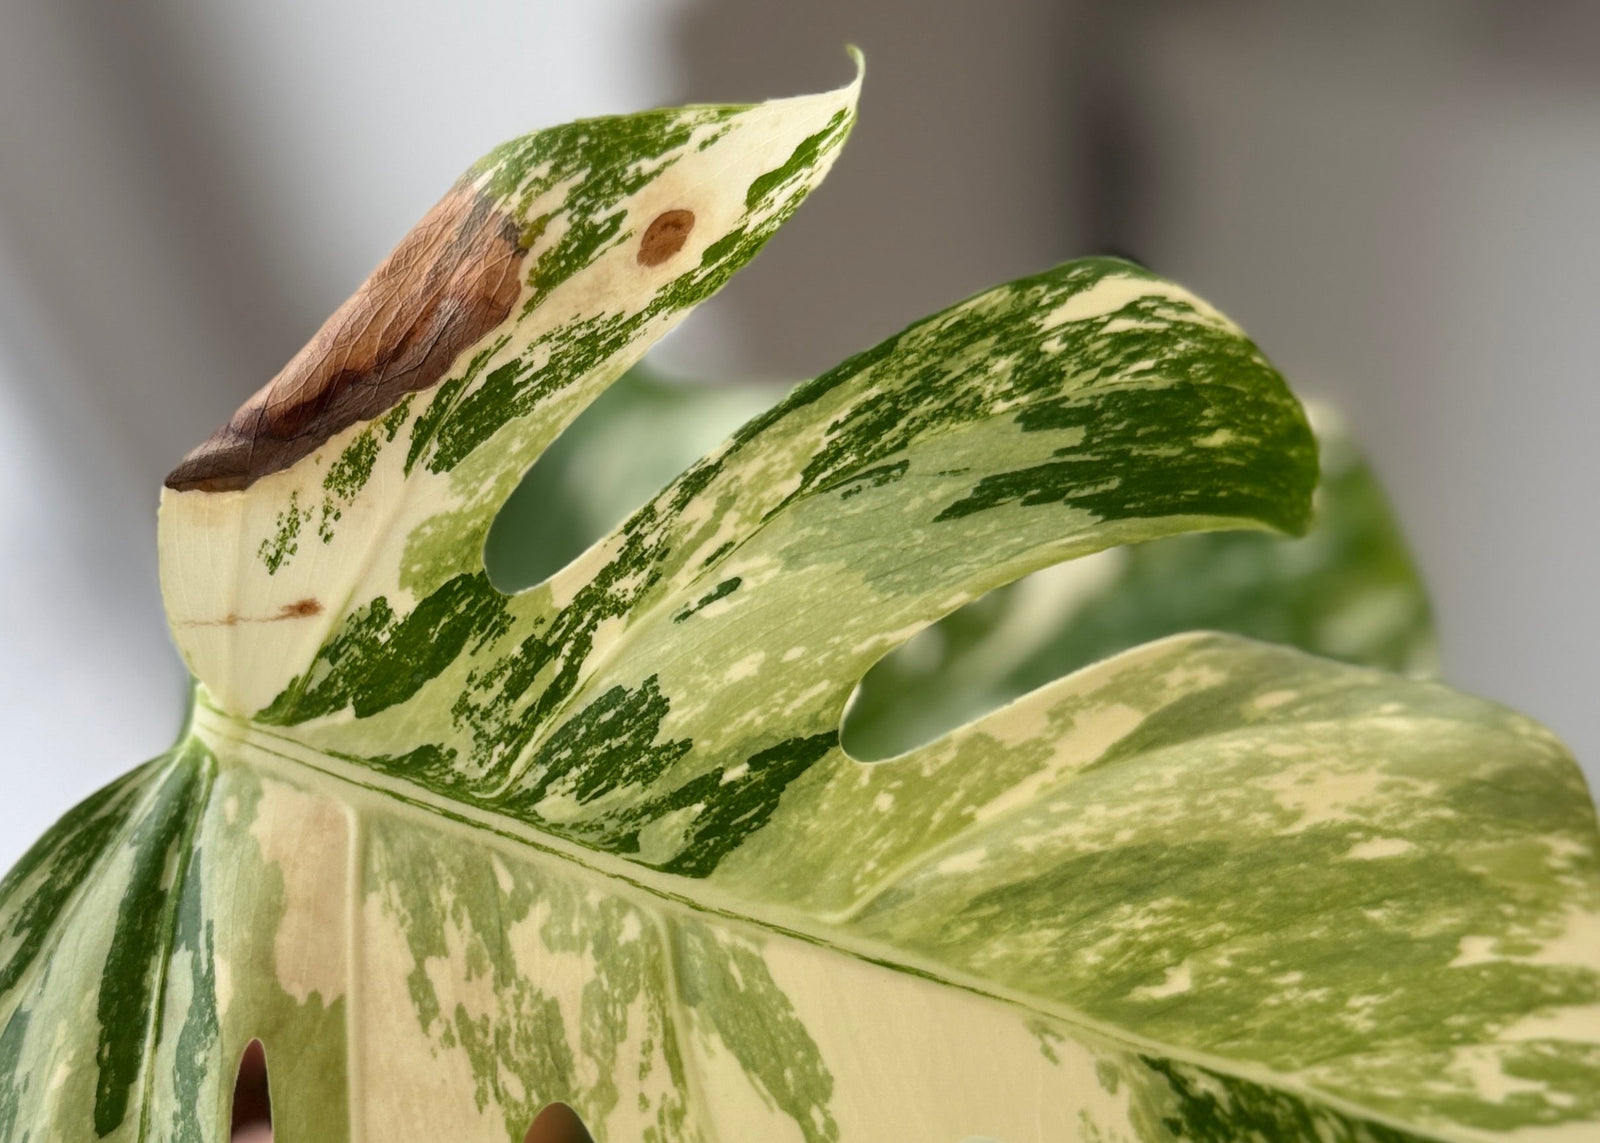
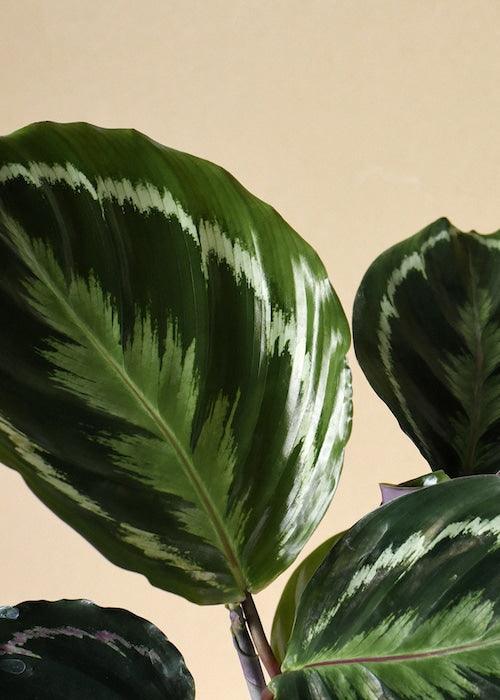
    The white parts of variegated leaves turn brown because they lack chlorophyll, making them more delicate and prone to damage from too much light, inconsistent watering, low humidity, and temperature changes. While some browning is normal and unavoidable, you can slow it down by providing bright, indirect light, consistent watering, high humidity, and stable temperatures. Don’t stress—trim brown spots as needed and focus on overall plant health. Imperfections are part of the beauty of variegated plants! 🌿

    Read more