Quality Guaranteed

Secure packaging for delicate plants

Shipped to Germany and EU

Queer Owned

Small business in Berlin

20,000+ Customers

★★★★★ 4.87 Avg. Review

chevron_left chevron_right

Plant care guides: Plant-Care-Basics

Browse all Plant Circle guides tagged Plant-Care-Basics.

View

How to water your plants

by Plant Circle

How to water your plants

It’s no secret that the number one cause of death among houseplants is overwatering. This bad watering habit usually develops when well meaning plant parents give their plants just a little too much love and attention. Let’s explore how to water your plants… properly! Don’t feel bad, we’ve all been there. And most of us learned the hard way how to not water our plants! But whether you’re new to plant parenthood, or a seasoned plant parent, there’s no reason for you to make the same mistakes we did. And although all plants are different and have various watering needs, there are some good practices that you can apply all across the board. To help you out, we’ve compiled our top ten tips on how to water your plants here! 1. Sufficient lightYes, this post is about watering, but we can’t talk about watering without mentioning light! If your plants are not getting the sufficient, optimal light they need, they’ll also require less water than the internet, the sales assistant, or your friend says. Adjust your watering routine to the conditions you have! 2. Observe your plants They’ll tell you when they’re thirsty. All plants wilt when they’re dehydrated, and you’ll either notice rolled up leaves or some droopiness. Notice how many days it’s been since the last time you watered your plants, and now you know when your plant is overdue for a drink! Please note: some plants can take under watering quite badly, and will get burnt edges on the leaves, or even drop a few… looking at you, Ficus! If you want to avoid that, simply water them a day or two sooner the next time. Based on your previous observations you should now have a good idea of when the wilting is expected to occur! 3. The finger methodSimply stick your finger into the soil and check whether it’s wet or dry. If the top 3-4 cm of the potting mix are dry, you are safe to water your plants. 4. Bottom wateringSome plants, like Saintpaulia or Begonia, prefer bottom watering, as they don’t like getting water on their leaves. Do a little research about your new plant to find out if it has any special preferences! 5. Filtered water In a lot of places, like for example Berlin, tap water is really hard. Hard water has a negative impact on plants, therefore we recommend to always use either filtered, distilled, or rain water if possible. If those options aren’t available to you, then just let your water sit in the watering can for couple of days before using it. Read more about hard water here! 6. Showering your plantsOnce in a while it’s beneficial to give your plants a good shower! Not only will you clean dust off of the leaves, which is important for optimal light absorption, you’ll also take care of potential bugs and pests that could be hiding under the leaves. Furthermore, a thorough showering can wash out any mineral residue from the potting mix! We recommend this technique for the summer months. 7. Potting mixWhat potting mix your plants are in is crucial for keeping the roots healthy. The vast majority of plants will appreciate a well draining potting mix that will dry out between watering. Never use garden soil for your house plants, as it will turn into mud when watered and suffocate the roots. Read more about potting mixes here. 8. SeasonsAs the lighting situation changes with the seasons, it’s also important to change your watering routine. A good rule of thumb is to cut your watering in half in winter, meaning if you watered your plants weekly in summer, you can switch to watering every two weeks in winter. This, of course, doesn’t apply to for example cacti, if you’re hibernating them, or ferns that would rather stay kind of moist all the time. 9. Know the difference between moist and wetSome plants love for the potting mix to stay moist, but this doesn’t mean wet! Learn the difference, and never let your plants sit in water as it promotes root rot. 10. Drainage holesWe will forever recommend that you keep your plants in pots with drainage holes. No matter what! Drainage holes are actual lifesavers, as they make sure excess water doesn’t stay in the soil and damage the plant’s roots. When watering, make sure that you lift your pot up afterwards and let the excess water run through. Also, keeping your plants in plastic pots with drainage inside ceramics, promotes airflow around the roots. To make the conditions even better, you can put a few rocks under the plastic pot to lift it up a bit, and don’t forget to make sure that the ceramic planter is a few centimeters bigger than the plastic pot itself.

Read more

How to NOT kill a Cactus

by Plant Circle

How to NOT kill a Cactus

Cacti are probably the easiest plants to grow yet so many people kill them so fast. Why? Let’s look at closer at what makes these plants tick so we can avoid some of the most common mistakes! Most of the cacti on the planet live in places that are subject to at least some draught and many live in extremely dry environments like deserts. They have adapted very well to those conditions by conserving water. A healthy cactus is made of whopping 95% water! If you think about it, it’s really just skin and water. Cacti love sun and will enjoy a few hours of sun a day in the summer. Just be careful to not burn your plant by leaving it in scorching sun on the balcony after a winter and spring indoors (we’ve done that). You need to ease them into that summer sun. Good way to do this is to let them sit on the balcony starting in the spring. Cacti can withstand cold during the night, as that is similar to desert conditions- warm in the day and cold at night. As we’ve mentioned before, cacti are found in some of the hottest and driest places on earth. How do they survive that? They have developed some amazing coping systems to survive. One of them is the development of stomate. Stomate are tiny, microscopic pores that are critical for photosynthesis. Thousands of them dot the surface of cacti and they’re responsible for photosynthesis. Traditional garden plants have their leaves covered with stomate, that open during the day for carbon dioxide intake, which is essential for their one stop photosynthesis process. Open stomate make plants lose moisture, so if you don’t water your plants adequately, they will wilt. Many agaves and cacti evolved to adapt to extreme heat and drought by keeping their stomates closed during the day, so there’s no moisture loss. Cactus pores open at night for gas exchange and when they’re open, cacti are capable of taking in moisture directly through these openings. Now, this is crucial information for better understanding how to water these plants. If their stomate are closed during the day, and moisture intake is limited as a result, it makes no sense to water them during that time, as the water won’t be absorbed! Because gas exchange is active at night, the roots are better able to take in water applied to the soil. Additionally, you can pour water over the head of your cactus to let it experience rain-like conditions. This will also clean the cactus’ skin by allowing water to penetrate the stomate! Fun fact: a prickly pear cactus paddle can survive to up to 2 years after being cut off the mother plant. This shows you how effective cacti are at preserving the moisture through closing their stomate.   Now, knowing all of the above, you must remember that rain in the desert is not a frequent occurrence, so don’t water your cactus too often. We recommend every 1-2 weeks in summer, if the plant gets southern exposure, and every 4-6 weeks in winter. Ideally you’d want to force your cactus into hibernation, which we discuss in this article.

Read more

Plant care: Potting mix

by Plant Circle

Plant care: Potting mix

Many longtime plant parents started out thinking that dirt is dirt, and plants will grow in anything. No? Was that just us? Well, luckily thanks to information being more widely available, we now know that plants in fact need high quality potting mixes to really thrive, and to make understanding the ingredients and compositions easier for you, we've gathered them here! Having a good quality potting mix tailored to the needs of the plant is every bit as important as providing your plant with water or sufficient light. In fact, most common plant related issues, like overwatering and root rot, come from using an average quality potting mix... or worse.Let's start by getting into the two most frequently used terms when it comes to this topic: 'potting soil' and 'potting mix'. Though these terms are used interchangeably, there is a difference. Potting soil may contain soil, while potting mix is strictly a soilless medium. Technically, potting soil is nothing but dirt that no longer has the adequate elements necessary to support the growth of potted plants, or indoor plants. Potting mix, however, is sterile, which makes it safer for plants because it's guaranteed to not contain pathogens such as fungus or other diseases. Why is having a good quality potting mix so important? The main reason is that potting mixes are designed to not get too compacted, something that can suffocate the roots of a plant, or impede the flow of water and nutrients, and in the worst cases, cause root rot. A high quality potting mix will be lightweight and fluffy, with the ability to hold moisture. For the roots to grow deeply, good aeration is necessary and recommended. Aeration requires puncturing the soil with tiny holes in order for the water, air, and nutrients to penetrate the roots. To achieve that effect without the physical labour, you simply add bark to the potting mix, which creates little air pockets! Now that we've established the importance of a good potting mix, and what it does for the health of your plant, let's get into the the most common components that can be added to your potting mix! Perlite. Perlite is the name of a naturally occurring mineral. In nature, it exists as a type of volcanic glass, created when the volcanic obsidian glass gets saturated with water over a long period of time. And since fertile, volcanic areas have been settled due to fertile soils since biblical times, humans have been aware of perlite at least since Third Century BC. Other uses of perlite include masonry construction, cement, gypsum plasters, and loose-fill insulation. Horticultural perlite is made by exposing perlite to heat, which causes the trace water contained in the perlite to expand, 'popping' the perlite like popcorn and expanding it to 13 times its former size, resulting in an incredibly lightweight material! Since it is a naturally occurring, mined mineral, perlite is a nonrenewable resource. Perlite is an excellent potting mix additive, and is also an effective rooting medium. Please note: Perlite dust can aggravate existing respiratory conditions and cause eye irritation. Eye and mouth protection are recommended to prevent the dust from being ingested. Want to go deeper? Read an exhaustive article on perlite here! Vermiculite. Vermiculite is the name of a group of hydrated laminar minerals (aluminum-iron magnesium silicates) which look like mica. Horticultural vermiculite is processed with massive heat that expands it into accordion shaped pellets composed of multiple layers of thin plates. It will not rot, deteriorate, or mold, and is enduring, odorless, non-toxic, and sterile. It is however not a renewable source. Just as perlite, vermiculite is an excellent potting mix additive, and can also be used as rooting medium! This article further explores the topic of vermiculite! Activated charcoal. Activated charcoal prolongs the life of soil media by balancing pH levels and sweetening the soil of potted plants and terrariums. It also eliminates odour, absorbs salt residue, and breaks down the build-up of bacteria. We love to add activated charcoal to any potting mix, and we also add it to the water when rooting a plant! Coconut Coir. Firstly, what exactly is coconut coir? Actually everything in between the shell and the outer coating of the coconut seed is considered coco coir! While most people mainly think of the edible parts when they think of this fruit, coconuts actually have many applications in horticulture! Coco coir is known to be one of the most moisture retaining growing medias, and can absorb up to 10 times its weight in water. On the market coco coir is available in three forms: coco peat, coco fibres, and coco chips. It's very common to grow tropical plants in coco coir in Asia; in fact, that's how most of our imported plants arrive from there. We are however not big fans of coco coir as the only potting medium, and therefore suggest using it in potting mixes in combination with other ingredients. For example, you can use coco chips instead of bark, or coco peat instead of peat moss! Bark. We love bark! Namely pine bark shreds. You can easily improve drainage and aeration of your potting mix by adding some bark to it. We recommend it for pretty much all mixes, besides succulent ones. 
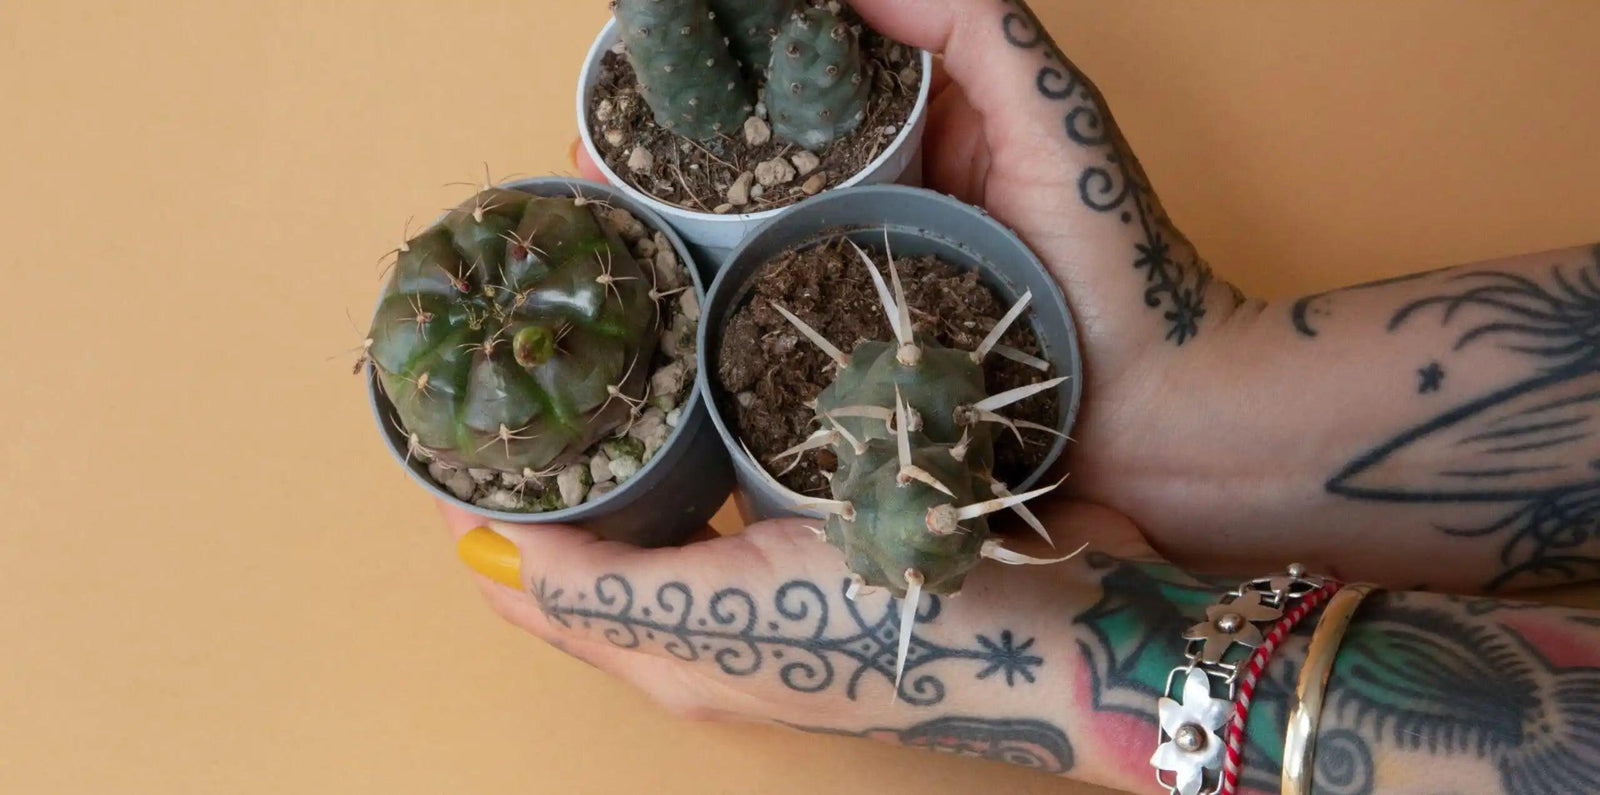
Sand. Sand is super helpful when creating a potting mix for succulents and cacti, as it it increases drainage ability. Please note: we advice not using sand taken directly from the beach, as this type of sand has a high salt content, and could severely damage your plants roots! Ideally you should only use horticultural sand. Worm humus. Worm humus, also known as vermicast, is the final product of decomposed material excreted by the king of the soil: the mighty earthworm! Packed with water soluble nutrients and bacteria, worm humus is a very nutritious organic fertilizer, and excellent all-round soil improver. Worm humus is perfect for refreshing a potting mix, or adding to substrate mixtures already in use. The ideal proportions to aim for are a blend of 10 – 15% worm humus to 85 – 90% substrate. Spaghnum moss. Spaghnum moss is generally used more for cuttings and propagations, however, some Anthuriums can be grown in it, but this is generally only recommended for people who check on their plants daily, as spaghnum moss can dry out quickly, and might require you to check on your plants every day. Read more about this, and other types of moss, in our post dedicated to Anthuriums! Last but not least, and maybe this goes without saying, but don't plant your plant into a pot without drainage holes! Leave it in the plastic nursery pot, and always check for excess water to get rid of after watering. You'll also want your ceramic planter to be a tad bigger than your plastic nursery pot, as the little gap between the two will allow a better airflow around the roots. We hope this gave you an idea of how to provide your plant with the best potting mix, and if you're still in doubt, we recommend starting out with our handmade Aroid Potting Mix! It's suitable for most tropical house plants, and contains a high quality ingredients such as bark, perlite and activated charcoal.Happy potting, plant lovers!

Read more