Let's address the elephant in the room: you're standing in your Berlin apartment in January, staring at a rootbound Monstera, and wondering if you should repot it now or wait until spring. The internet says "never repot in winter," but your plant is literally bursting out of its pot. So what's the truth?
Here's the deal: winter repotting isn't ideal, but it's also not the plant death sentence everyone makes it out to be. Sometimes your plants need intervention regardless of the season, and knowing how to do it safely can save your green babies from serious stress. Let's break down everything you need to know about repotting during the cold months.
Why Do People Say Not to Repot in Winter?
The "don't repot in winter" rule exists for good reasons. During winter, most houseplants enter a period of dormancy or significantly slower growth. They're conserving energy, not actively producing new roots or leaves. When you repot a dormant plant, you're asking it to recover from root disturbance and establish itself in new soil while it's in low-power mode.
What happens when you repot a dormant plant:
- Slower root recovery means the plant sits in moist soil longer
- Increased risk of root rot from overwatering
- Transplant shock takes longer to overcome
- The plant uses precious energy reserves for recovery instead of survival
- Lower light levels and humidity make recovery harder
But here's the thing: these risks are manageable if you know what you're doing.
When Should You Actually Repot in Winter?
Winter repotting should be reserved for plants that genuinely need it, not just because you're bored and want a plant project (we've all been there). Here are the situations where winter repotting is justified:
Emergency Situations (Repot Immediately)
- Root rot: If your plant has root rot, waiting until spring means it'll be dead by then. Repot now, trim the rot, and give it fresh soil.
- Severe pest infestations in the soil: Fungus gnats, soil mealybugs, or other soil-dwelling pests sometimes require a complete soil change.
- Completely rootbound: If roots are circling so tightly they're strangling themselves or growing out of drainage holes in thick masses, the plant needs space.
- Soil has completely broken down: If the soil is compacted, hydrophobic, or has turned to mush, your plant can't access water or oxygen properly.
- You just bought a plant in terrible soil: Nursery soil is often peat-heavy and breaks down quickly. If your new plant is struggling, repotting might be necessary.
Situations Where You Can Wait
- The plant is slightly rootbound but still healthy
- You just want a prettier pot (use it as a cover pot instead!)
- The plant is growing slowly but otherwise fine
- You're just feeling antsy and want to do plant stuff (we get it, but resist!)
How to Safely Repot Plants in Winter
If you've determined your plant genuinely needs repotting, here's how to minimize stress and maximize success during the cold months.
Step 1: Choose the Right Day
Pick a mild day if possible – not during a cold snap or when your apartment is freezing. Ideally, repot when indoor temperatures are stable and you can keep the plant in a warm spot afterward. Avoid repotting right before or during a trip when you can't monitor the plant's recovery.
Step 2: Prepare Your Workspace

Set up in a warm room away from drafts. Gather everything you need before you start:
- Fresh, well-draining potting mix (more on this below)
- New pot (only 2-5cm larger than the current one – don't oversize!)
- Drainage materials like lava rocks or perlite
- Active charcoal to prevent rot and keep soil fresh
- Clean scissors or pruning shears for trimming dead roots
- Wooden soil checker to monitor moisture after repotting
- Newspaper or a repotting mat to contain the mess
Step 3: Remove the Plant Gently
Water your plant lightly 1-2 days before repotting – this makes the root ball easier to remove without damaging roots. Tip the pot on its side and gently squeeze or tap to loosen the root ball. If it's really stuck, run a knife around the inside edge of the pot.
Once out, gently tease apart the roots if they're circling. Don't be afraid to loosen them – this encourages outward growth in the new pot. Trim any dead, mushy, or damaged roots with clean scissors.
Step 4: Choose the Right Soil Mix

This is CRITICAL for winter repotting. You need a mix that drains exceptionally well because your plant won't be drinking much water. A soggy mix in winter = root rot city.
Winter repotting soil formula:
- 60% quality potting soil
- 20% perlite or lava rocks for drainage and aeration
- 10% orchid bark or coco coir for structure
- 10% worm castings or compost for gentle nutrients
- A handful of active charcoal to prevent bacterial growth
The goal is a chunky, airy mix that allows water to flow through quickly while still retaining some moisture. Avoid dense, peat-heavy mixes that stay wet for weeks.
Step 5: Pot Up Carefully
Add a layer of your soil mix to the bottom of the new pot (about 2-3cm). Place the plant in the center, ensuring it sits at the same depth as before – don't bury the stem deeper than it was originally.
Fill in around the sides with your soil mix, gently pressing to eliminate air pockets but not compacting too hard. Leave about 2cm of space at the top for watering.
Step 6: Water Strategically

Here's where winter repotting differs from spring/summer: DO NOT thoroughly water immediately after repotting unless you removed a lot of roots or the plant was bone dry.
Instead, lightly moisten the soil – just enough to settle it around the roots. Then WAIT. Let the plant recover for a few days before watering again. Use your soil checker to monitor moisture levels and only water when the top 5cm of soil is dry.
For the first month after winter repotting, water less frequently than usual. The plant isn't actively growing, so it needs less water. Overwatering is the #1 killer of winter-repotted plants.
Step 7: Provide Optimal Recovery Conditions
After repotting, give your plant the best possible environment to recover:
- Warmth: Keep it in a warm spot (18-24°C), away from cold windows and drafts
- Humidity: Increase humidity with a plant mister, pebble tray, or humidifier to reduce stress
- Light: Provide bright, indirect light but avoid harsh direct sun while the plant recovers
- Stability: Don't move the plant around – let it settle in one spot
- No fertilizer: Wait at least 4-6 weeks before fertilizing. The fresh soil has nutrients, and the plant isn't actively growing anyway
Which Plants Can Handle Winter Repotting Better?
Some plants are more resilient to winter repotting than others. Here's a quick guide:
More Tolerant of Winter Repotting
- Pothos and Philodendron: These tough vining plants recover quickly even in winter
- Snake plants and ZZ plants: Slow growers that don't mind being disturbed
- Succulents and cacti: Already dormant in winter, they handle repotting well if kept dry
- Spider plants: Resilient and forgiving
- Monsteras: Tough aroids that bounce back relatively quickly
More Sensitive to Winter Repotting
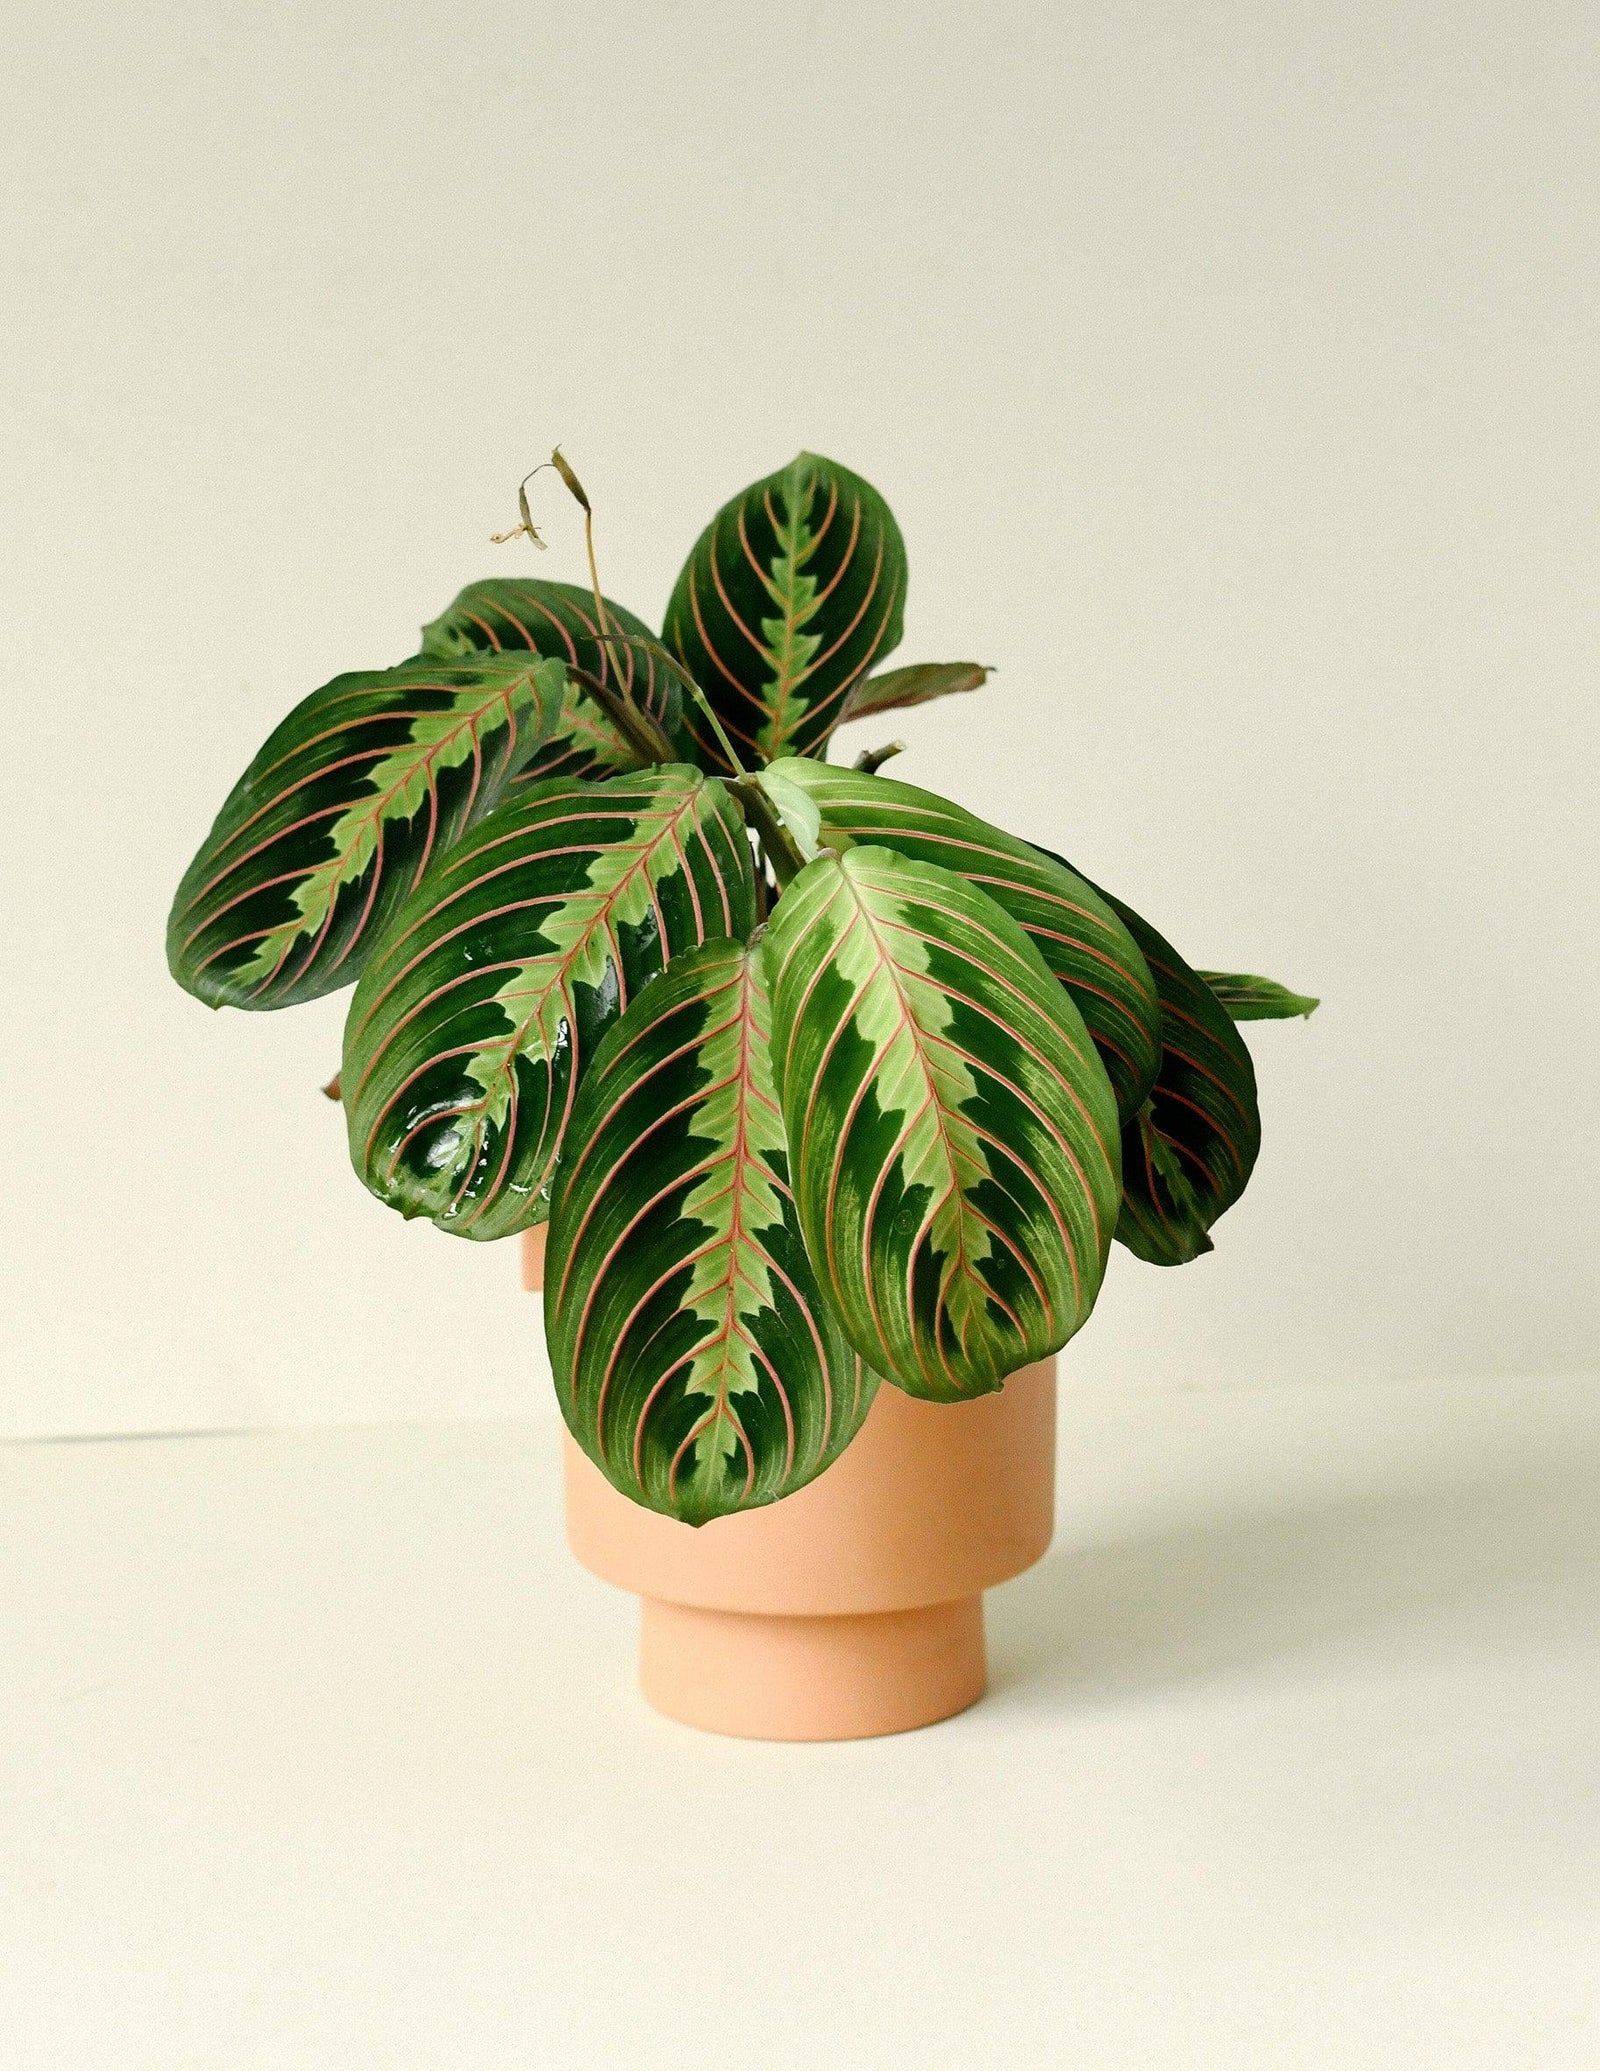
- Calatheas and Marantas: Drama queens that hate any disturbance, especially in winter
- Ferns: Sensitive to root disturbance and need high humidity to recover
- Alocasias: Can go into shock easily; only repot if absolutely necessary
- Fiddle leaf figs: Notoriously sensitive to change
- Orchids: Wait until they finish blooming and show new root growth
What About Adding Support During Winter Repotting?

If you're repotting a climbing plant like Monstera, Philodendron, or Pothos, winter is actually a decent time to add a coco coir support pole. Since you're already disturbing the roots, you might as well give your plant the structure it needs.
Insert the pole before adding all the soil, positioning it securely in the center or back of the pot. This way you won't damage roots by shoving it in later. Your plant won't actively climb in winter, but it'll be ready to go when spring growth kicks in.
Post-Repotting Care: The First Month
The month after winter repotting is critical. Here's your care checklist:
Week 1-2: Recovery Phase
- Monitor daily for signs of stress (wilting, yellowing, drooping)
- Keep soil barely moist, not wet
- Maintain high humidity
- Avoid fertilizing
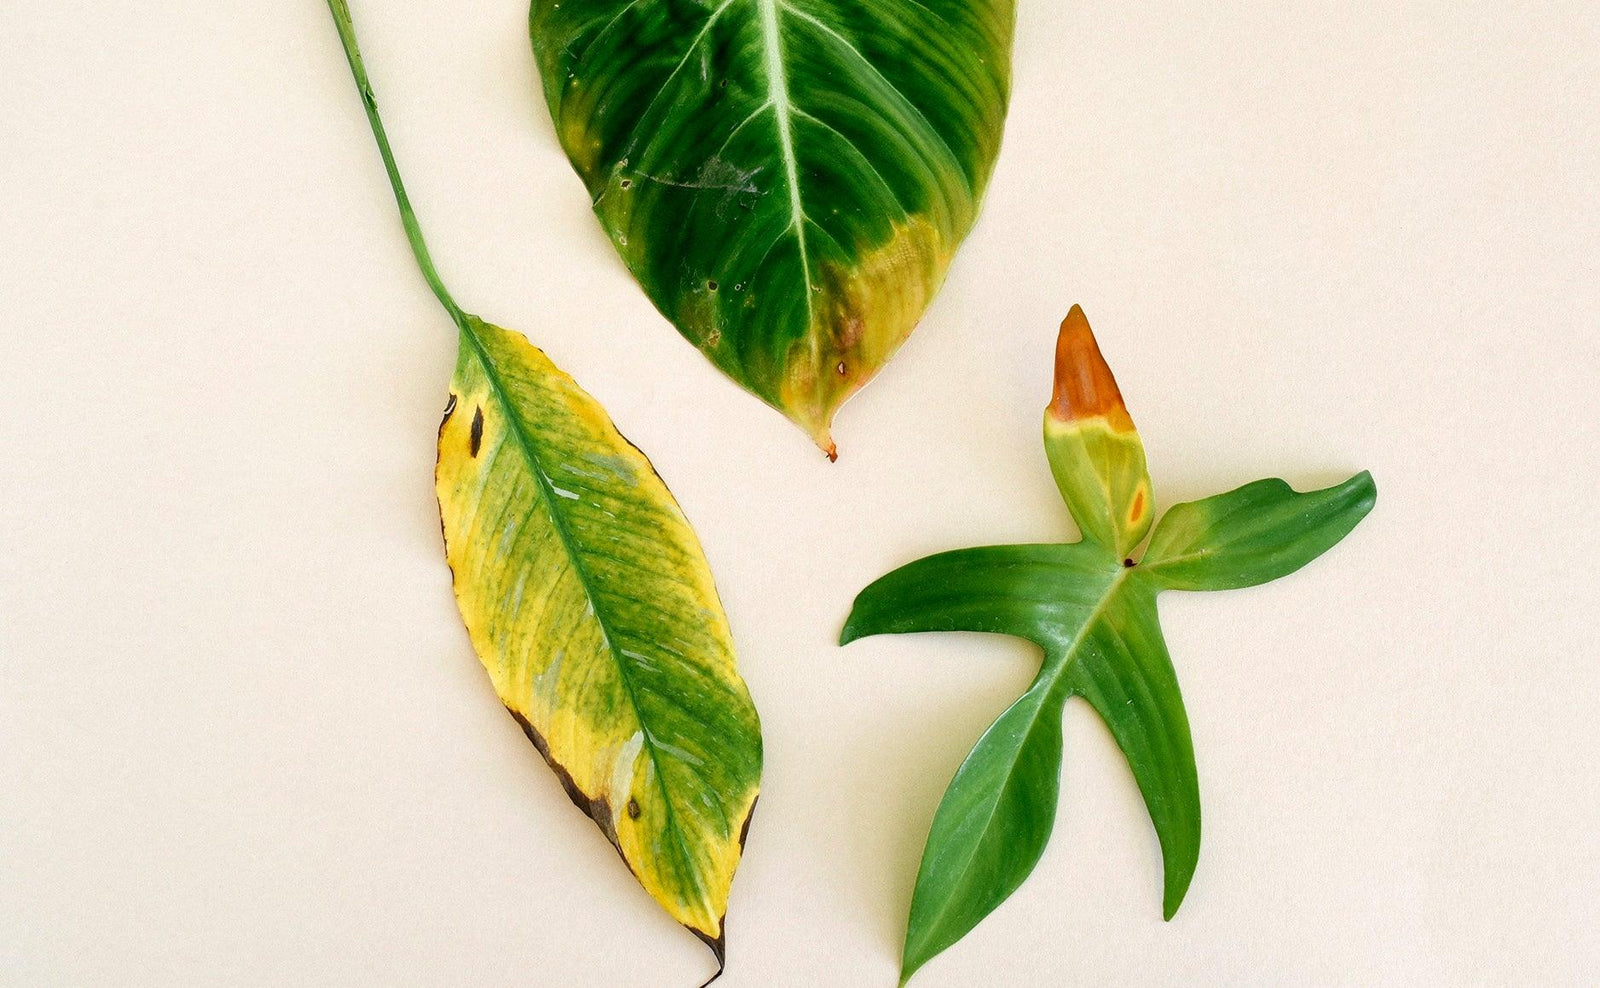
- Don't panic if a few lower leaves yellow – this is normal transplant shock
Week 3-4: Stabilization Phase
- Check soil moisture with your soil checker before each watering
- Look for signs of new growth (this is a good sign!)
- Gradually return to normal care routine
- Still no fertilizer – wait until spring
Month 2+: Maintenance Phase
- Resume normal watering schedule (still less than summer)
- Watch for spring growth signals (new leaves, faster water uptake)
- Begin fertilizing lightly once you see active growth
Common Winter Repotting Mistakes (And How to Avoid Them)
Mistake #1: Overwatering After Repotting
The fix: Water lightly initially, then wait. Use a soil moisture meter and only water when the top several inches are dry. In winter, less is more.
Mistake #2: Using Too Large a Pot
The fix: Only go up 2-5cm in diameter. A huge pot holds too much moisture that the plant can't use, leading to root rot.
Mistake #3: Using Dense, Peat-Heavy Soil
The fix: Add plenty of drainage amendments like perlite, lava rocks, or orchid bark. Your winter mix should be chunkier and airier than your summer mix.
Mistake #4: Repotting Multiple Plants at Once
The fix: If you must repot in winter, do one plant at a time so you can monitor each one's recovery. Don't overwhelm yourself or your plants.
Mistake #5: Placing the Plant in a Cold or Drafty Spot
The fix: Keep newly repotted plants in the warmest, most stable spot in your home. Away from windows, doors, and heating vents.
Mistake #6: Fertilizing Too Soon
The fix: Wait at least 4-6 weeks, or better yet, wait until you see active spring growth. Fresh soil has nutrients; your plant doesn't need more right away.
The Alternative: Top Dressing Instead of Repotting
If your plant doesn't desperately need repotting but the soil looks depleted, consider top dressing instead. Remove the top 2-5cm of old soil (being careful not to damage surface roots) and replace it with fresh potting mix. This refreshes nutrients without the stress of full repotting.
Top dressing works great for:
- Large plants that are difficult to repot
- Plants that prefer being slightly rootbound
- Situations where you just want to refresh the soil surface
- Plants that are healthy but in old, depleted soil
When to Absolutely Wait Until Spring
Some situations genuinely require waiting, no matter how impatient you are:
- Your plant is actively flowering or about to bloom
- The plant is already stressed from pests, disease, or environmental issues
- You're in the middle of a cold snap with freezing temperatures
- Your home is particularly cold (below 15°C consistently)
- The plant is a known drama queen (looking at you, Calathea) and is otherwise healthy
- You can't provide adequate warmth, light, and humidity for recovery
The Bottom Line on Winter Repotting
Should you repot in winter? Only if you have to. Is it possible to do it successfully? Absolutely, if you follow the right steps.
The key is understanding that winter repotting requires extra care, better drainage, less water, and more patience than spring/summer repotting. Your plant is in survival mode, not growth mode, so you need to support it through recovery with optimal conditions and minimal stress.
If your plant is genuinely suffering – rootbound to the point of stunted growth, sitting in broken-down soil, or dealing with root rot – then winter repotting is the lesser evil compared to waiting months while the plant declines. But if it's just a matter of wanting a prettier pot or feeling like you should repot because it's been a year, wait until spring when your plant is actively growing and can recover quickly.
Ready to repot safely? Stock up on drainage materials, active charcoal, and support poles from our accessories collection. And remember: when in doubt, wait it out. Spring is just around the corner, and your plants will thank you for the patience.
Happy (careful) repotting, plant parents! 🌱✨


