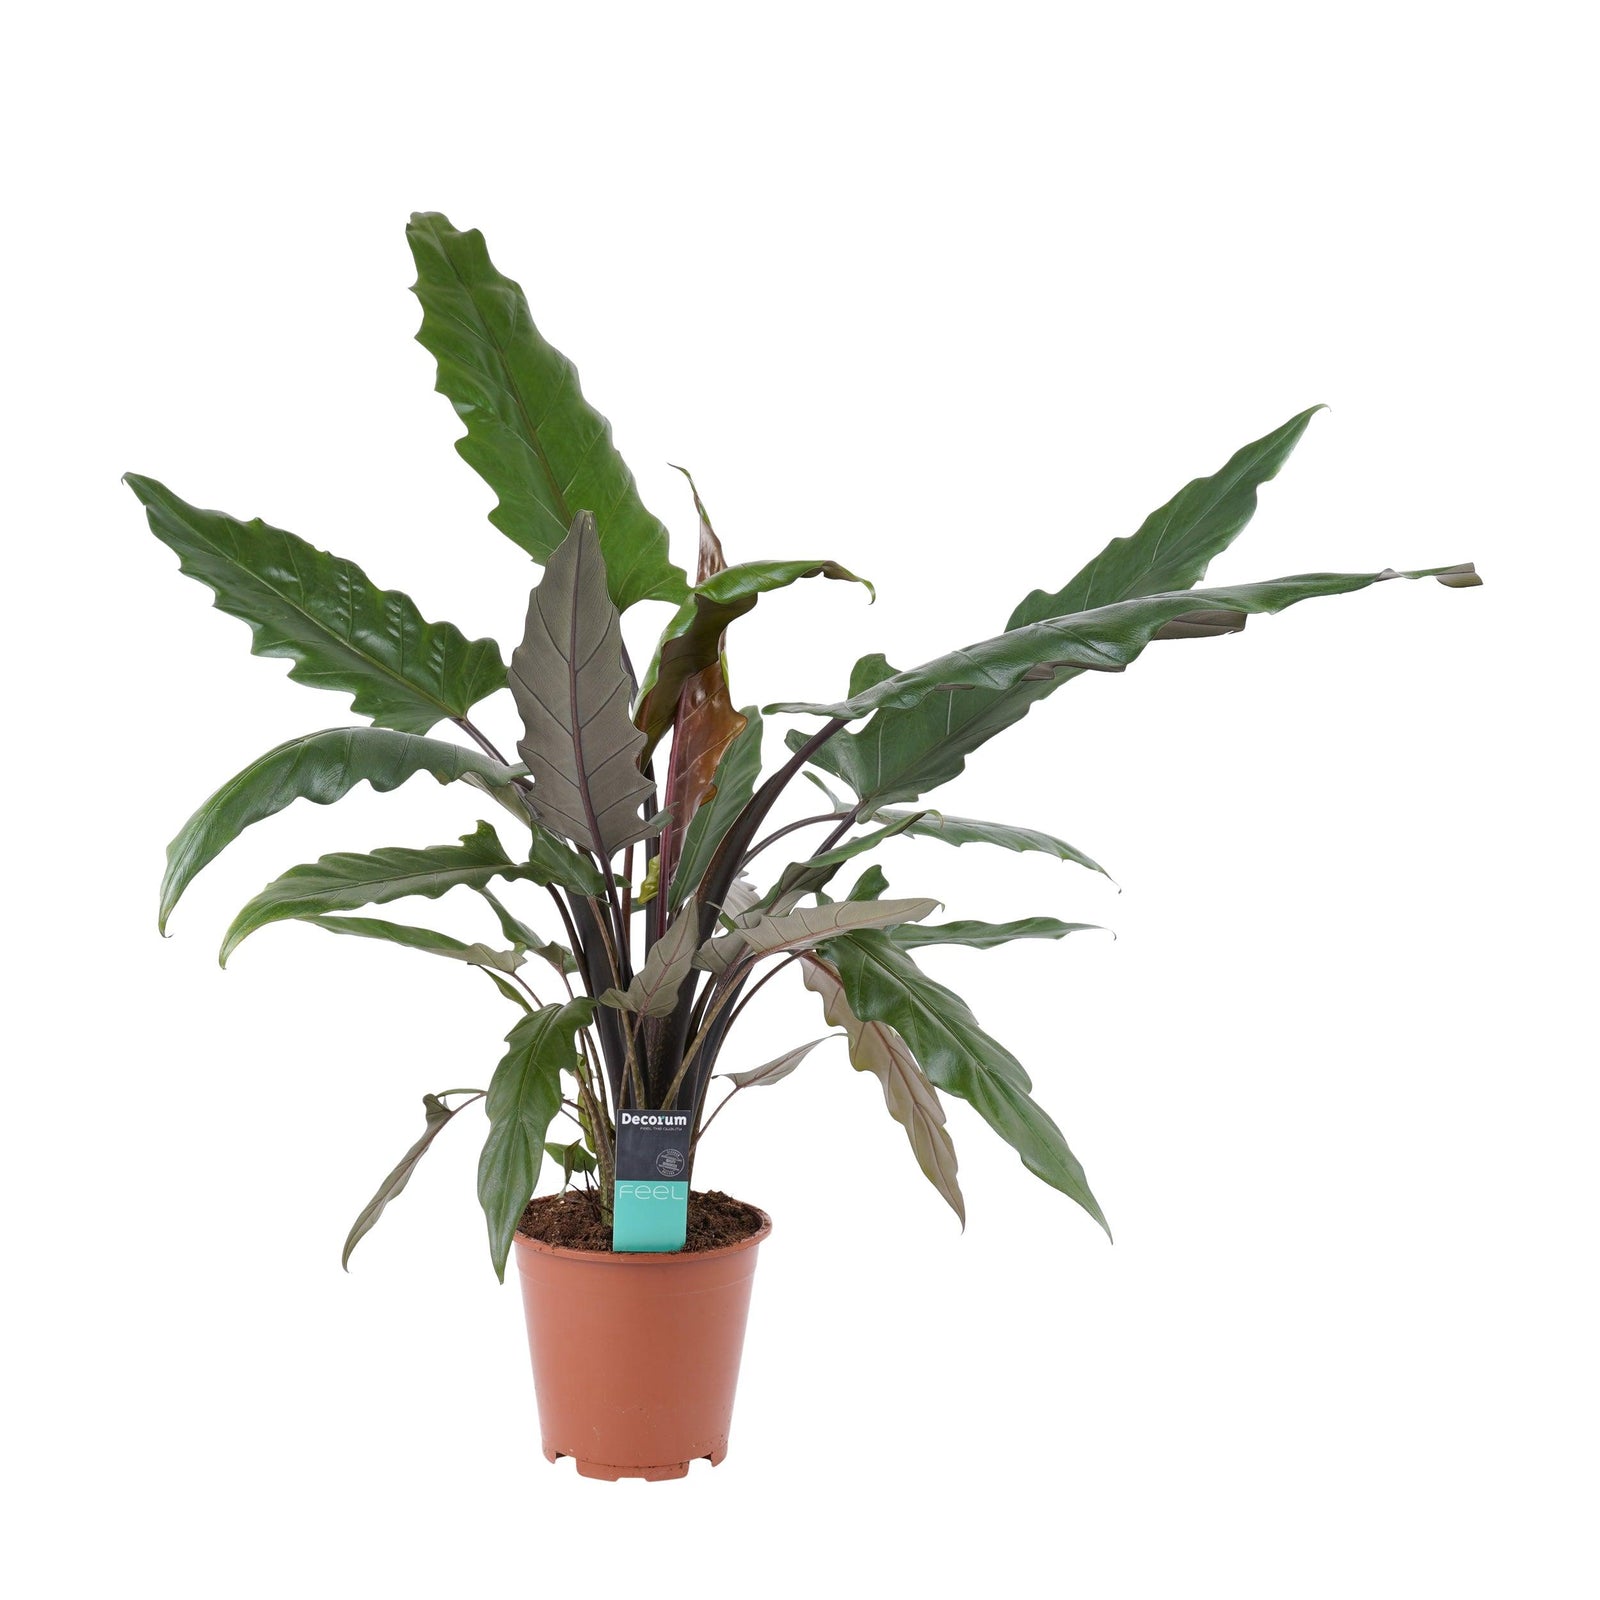
The key to (successfully) growing Alocasias
After years of trial and error in a Berlin apartment, Plant Circle founder Monika has landed on one approach that consistently made her Alocasias happier: a very airy, hydro-inspired setup. This guide walks you through what worked for her, so you can decide what to adapt in your own home.
In this guide
- Why your home conditions matter
- Why hydro-style setups can help Alocasias
- Monika’s go-to Alocasia potting mix
- Alocasias in self-watering vs. regular pots
- Trying clay pebbles or full hydro
Why your home conditions matter
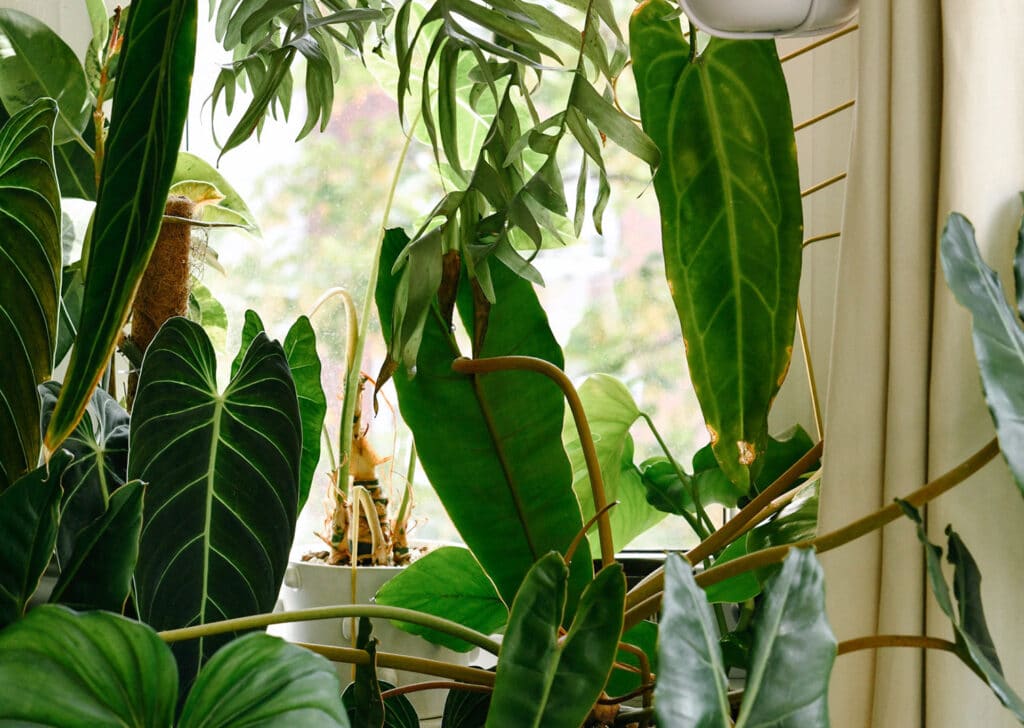
There’s no universal truth for growing Alocasias – just lots of experiences we can share. This one comes from Monika, who grows her plants in a typical Berlin apartment. If you’re in a very different climate, treat this as inspiration rather than strict rules.
When you read plant care posts, people often skip a crucial detail: where they’re actually growing their plants. Light, insulation, heating, and airflow all change how a care routine performs. A setup that’s perfect in a humid, tropical garden might be far from ideal in a dry, heated flat.
In many homes in the northern hemisphere, winter heating can make air very dry. Monika’s flat is a bit different. It’s insulated and heated, but with lots of plants and less frequent airing out during cold months, it stays relatively humid and creates a small indoor jungle microclimate.
So as you read, keep your own space in mind. If your climate is warmer, drier, or much darker, you may want to borrow the ideas but tweak watering frequency and potting style.

Why hydro-style setups can help Alocasias
Monika’s Alocasia journey started long ago, but for years she couldn’t keep them happy for long. After a lot of frustration, she decided to investigate properly, diving into research and talking to people who were actually succeeding with Alocasias indoors.
Again and again, the same pattern appeared: Alocasias seemed to respond well when their roots had more air and less dense soil – in other words, more of a hydro-style environment.
She kept coming across two ideas:
- In some habitats, Alocasias grow with roots stretched over rocks, taking in water when it rains and then drying again.
- Many growers say they like "wet feet" – consistently moist roots – but not the suffocating conditions that lead to rot.
Putting these together, it made sense to try a potting setup that lets water pass through easily, keeps oxygen around the roots, and avoids the heavy, compact feel of classic potting soil.
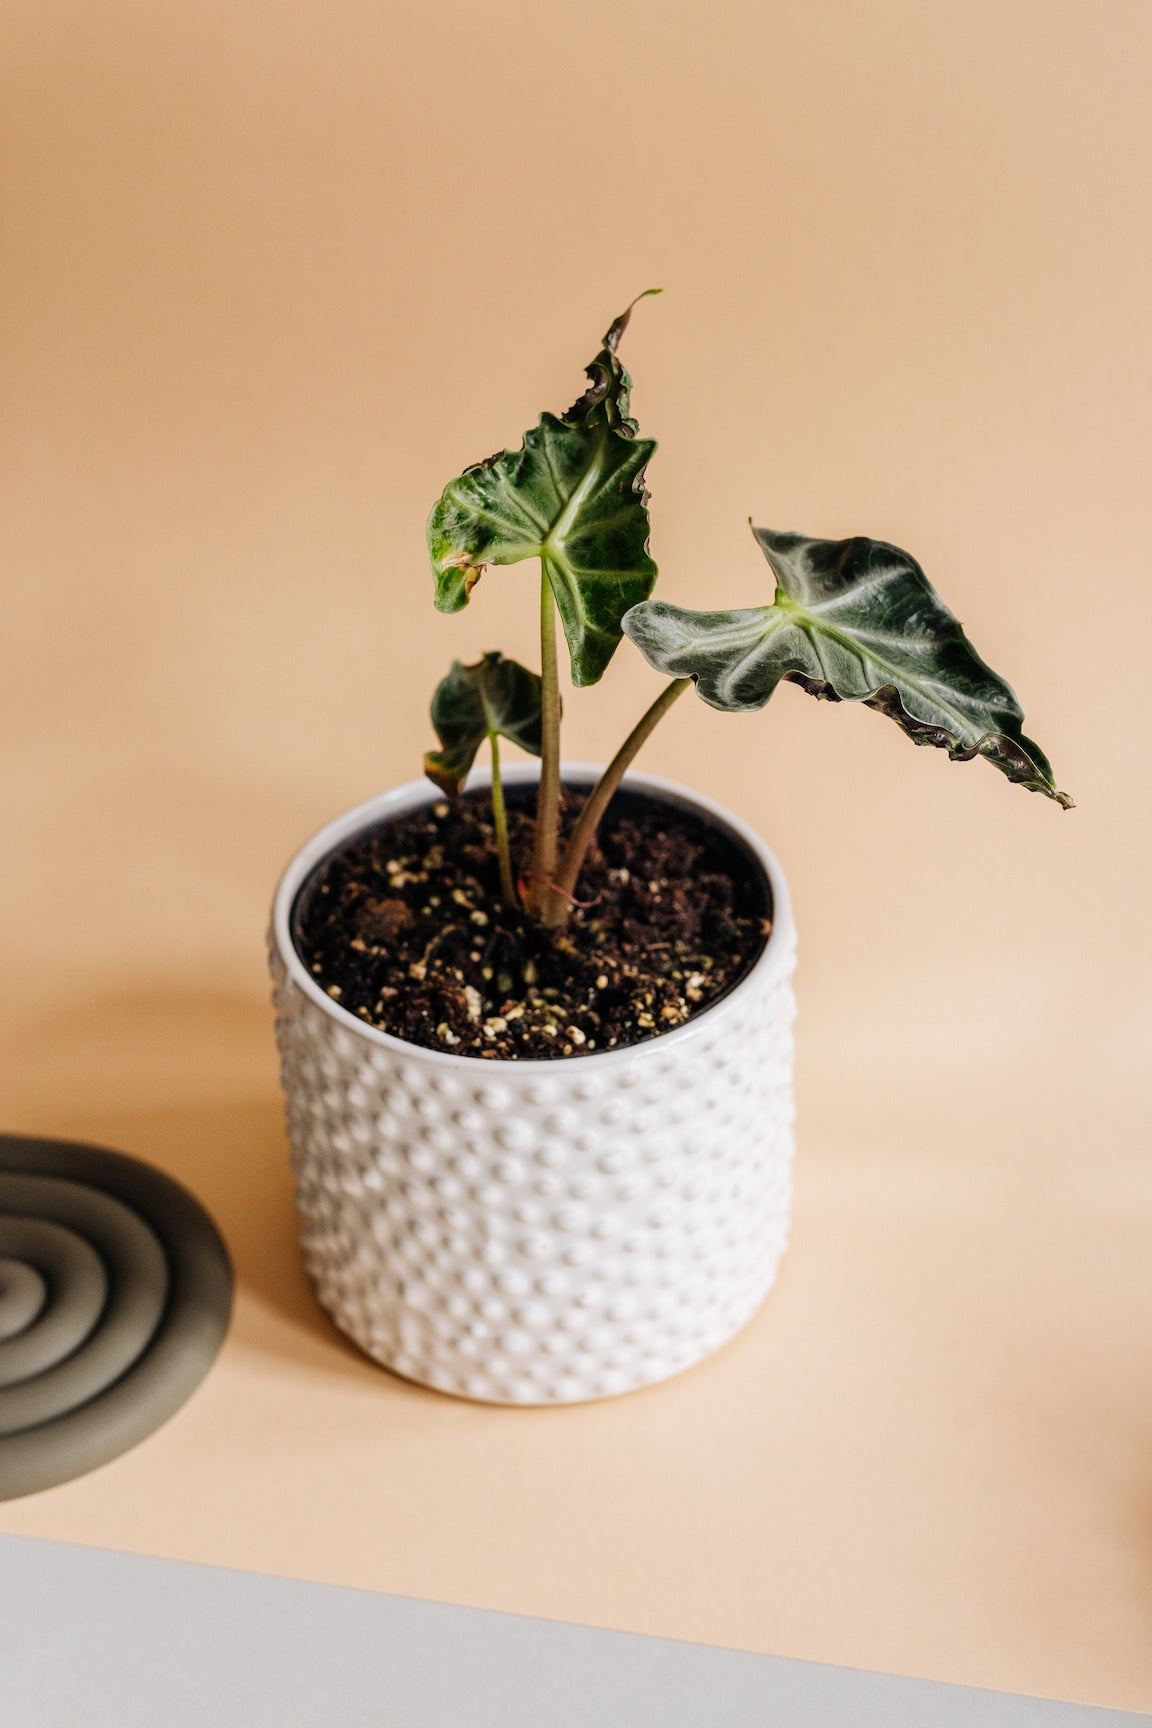
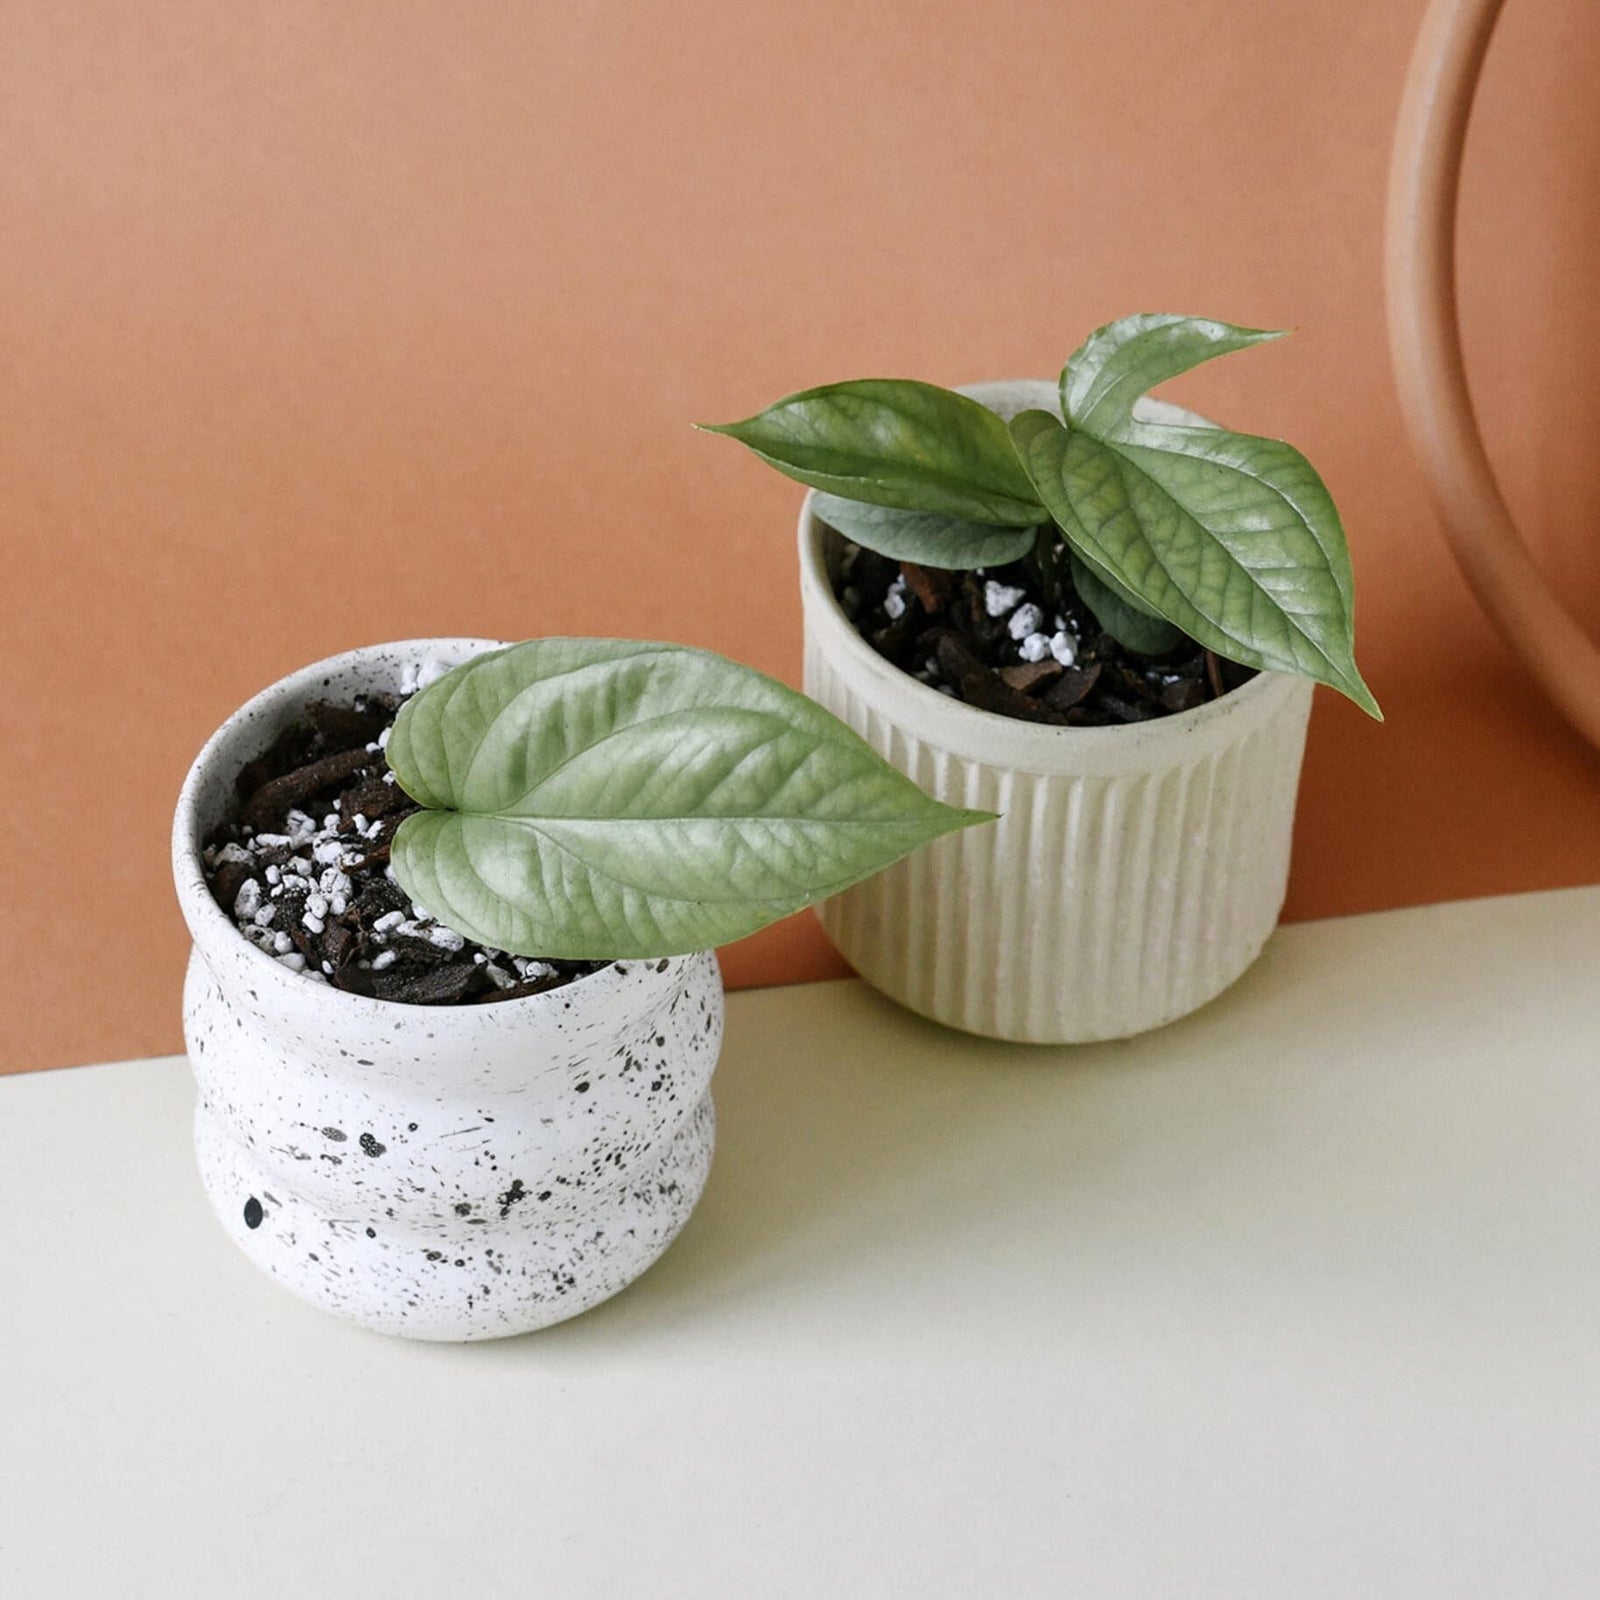
Monika’s go-to Alocasia potting mix
Instead of keeping Alocasias in a standard, peat-heavy mix where the bottom stays soggy, Monika experimented with a much chunkier, more open blend. The goal: roots that can drink well and then breathe again, without sitting in a swamp.
The mix she ended up loving is built around four components:
- Pumice – for structure and drainage
- Charcoal – to keep the mix fresher for longer
- Bark – big chunks that add air pockets around the roots
- Humus – for a bit of water and nutrient retention
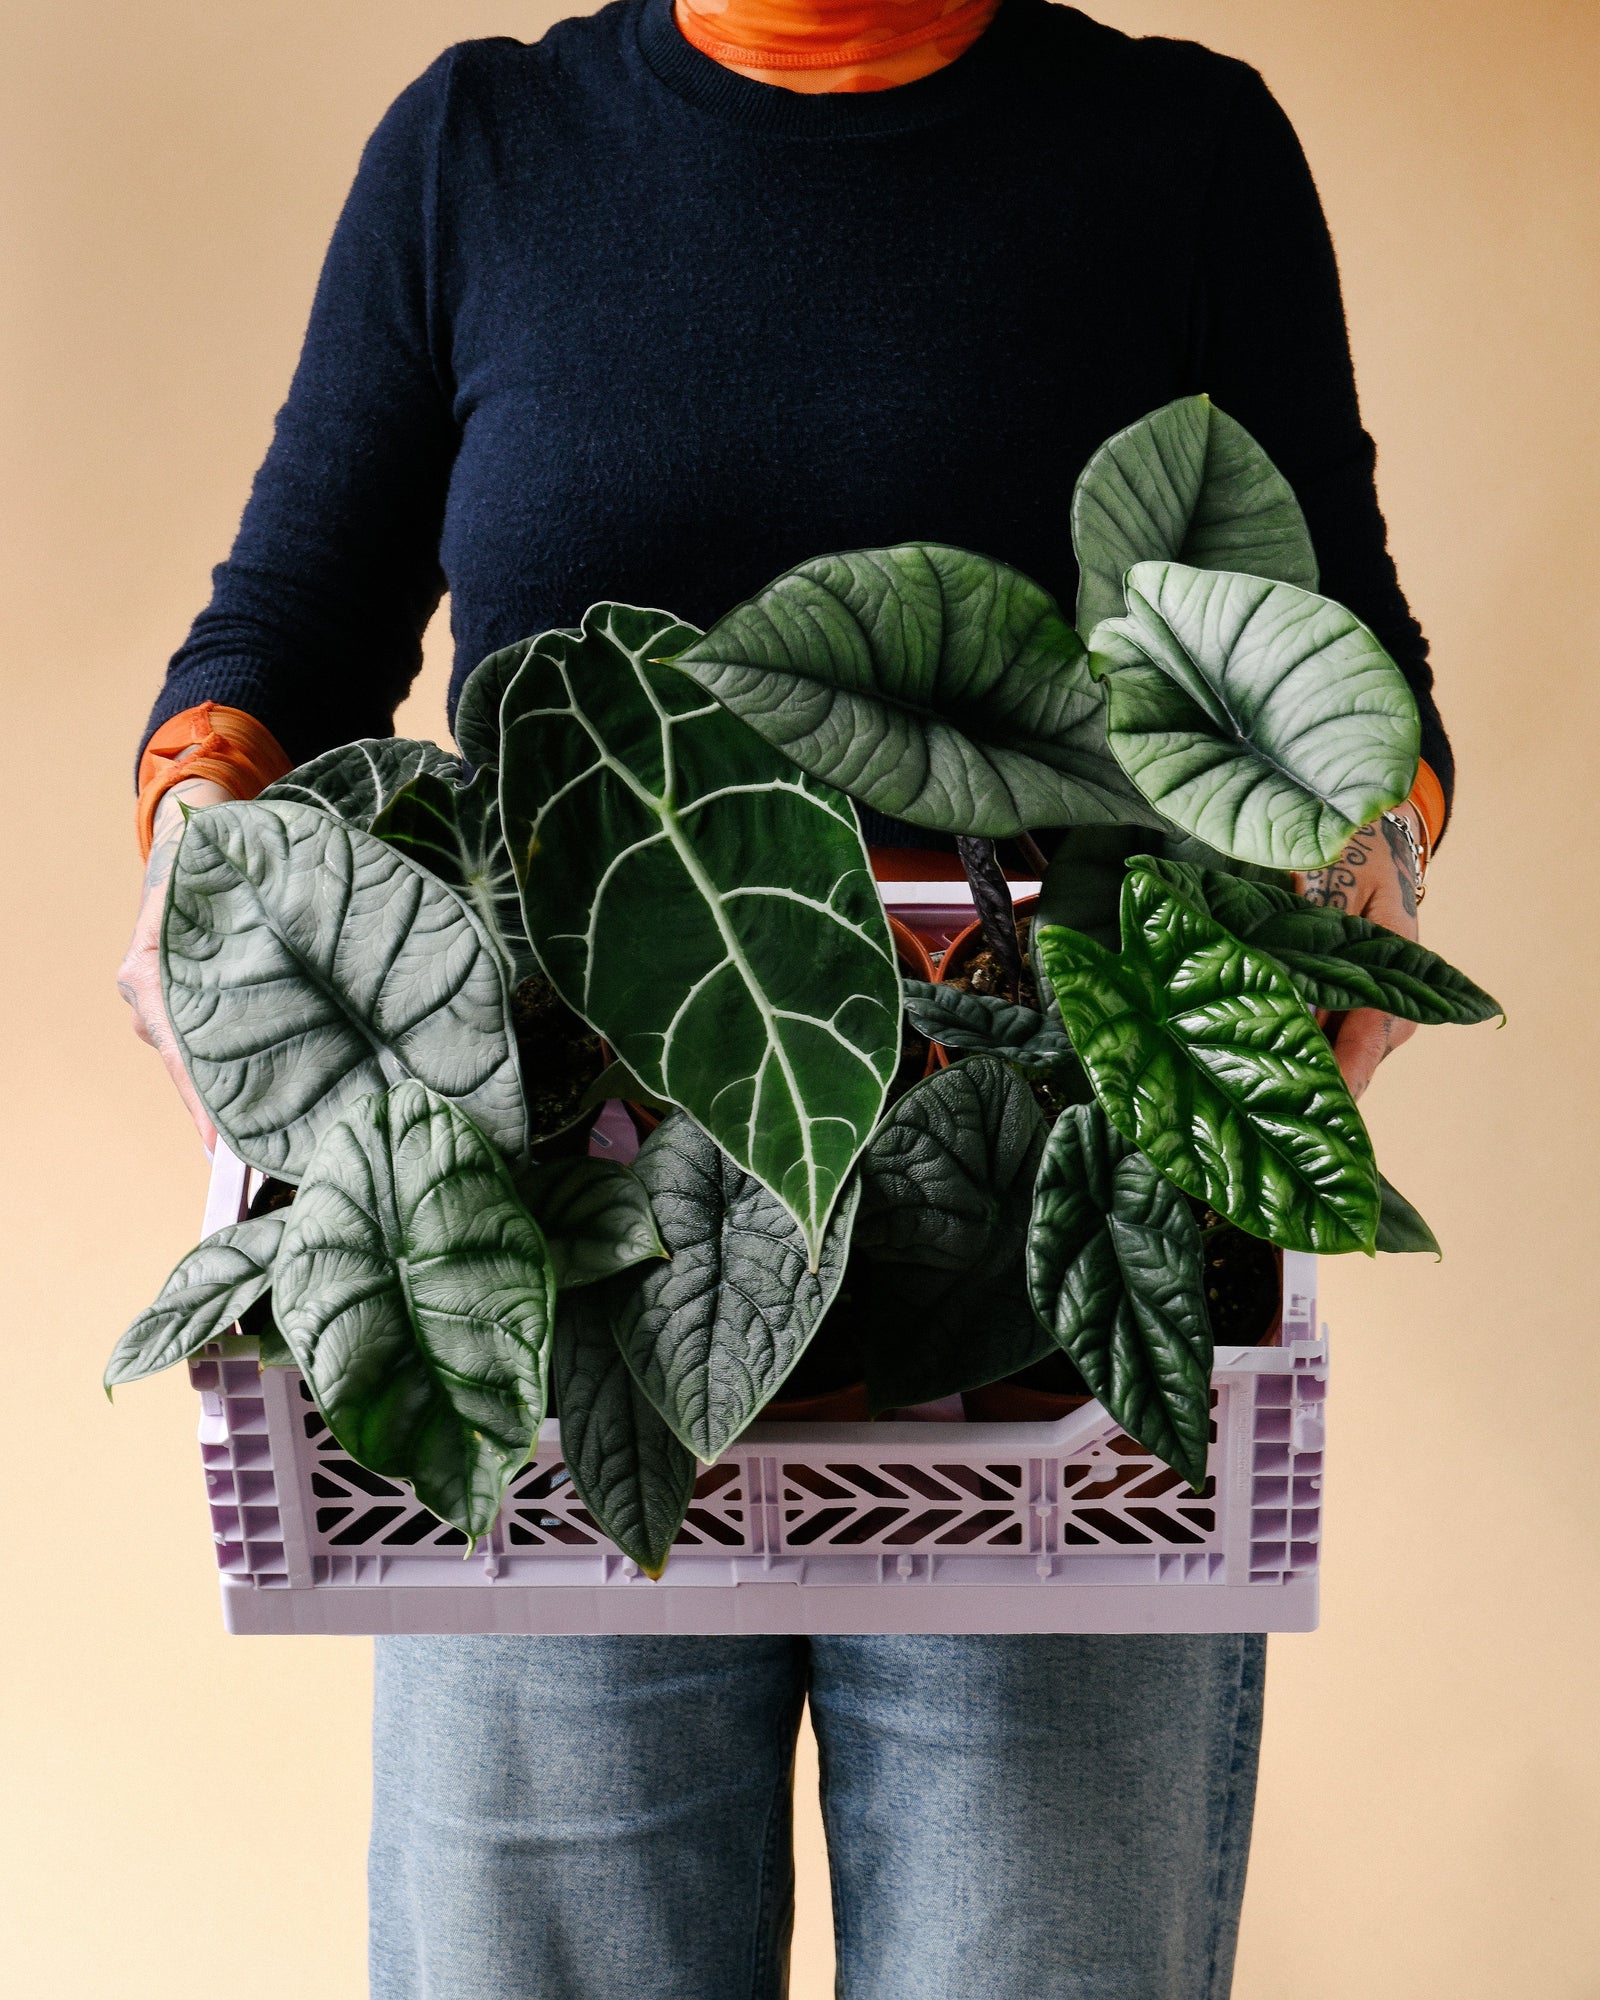
To test it, she took a few almost-lost Alocasias, gently removed the nursery substrate (often a very light, coco-heavy mix), and repotted them into this new blend. Within a few weeks, new shoots appeared and the plants slowly bounced back.
If you’d like to skip the DIY part, you can reach for our ready-made mix that follows this same idea: a very airy Alocasia substrate with lots of structure and drainage: Alocasia potting mix 5L.

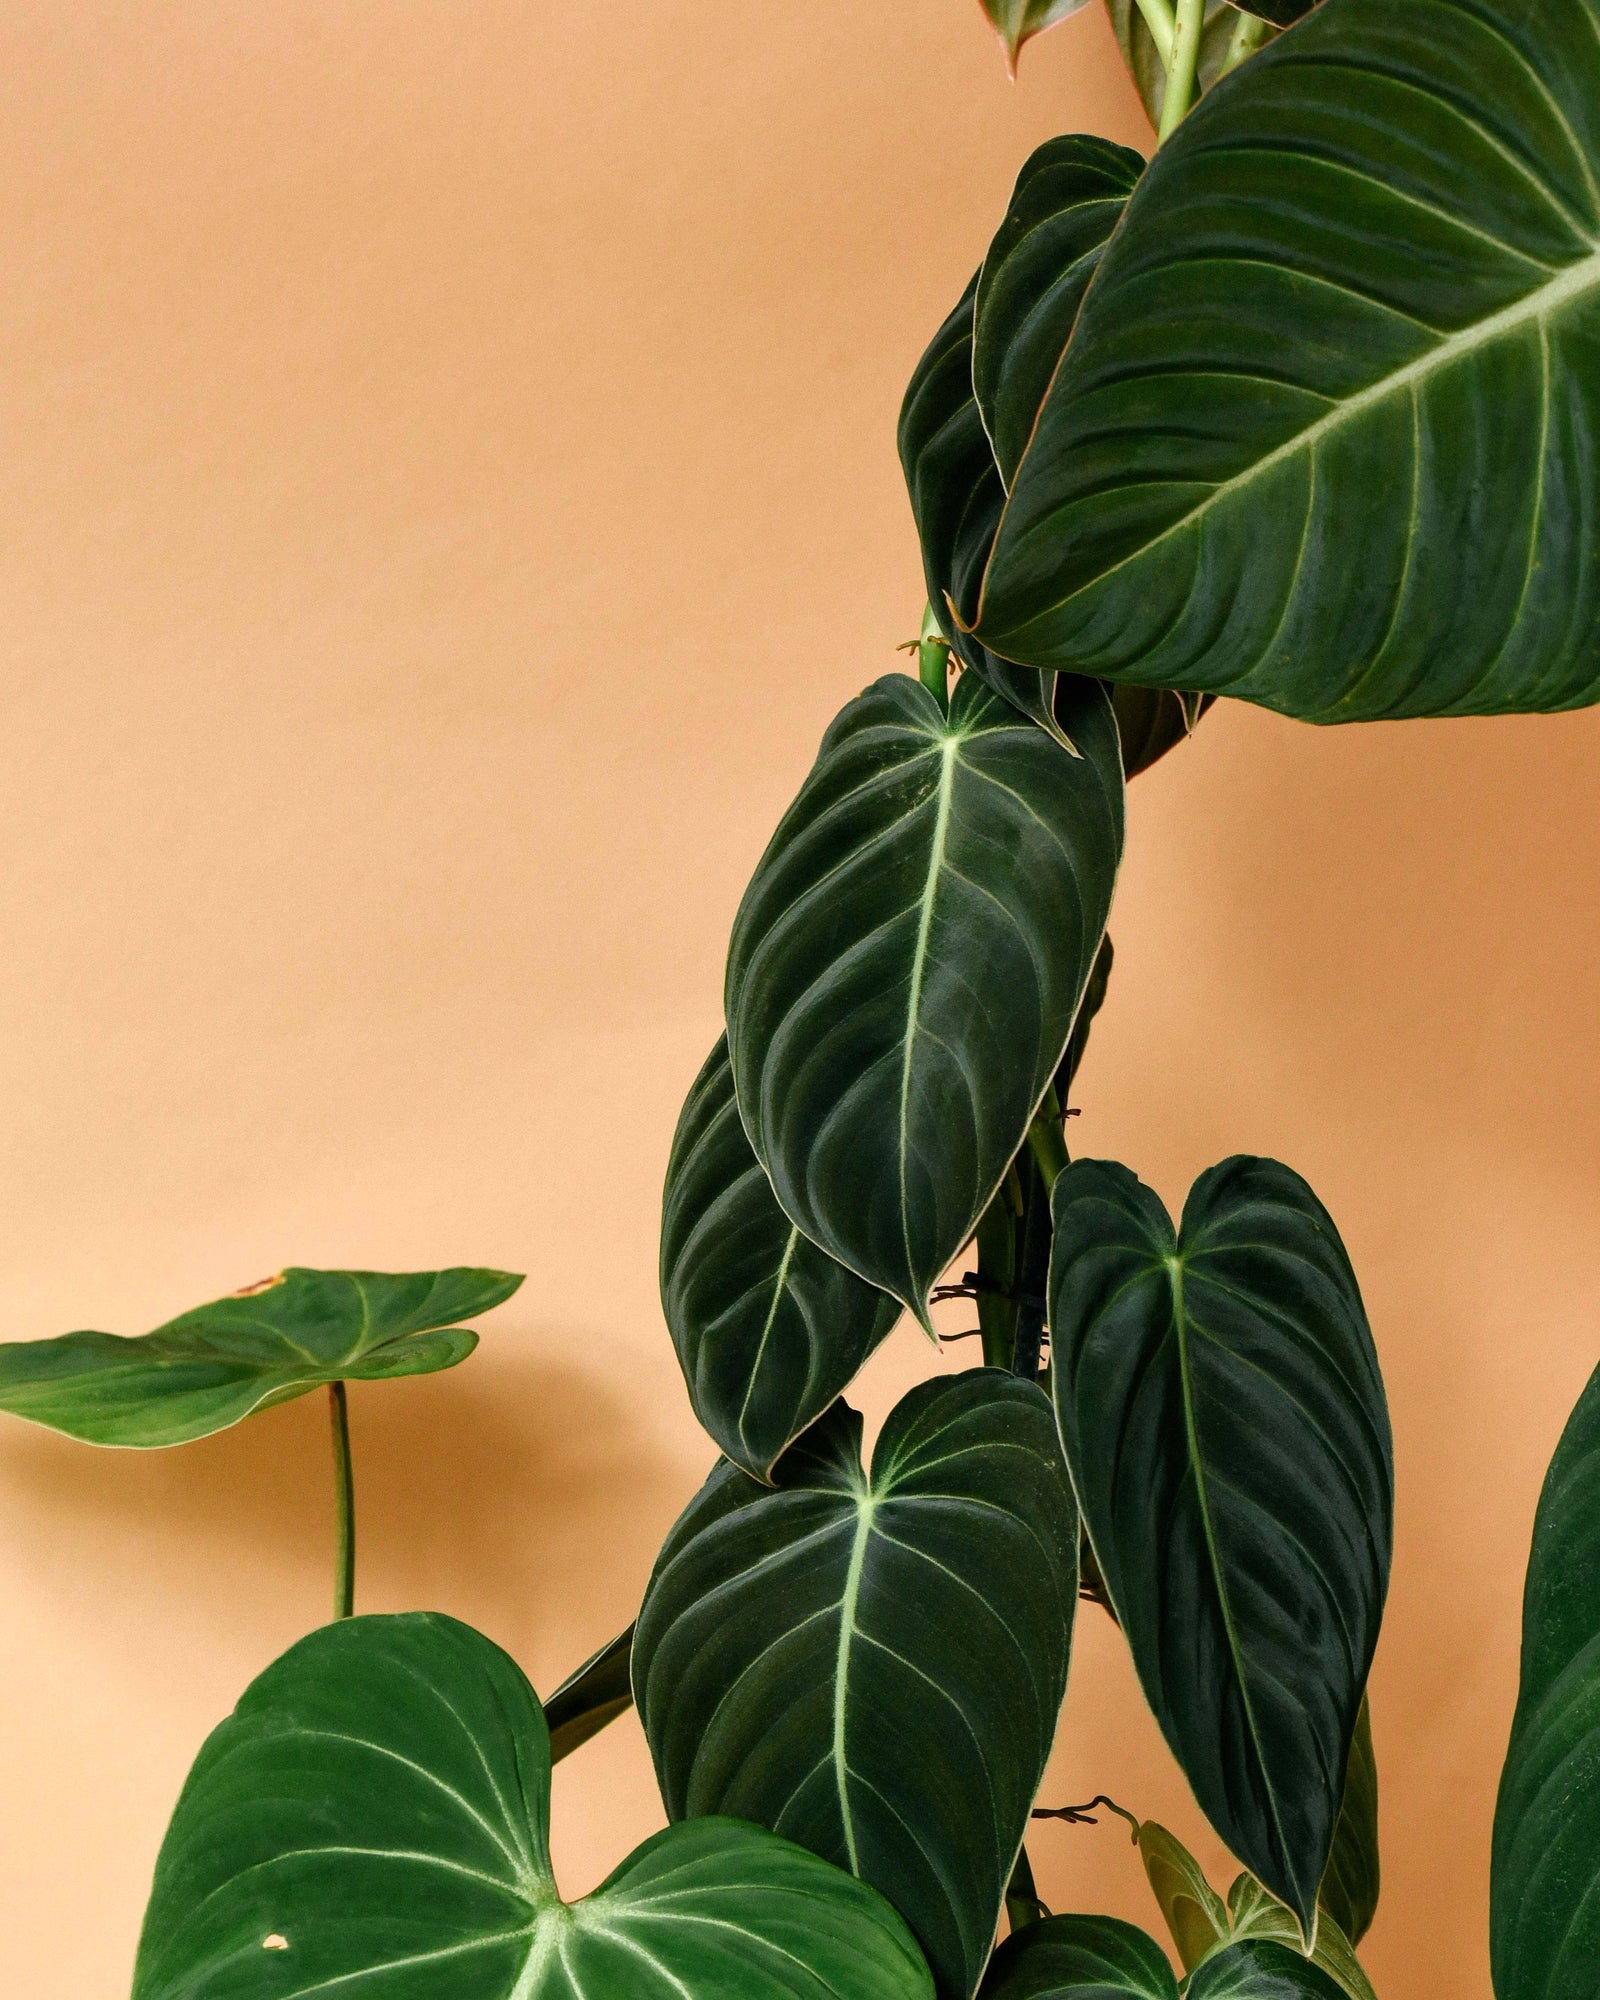
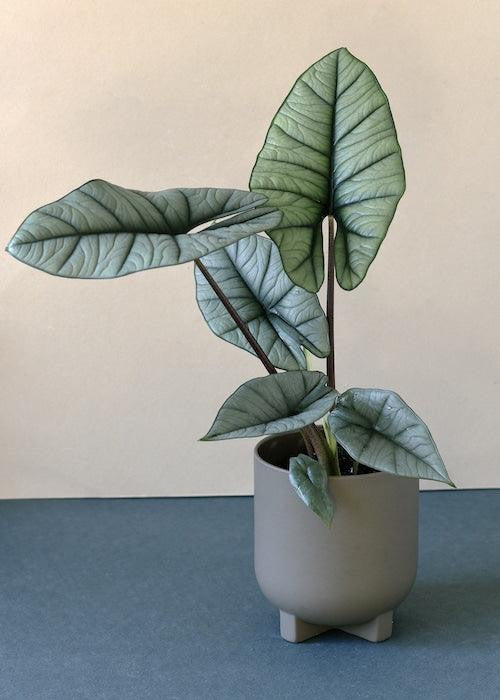
Alocasias in self-watering vs. regular pots
One of the most common questions Monika sees is whether Alocasias can live in self-watering pots. In her Berlin flat, the answer has been yes – when you pair the right pot with a very airy mix.
Here’s how she approaches it:
- Self-watering pots: She fills the reservoir and then lets the hydro-style mix wick up the moisture it needs. The chunky texture helps avoid waterlogging.
- Regular pots: These work too – they just require more attention. She checks the mix and adds a small amount of water about once a week, adjusting for season and light.
If you want to try a similar setup, a simple combination like a soft, neutral pot with a separate insert can be both practical and pretty. For example, Monika grows several Alocasias in an Elho cachepot paired with a self-watering insert that keeps a small water reservoir hidden inside.
Whatever pot you choose, watch your plant and adjust. If leaves start to yellow from the bottom and the mix never really dries in the lower half, reduce the water level. If the mix feels dry most of the time and new leaves stall, you may need to refill the reservoir a little more often.
Trying clay pebbles or full hydro
If you’re ready to experiment further, you can also try growing Alocasias in semi-hydro or full hydro setups, often based on clay pebbles.
Monika’s own preference is to keep things very airy. When she uses clay pebbles, she often mixes in around 10% bark to create extra texture and make it even easier for the roots to explore and breathe.
Some growers keep the clay layer constantly in contact with a small amount of water, while others let it dry down more between refills. Start conservatively, observe how your specific plant responds, and adjust the water level instead of assuming that more water is automatically better.
If you’re curious about trying this, you can find a straightforward option like clay balls 3L and experiment with one Alocasia at a time. That way, you can learn how hydro-style care behaves in your own light, humidity, and temperature before changing all your plants over.
And if your first attempt doesn’t go perfectly, don’t be discouraged. Alocasias can be expressive and a bit dramatic, and it often takes a couple of tweaks to find the rhythm that fits both your plant and your apartment.
Explore more
Helpful plants, care products, and related guides: