


by Plant Circle
7 things your ficus really hates
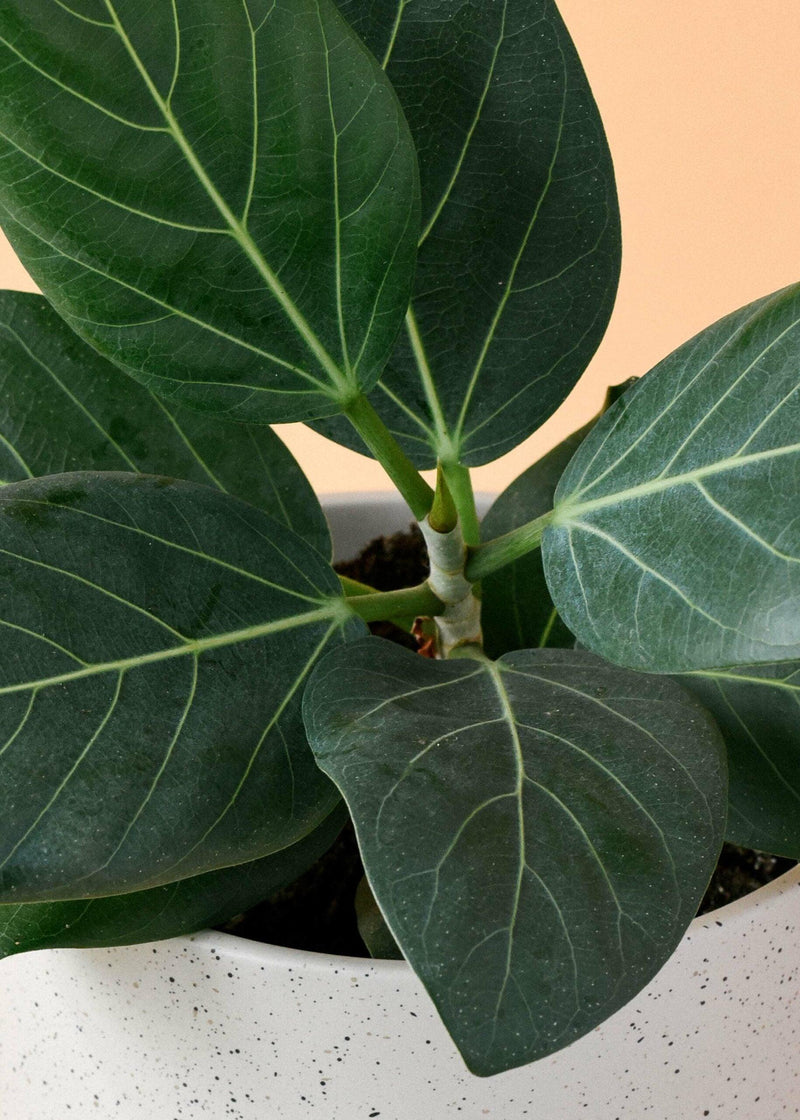
Ficus is a very common houseplant and for a good reason! It’s a very beautiful and diverse plant genus with lush foliage, that can grow into an impressive tree under the right care. Ficus, however, also tend to be a frustrating plant to grow, as it responds to stress rapidly by losing its leaves. So let’s take a look at where that stress can come from nd how to avoid it! The few ficus plants that are on the houseplant market all belong to the fig genus, which boasts hundreds of species native to the tropics. This tells you a lot about the environment they like: hot and humid. To know how to best grow your ficus, you first need to know a few things about what this plant don’t like, and what can cause it stress. 1. Ficus hates low temperatures. And they also hate drafts, so be sure not to place your ficus next to a window that you open in autumn and winter. 2. Your ficus also doesn’t like to be moved. We suggest picking a spot… and sticking to it! Since any change in environment can cause leaf drop, it’s just safer to not relocate them at all. 3. It doesn’t like insufficient watering either. Which means you have to stick to a schedule, and that schedule will depend on the light your ficus receives. Under ideal conditions, weekly watering in summer and bi-weekly in winter should be sufficient. 4. Your ficus also hates dry air. Yeah, your ficus is actually a bit of a diva, so we recommend treating it like the biggest diva of them all… your Calathea! Group your ficus with other plants, or place near a humidifier, or alternatively a bowl with water for added humidity. 5. It doesn’t like dust on the leaves. None of your plants do, but those big ficus leaves sure know how to collect excess dust! Make sure to keep your ficus’ leaves dust free by regularly wiping them with wet cloth. 6. It doesn’t like to be repotted often. Since it doesn’t like to be moved around a lot, it should come as no surprise that your ficus also doesn’t like to be repotted too often! Let your ficus go a little pot bound before you repot your it, and don’t go for a pot that’s several sizes bigger. Instead, just go a single size up! 7. Your ficus, like all plants, doesn’t like pests. And since it’s prone to dropping leaves, this is exactly the kind of thing that is likely to make it lose its foliage! Keep an extra eye out for pests when you wipe dust off the leaves and catch any infestations early. Now that we’ve covered how not to treat your ficus, let’s take a quick look at some best practices that will actually make it happy! Ficus needs bright light and when it’s acclimated it can also tolerate direct sunlight. The best spot for this plant would be in an east or south-east facing window where it receives a few hours of morning sun. Grow it in a well draining, rich potting mix and avoid acidic soils. If you’d like your ficus to grow a strong, thick stem you will need to shake it a few times a week. Yes, you read it right, grab that stem and shake it a bit… shake it, don’t break it! Normally this would be done by the wind outdoors, but since it’s a houseplant, this is your job now!Ficus’ tend to grow leggy, so it’s important to prune them. The best time to prune your ficus is in winter when they are not actively growing. Remember to wear gloves as the ficus’ sap is toxic. Use a sharp knife or garden shears and cut right above the node. Leave your cutting on a paper towel and let the cut area dry out. Once it’s cured, you can put it in water and let it grow roots!If you ever notice red spots on your ficus’ leaves, you should know it’s probably caused by leaf oedema. Its a non-deadly issue which we’ve described in more detail in this blog post. One way to avoid it is to adjust watering accordingly.And last but not least, don’t forget to fertilise your ficus regularly in spring and summer, and even every now and then in winter!


